TIP
If you prefer to follow along with a video, that is available for this lesson.
In this lesson, you’ll take code previously provided as an exemplar by Mr. Gordon (a Circle structure) and turn it into a real interactive iOS app.
You will:
- Organize an Xcode project using groups.
- Review what the app entry point is.
- Replace the generic
ContentViewwith a descriptive view namedCircleView. - Add a model (
Circle) and connect it to the UI. - Use a slider for input.
- Use computed properties for processing.
- Show output using text views.
- Make good use of source control: commit early, commit often.
- Add an image to your app and improve layout with modifiers like
.resizable(),.scaledToFit(),Spacer(), and.padding().
Starting point
Create a brand new SwiftUI iOS app project named GeometricFigures:
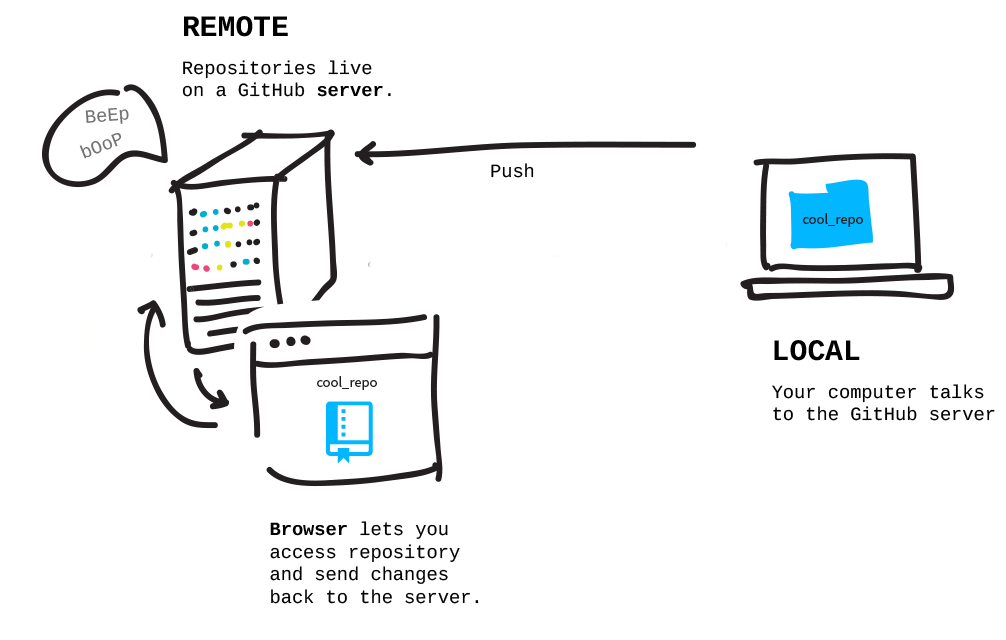
Be sure to create the remote repository on GitHub, too:
You will turn this template project into an interactive “Circle Calculator” app.
Organize the project
When you first create a project, Xcode often shows items inside blue folders.
Those are fine, but blue folders behave like “real Finder folders” and Xcode tends to keep them in alphabetical order automatically.
For this course, it’s usually clearer to organize by type of file (views together, model together, etc.). To do that, use Groups.
Convert folders to groups
- Two-finger tap (right click) on the main folder in the Project Navigator.
- Choose Convert to Group.
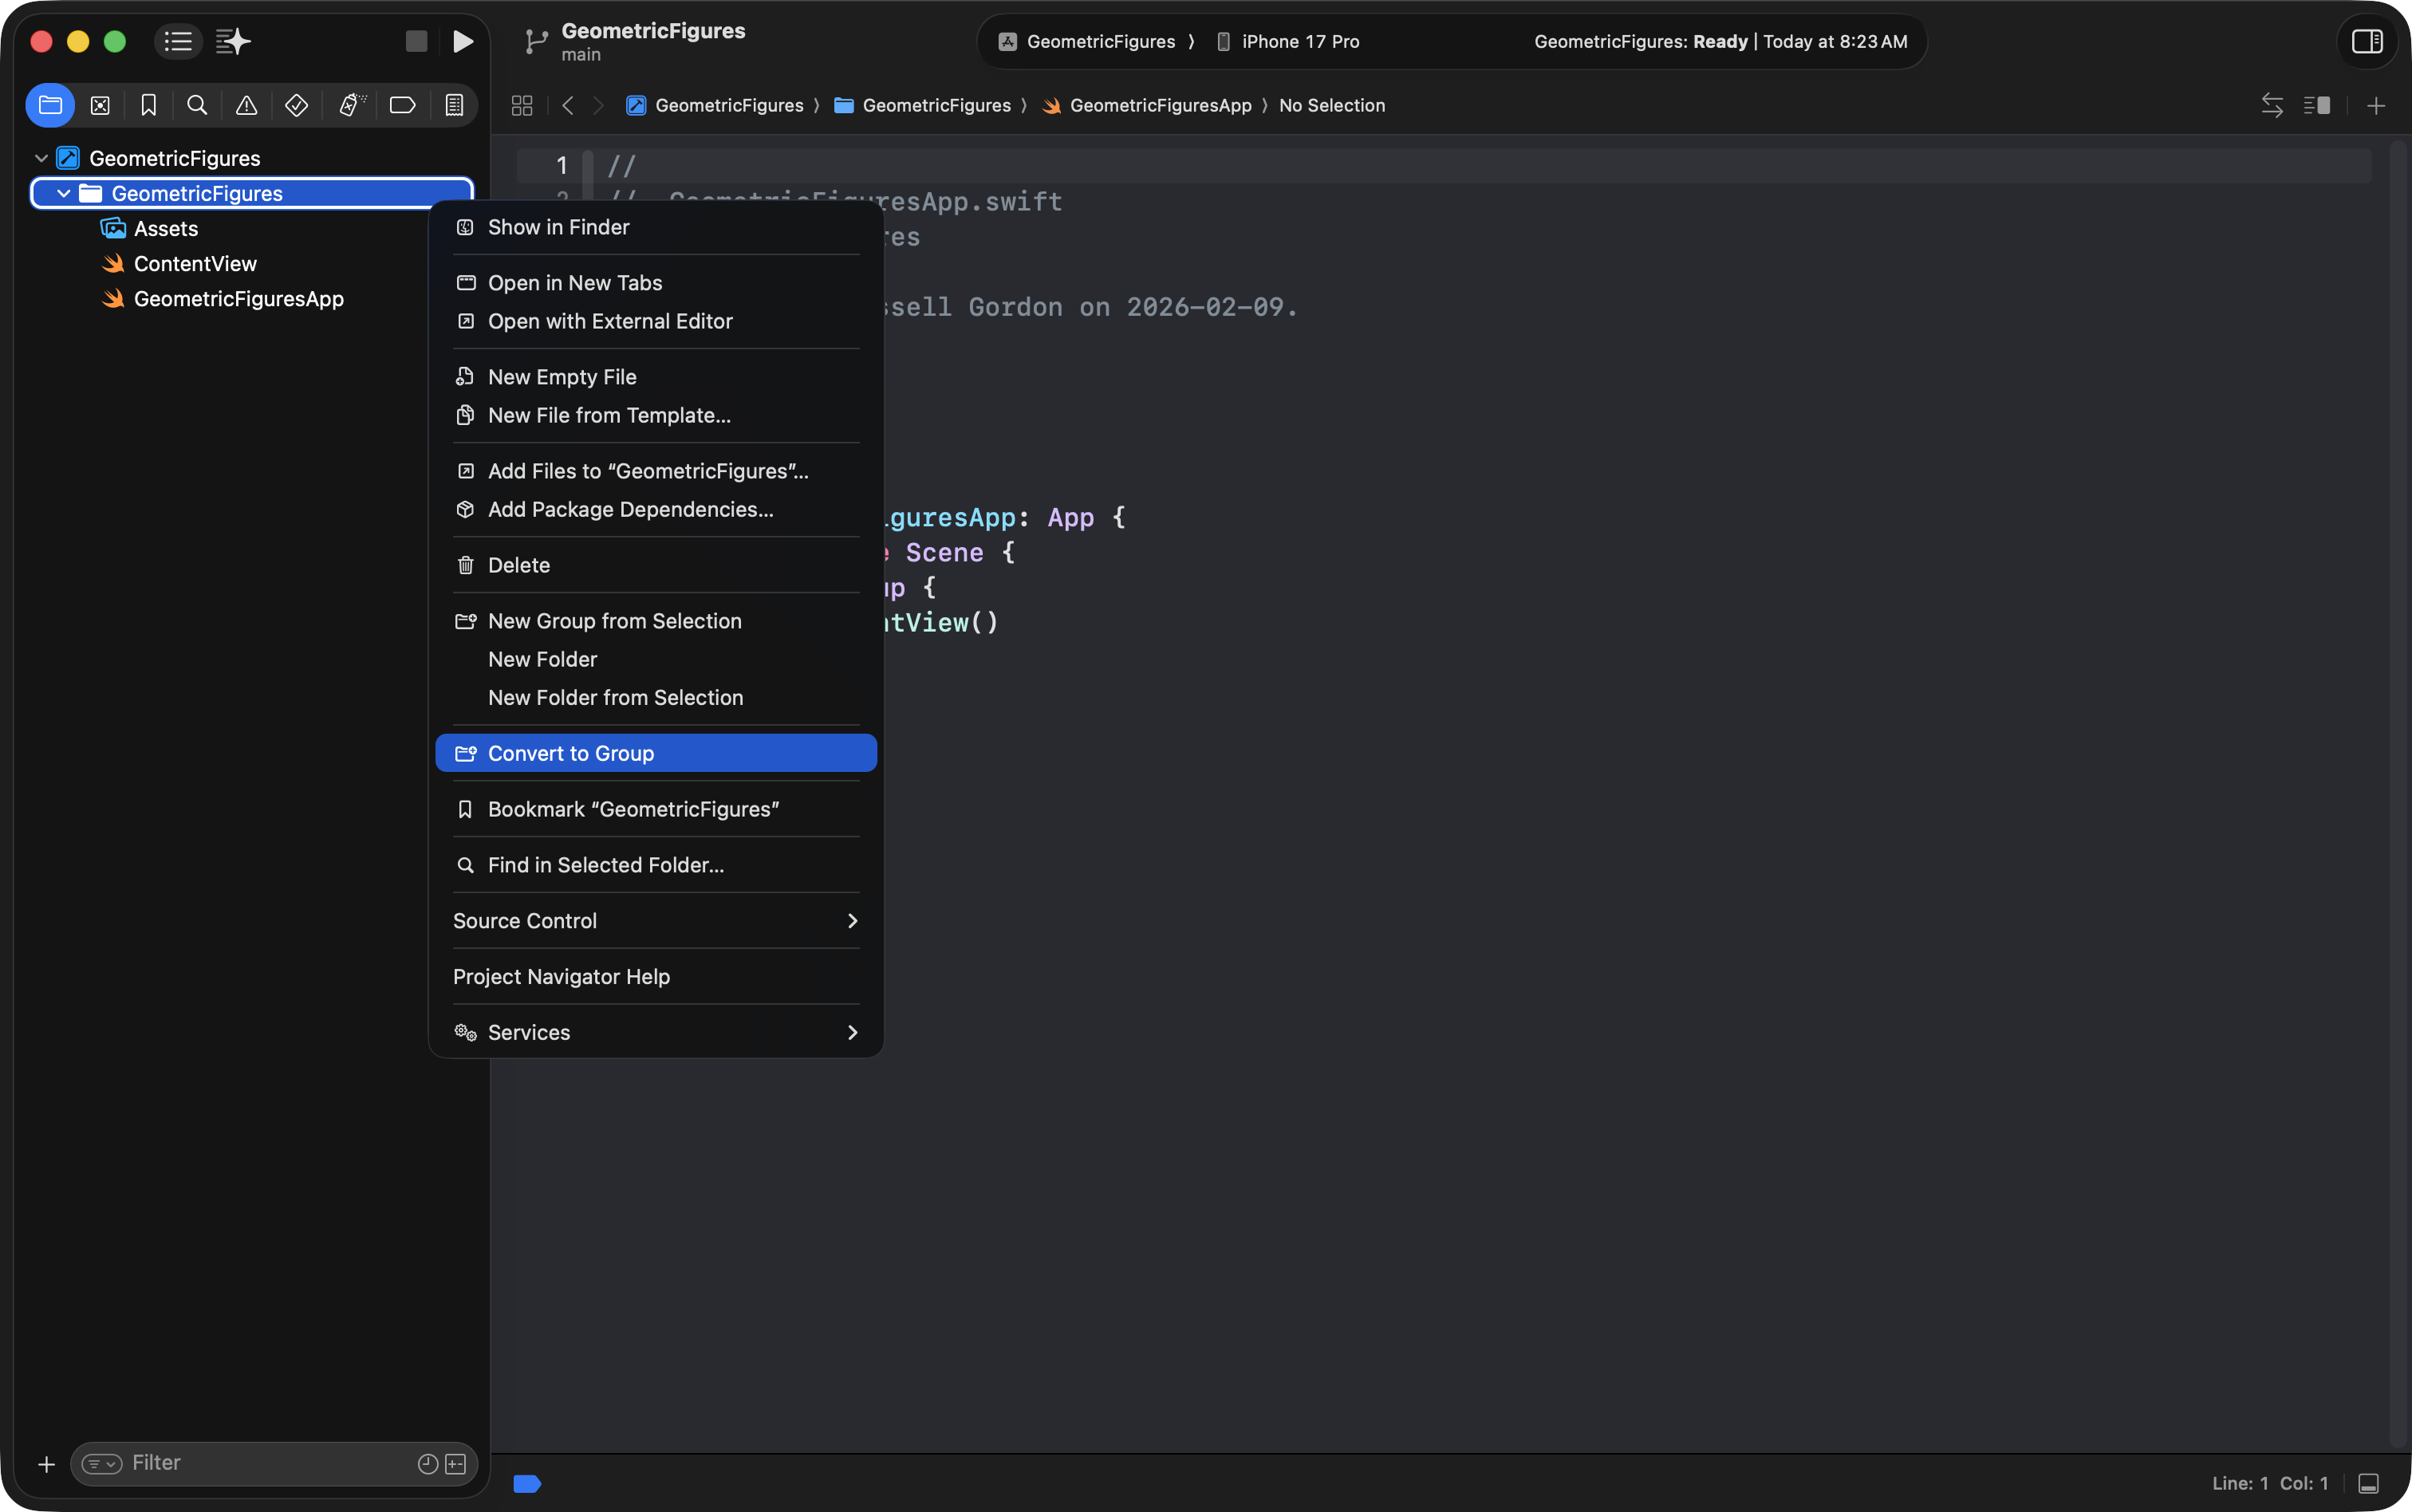
Now you can arrange files and folders the way you like.
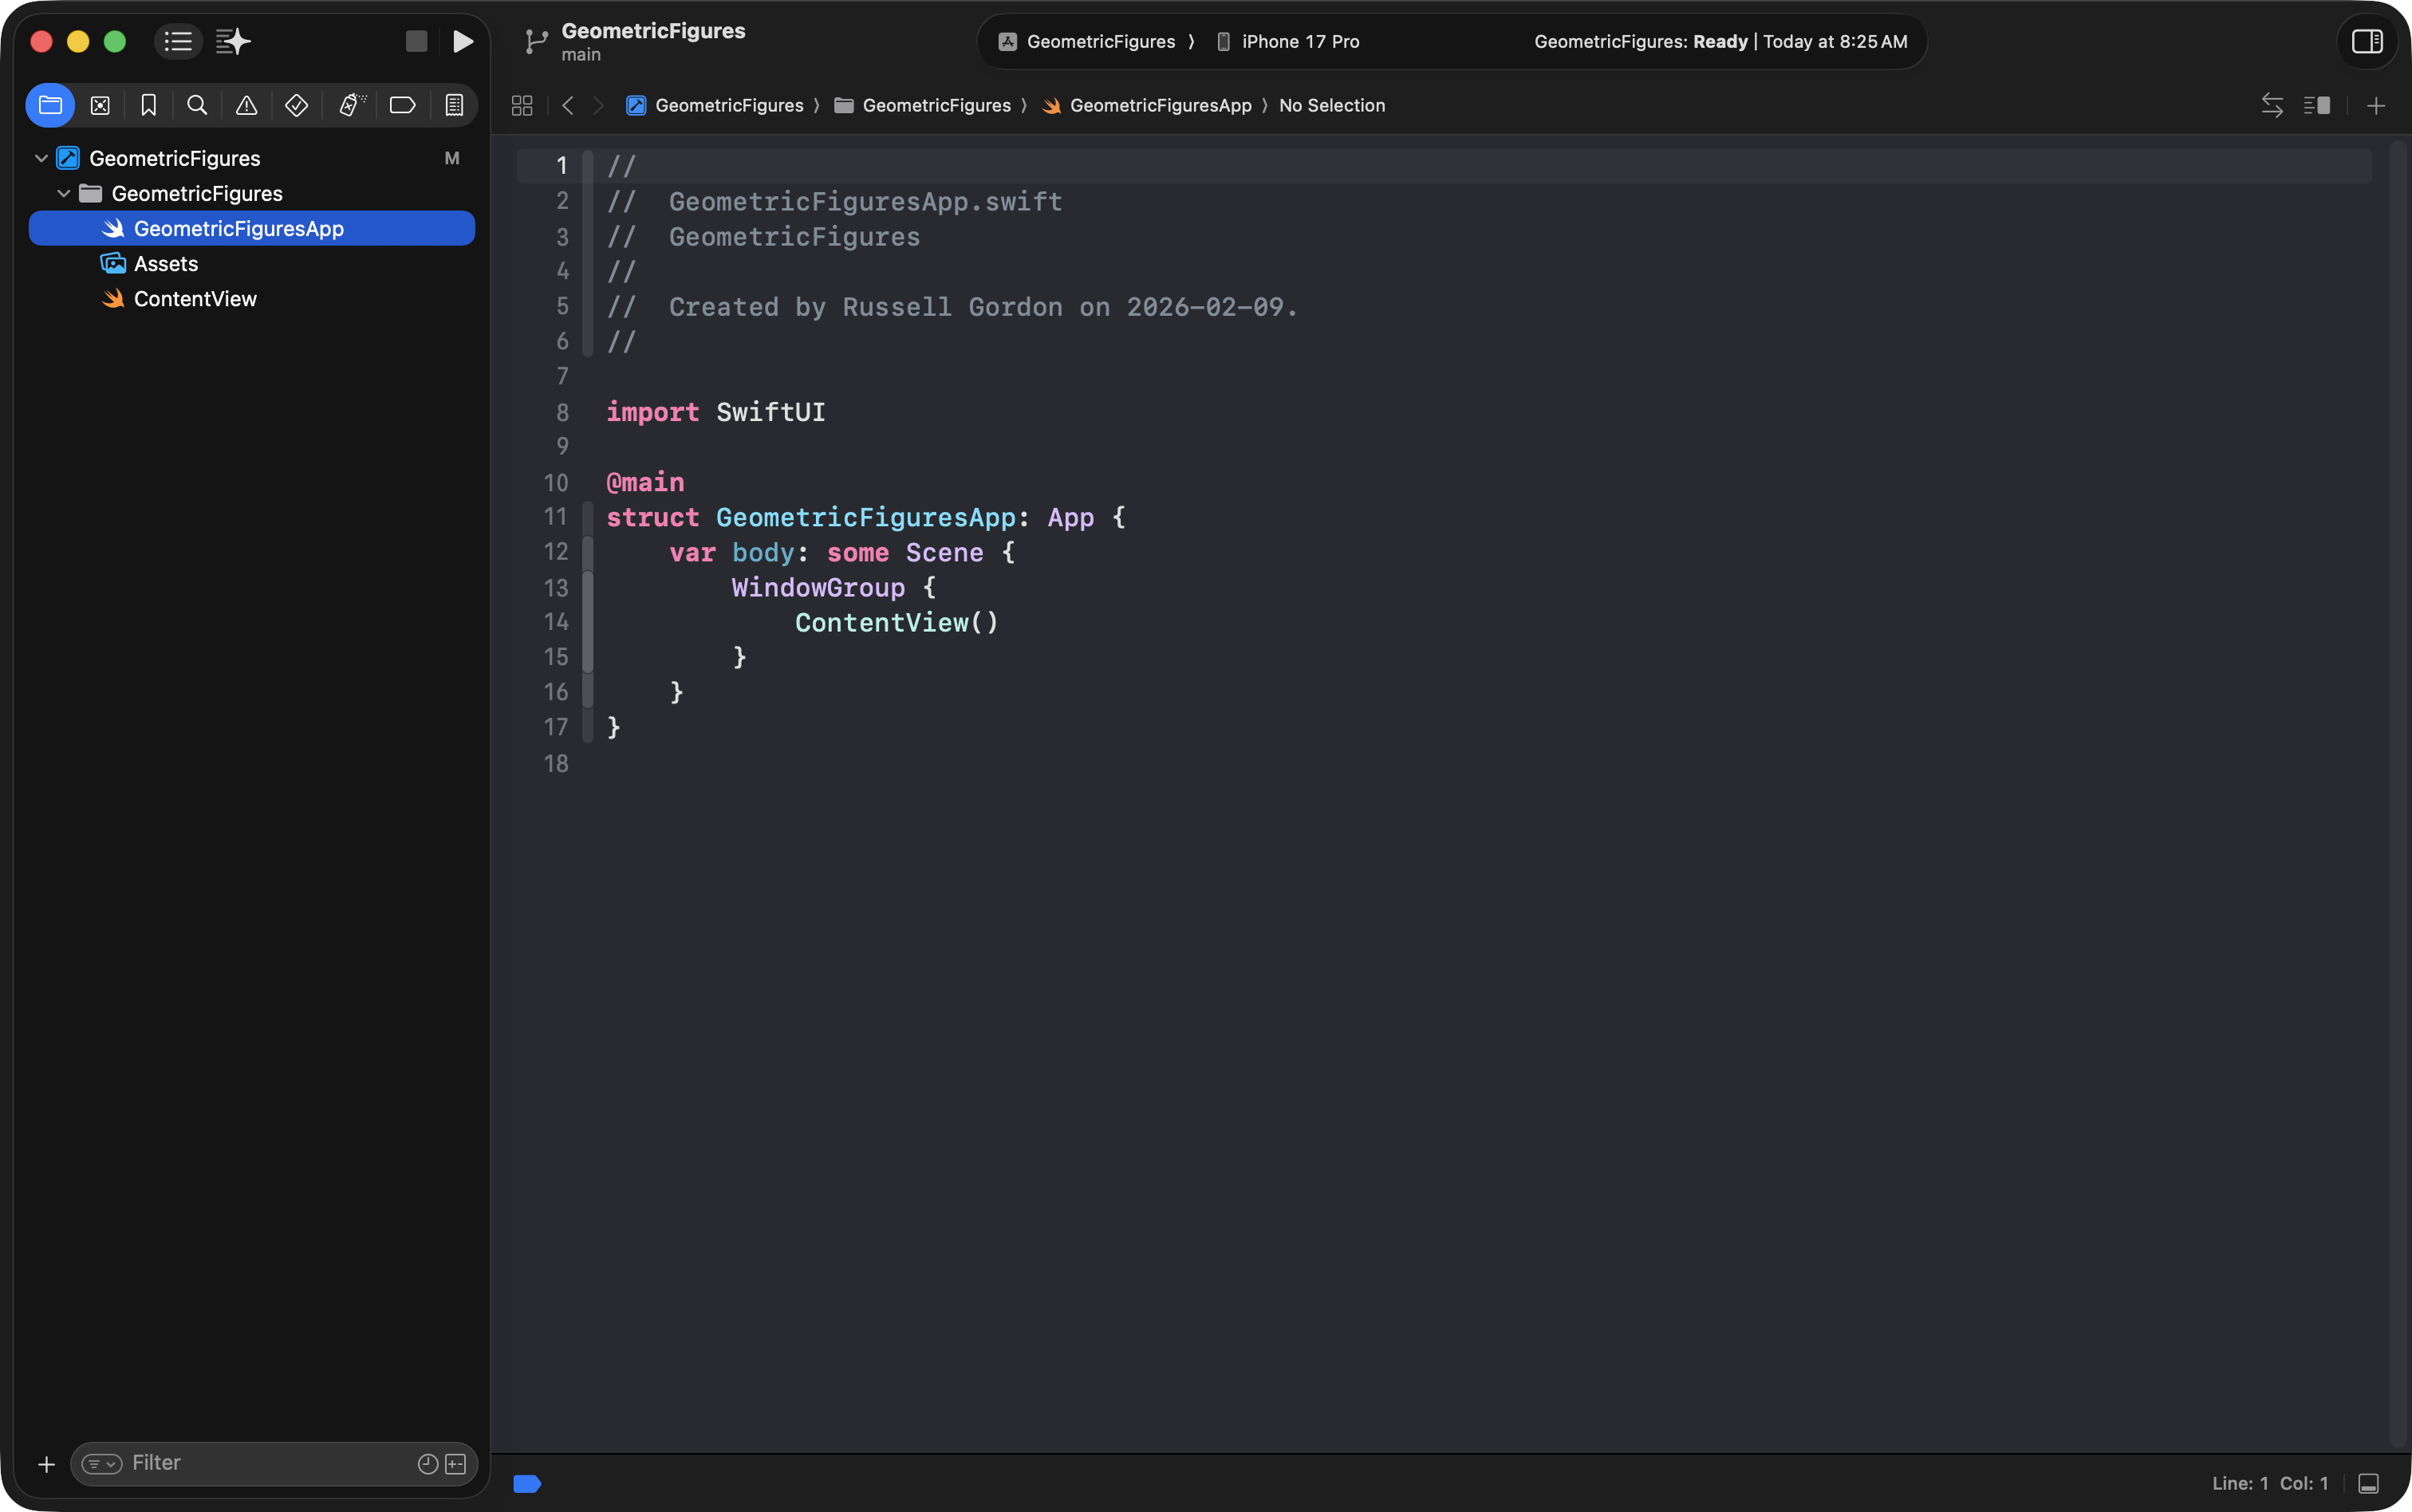
Move the app entry point file
Drag your GeometricFiguresApp.swift so it sits near the top of the project navigator, like this:

The app entry point
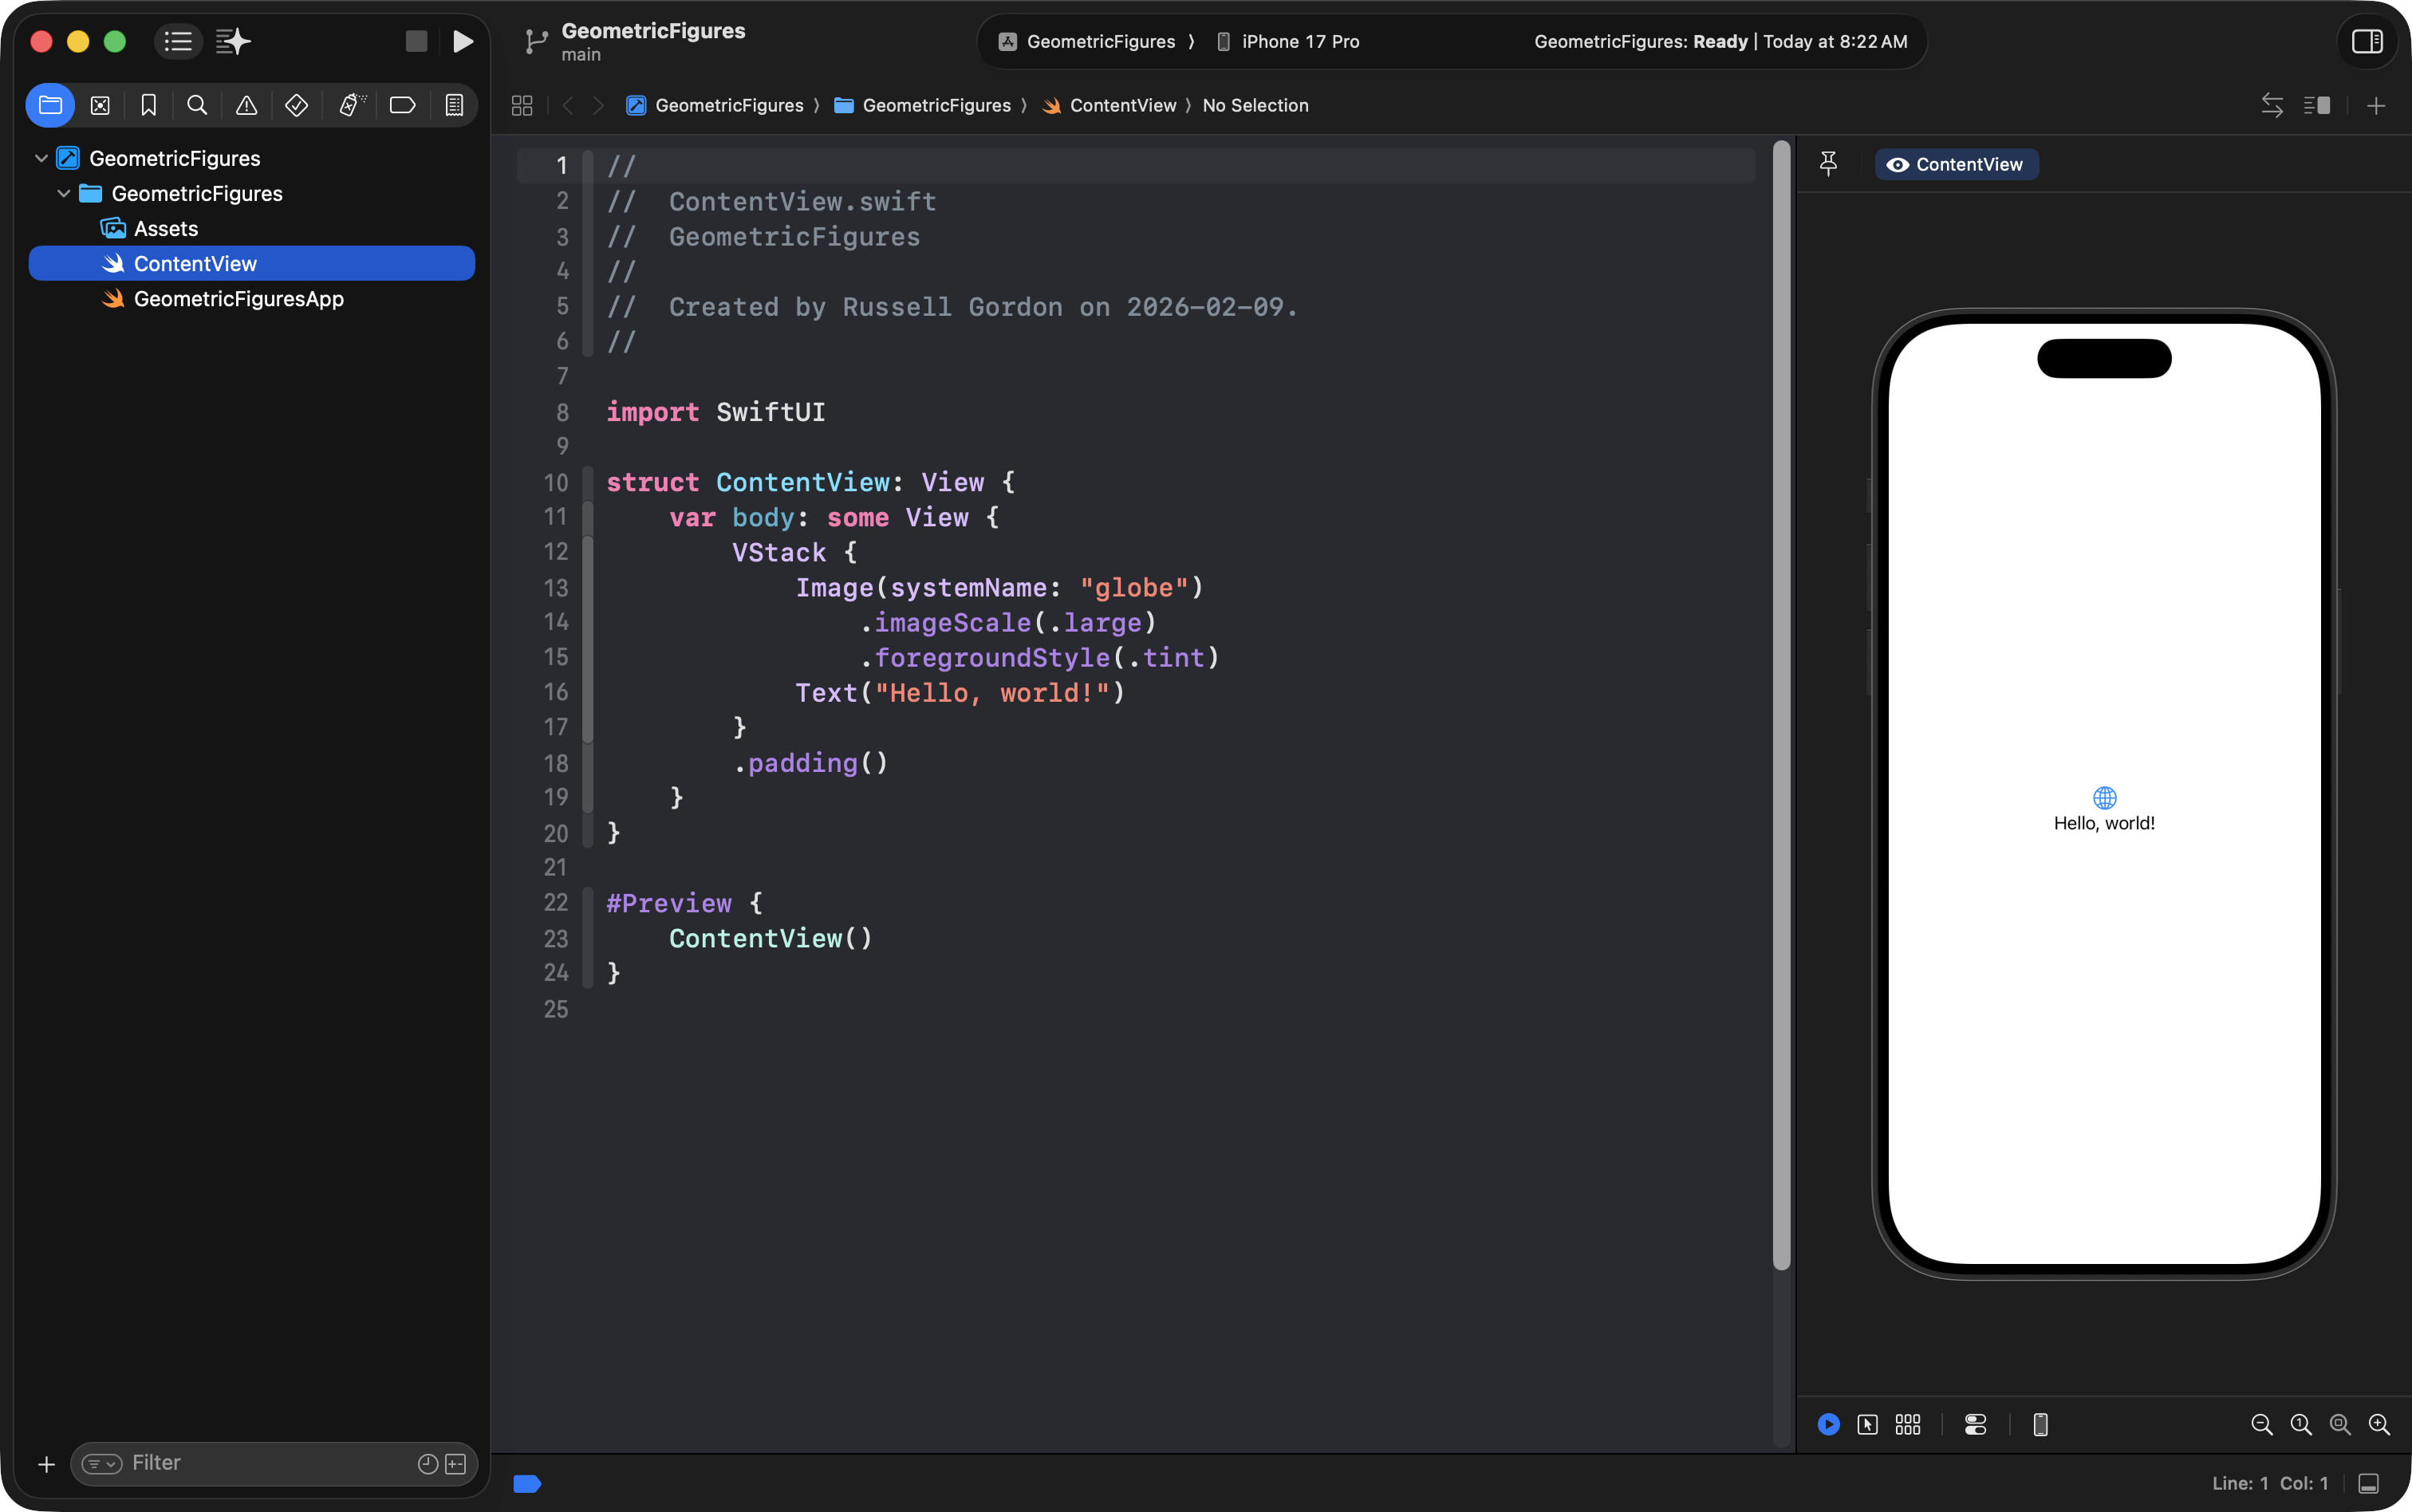
View the file:
GeometricFiguresApp.swift
This file is the entry point to your app:
What does “entry point” mean?
It’s where the app begins. In SwiftUI, the entry point is still just a structure.
You’ll see this:
import SwiftUI

@main
struct GeometricFiguresApp: App {
    var body: some Scene {
        WindowGroup {
            ContentView()
        }
    }
}
A few key ideas:
@mainmarks the entry point.- This structure conforms to the
Appprotocol. - The
Appprotocol rule is:
A structure that conforms to
Appmust provide a computed property namedbodythat returns some kind of Scene.
In this case, the scene is a WindowGroup.
On an iPad, an app can have multiple scenes open at a time. For example, here is Musicals @ LCS running two different scenes showing two different musicals:
_11.0_2026-02-09_08.32.11-2.png)
On an iPhone, only one scene will ever be visible at a time.
What is WindowGroup?
A WindowGroup is basically the “window” that shows your interface.
Inside the WindowGroup, we create one view to show first.
In the starting template that Xcode provides, that view is always ContentView():
import SwiftUI

@main
struct GeometricFiguresApp: App {
    var body: some Scene {
        WindowGroup {
            ContentView()
        }
    }
}
Use descriptive naming
ContentView is a perfectly fine starting point, but it’s also very generic.
In this course, we want our code to be descriptive.
So, we’re going to delete ContentView.swift and replace it with a view named CircleView.
Delete ContentView.swift
- Two-finger tap
ContentView.swift - Choose Delete
- Choose Move to Trash
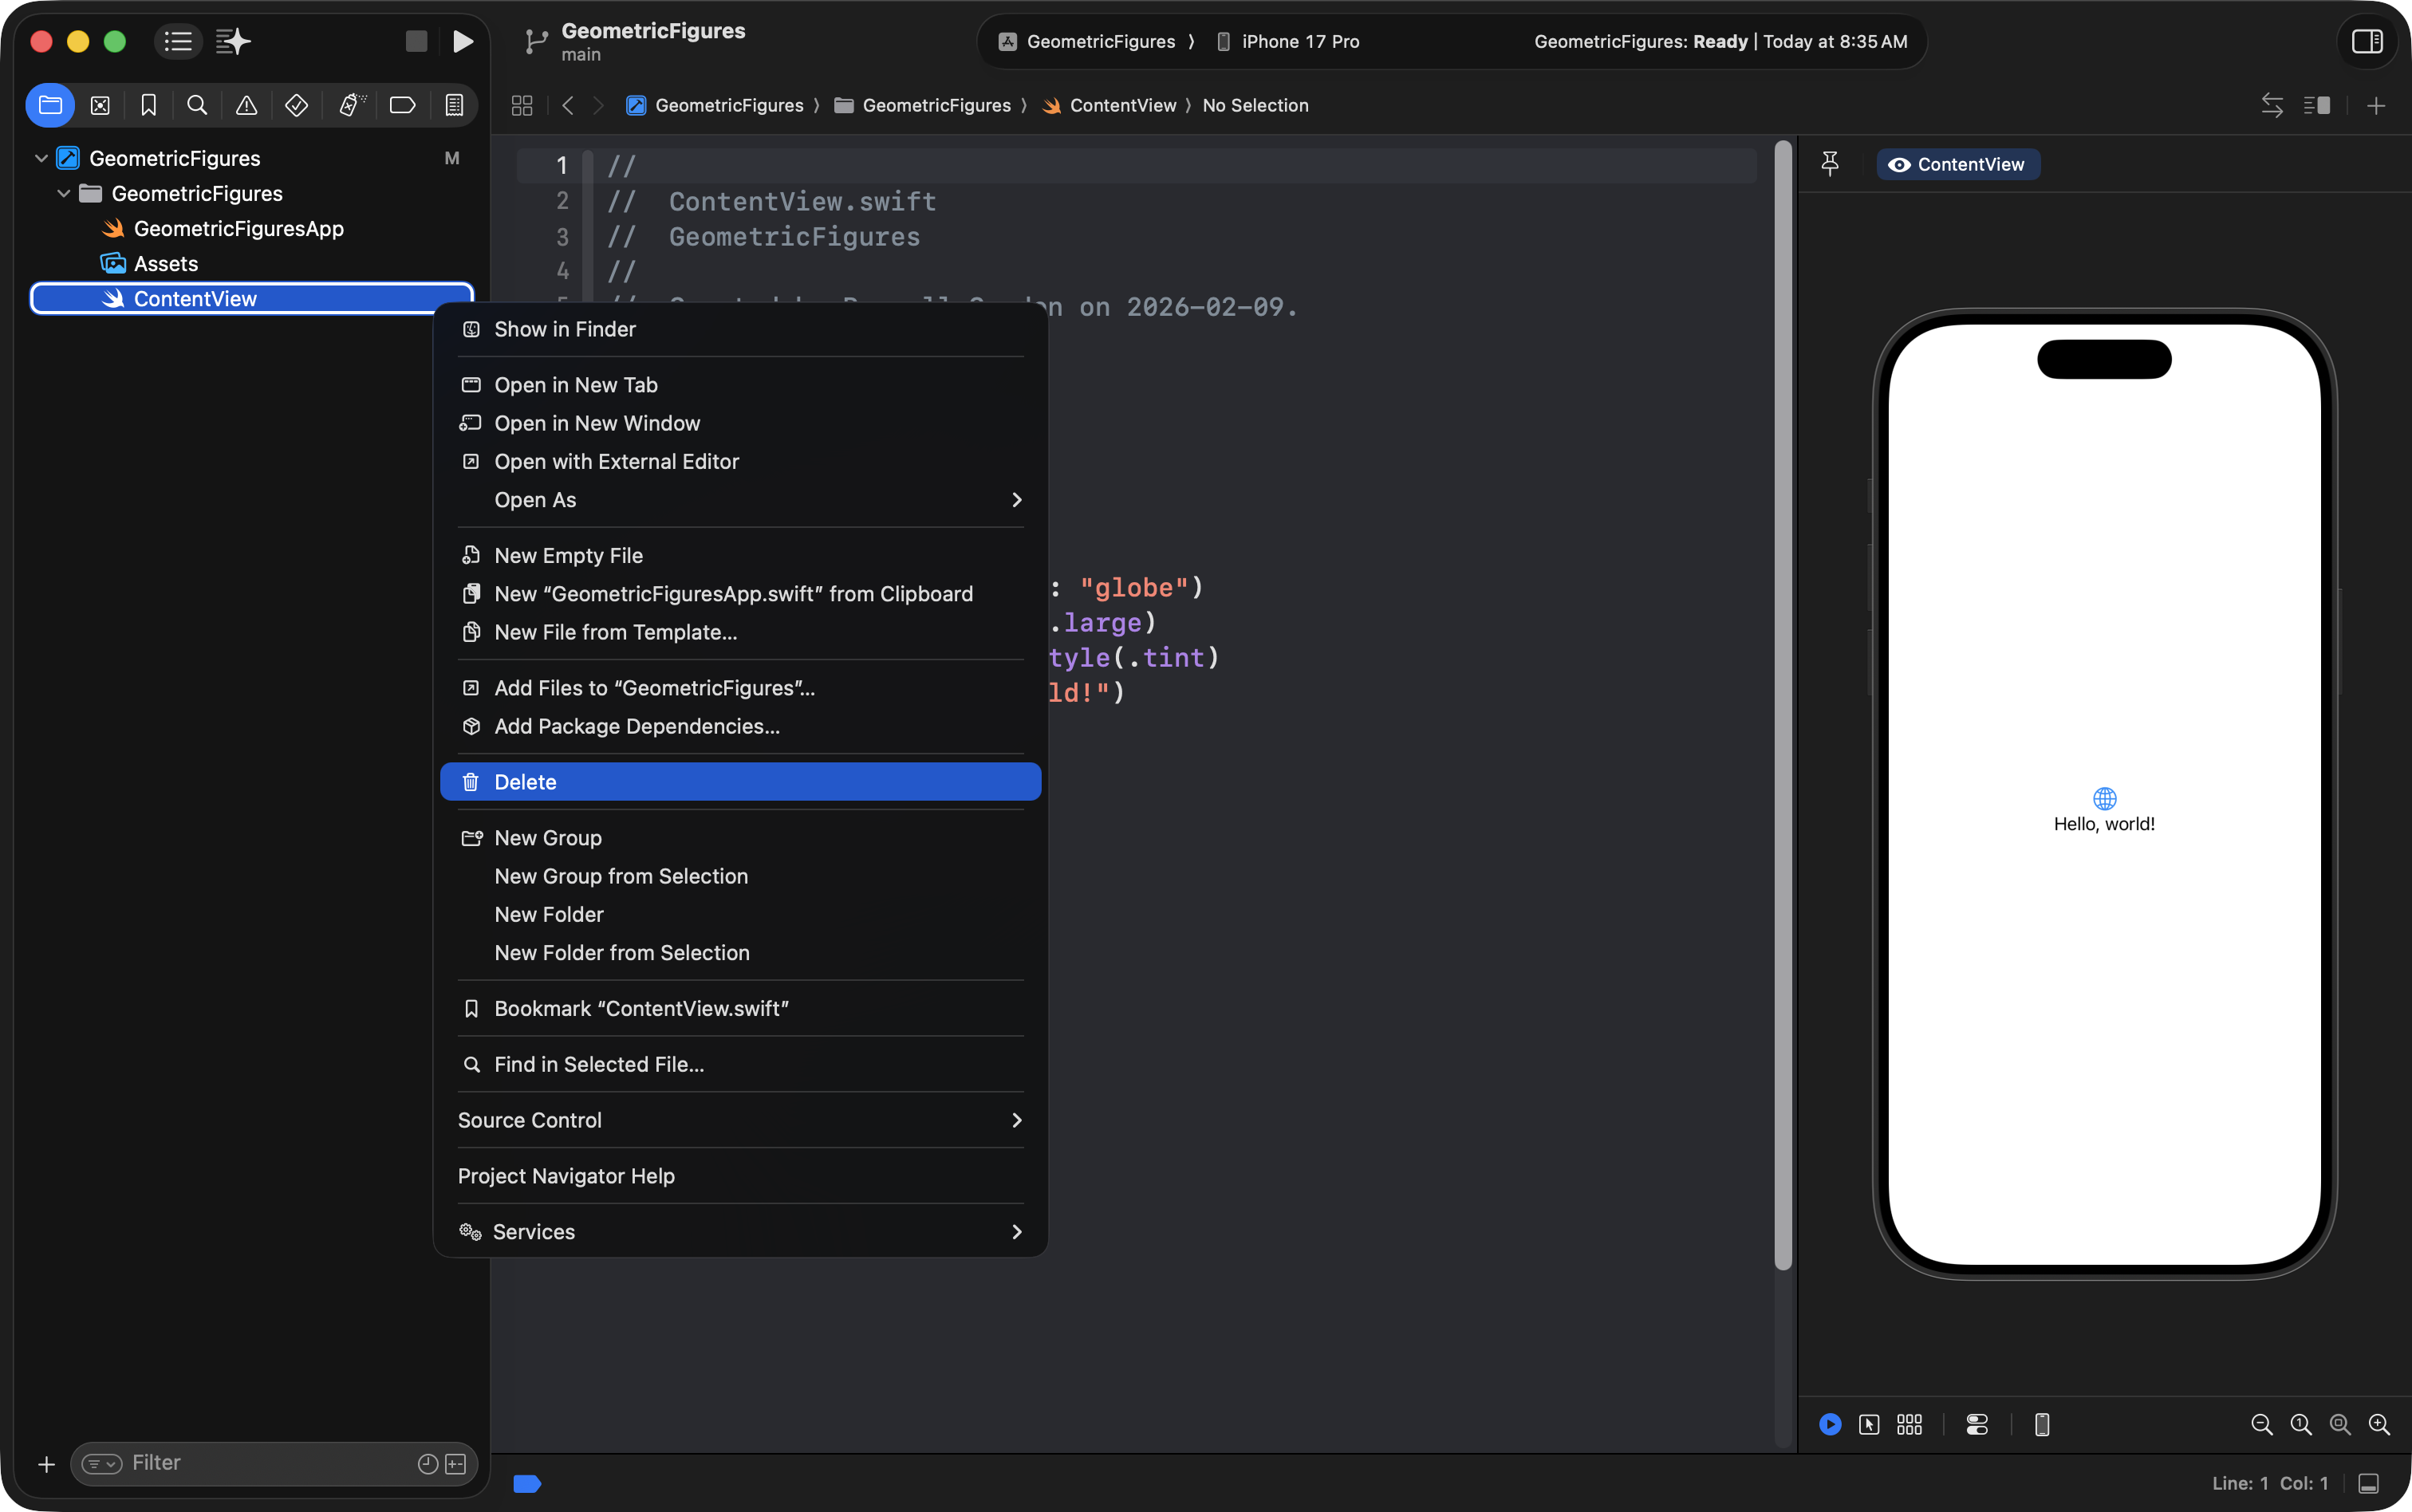
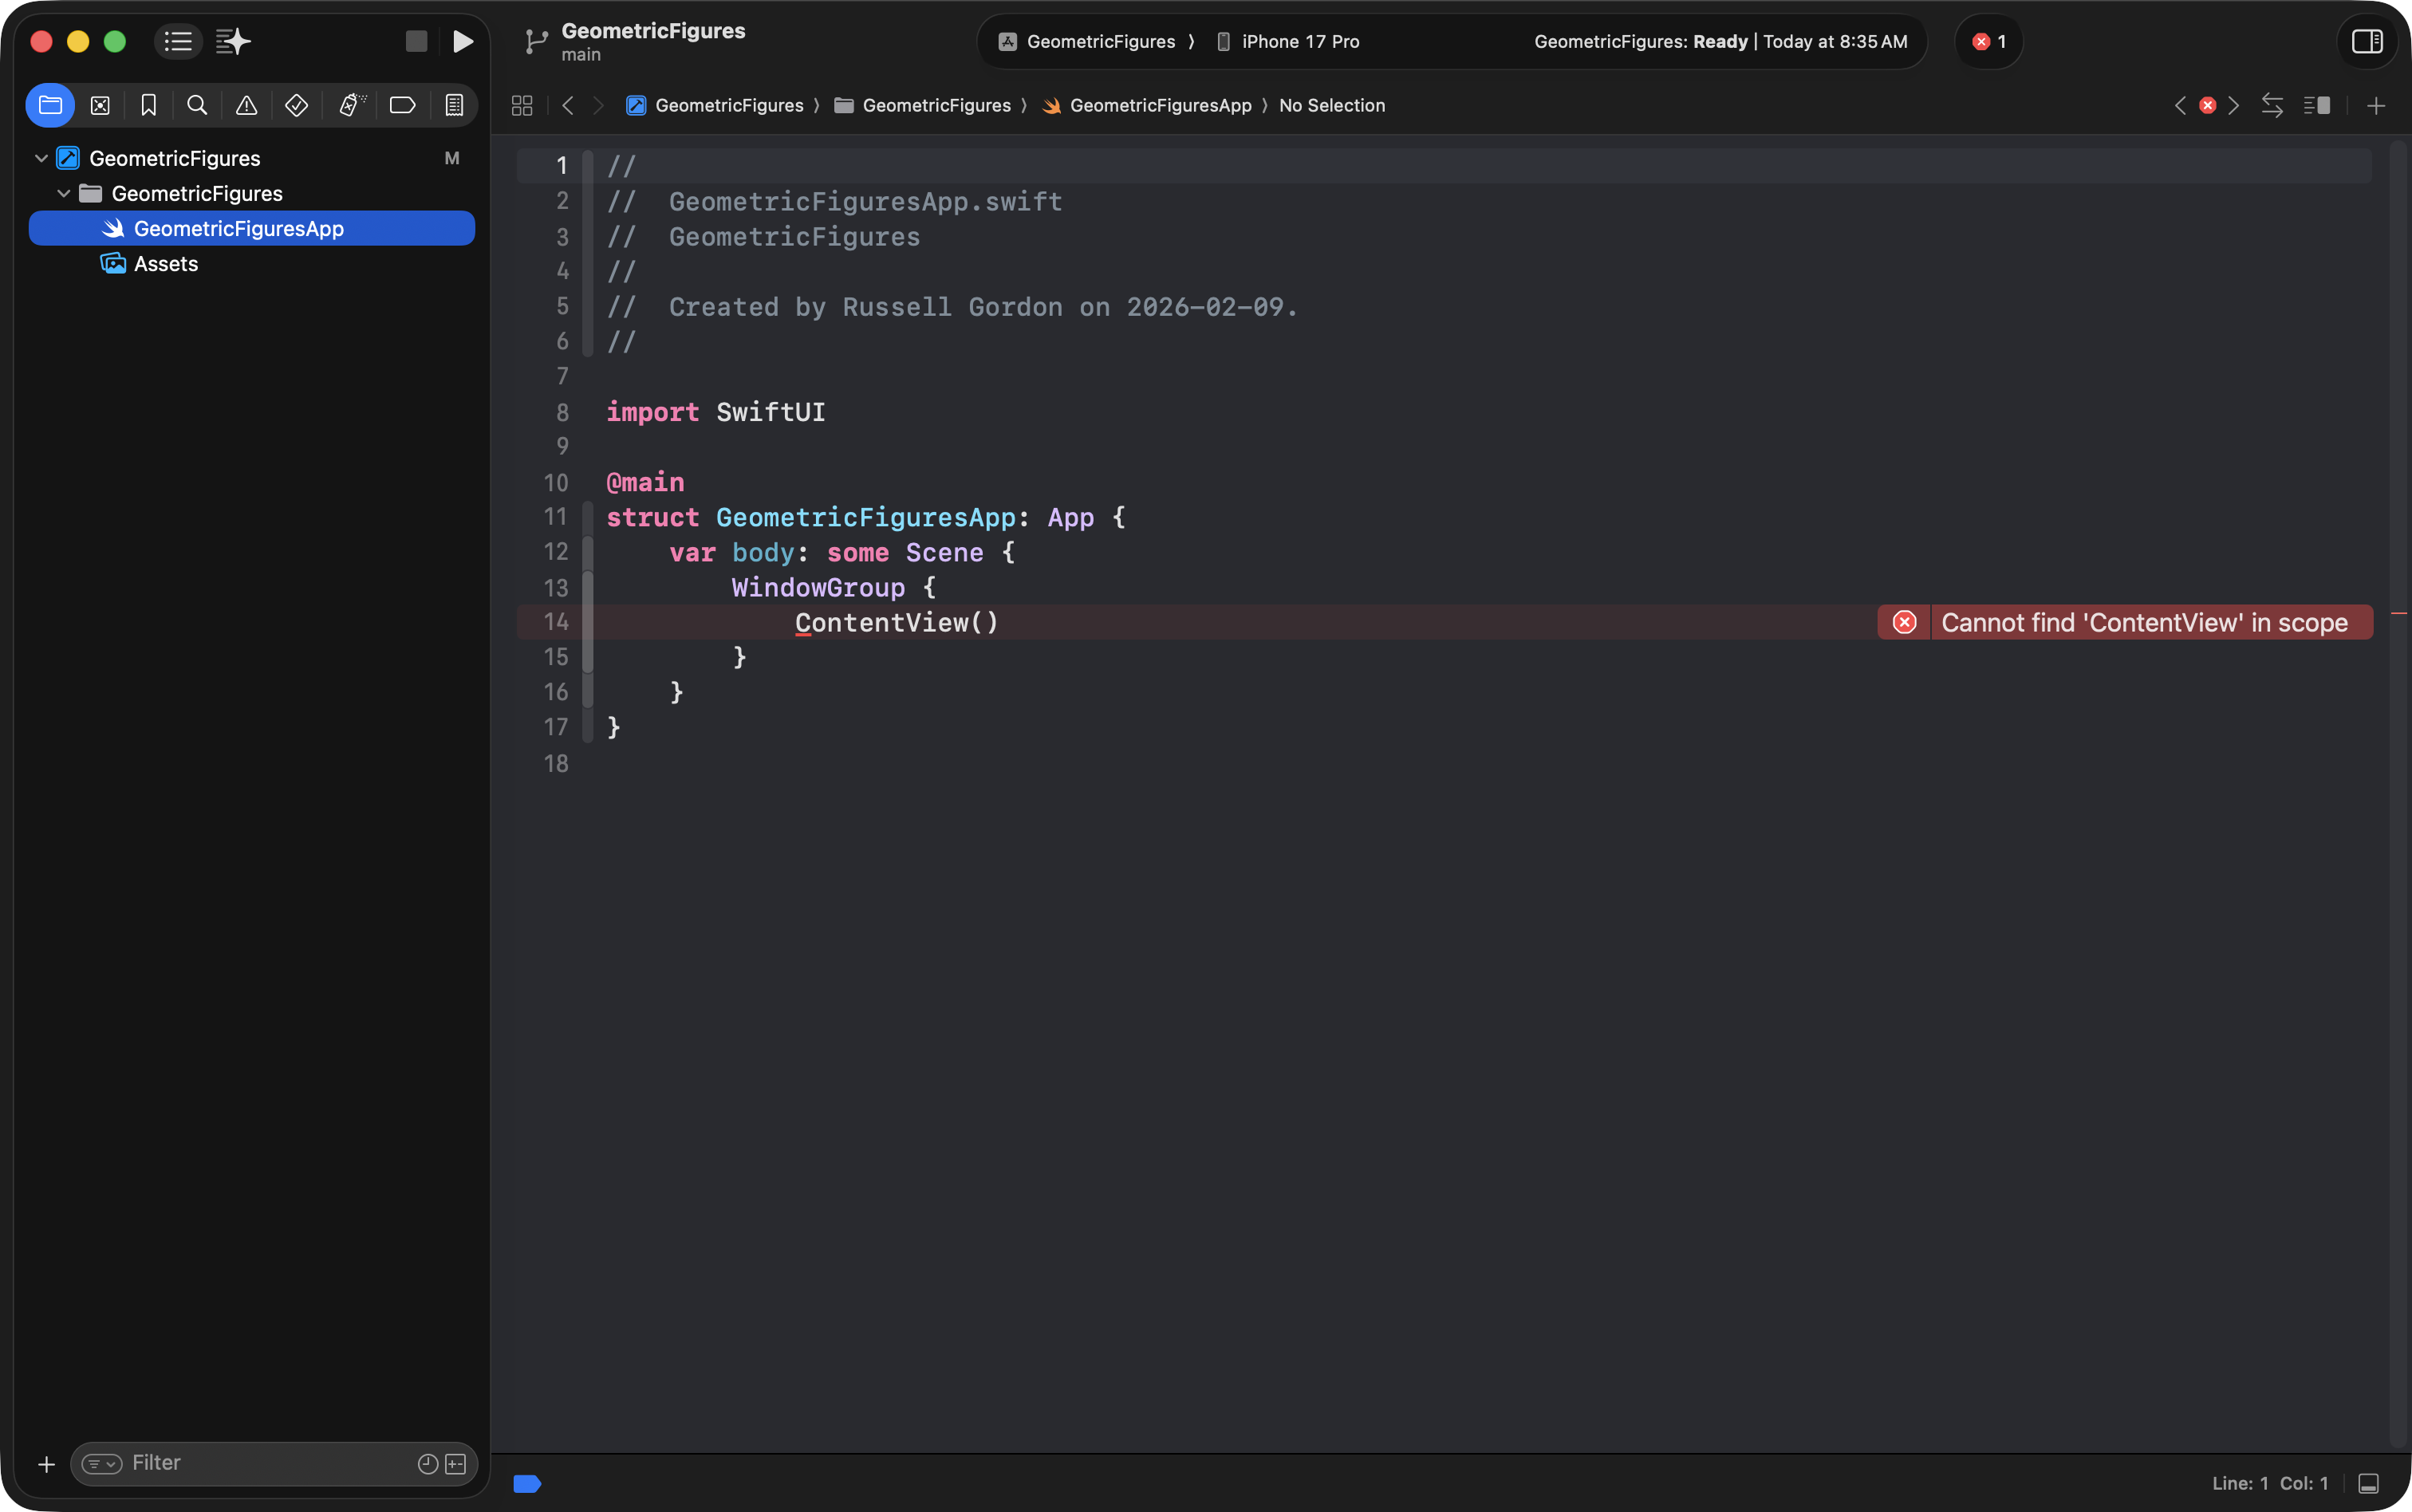
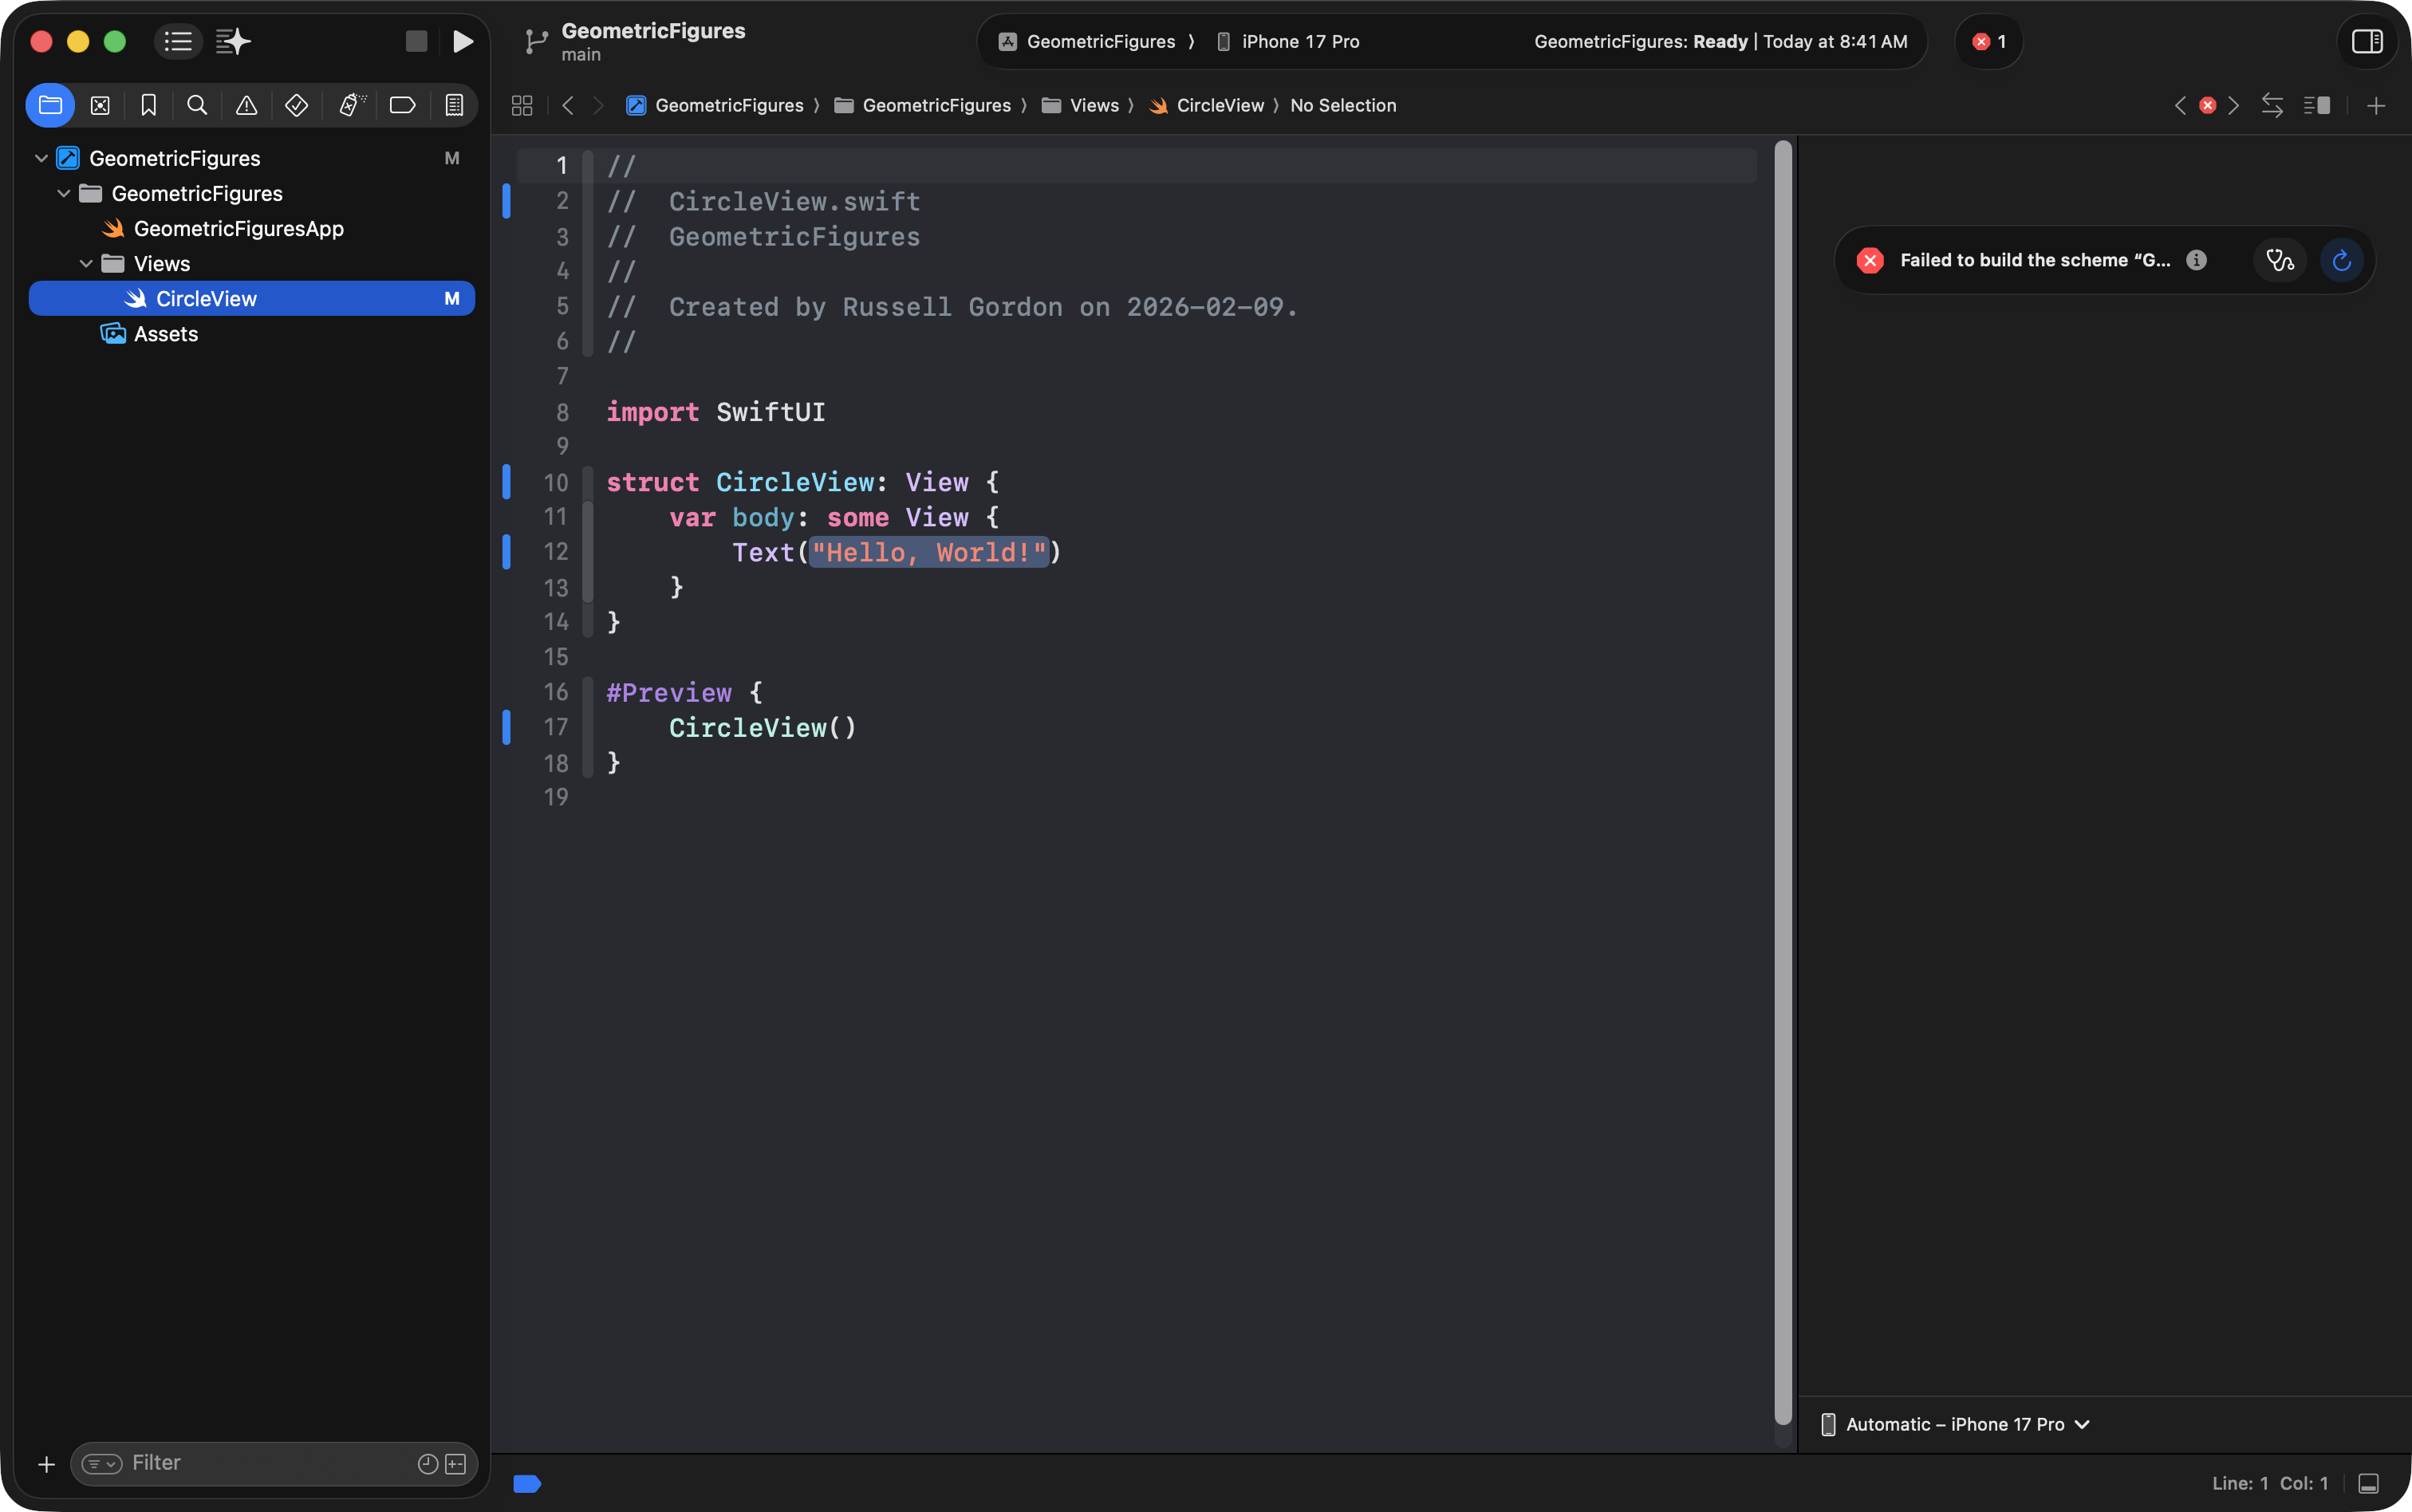
As soon as you do this, you’ll get a compiler error:
Cannot find
ContentViewin scope
That makes sense, right? The app entry point file is still trying to create ContentView()… but you just deleted it.
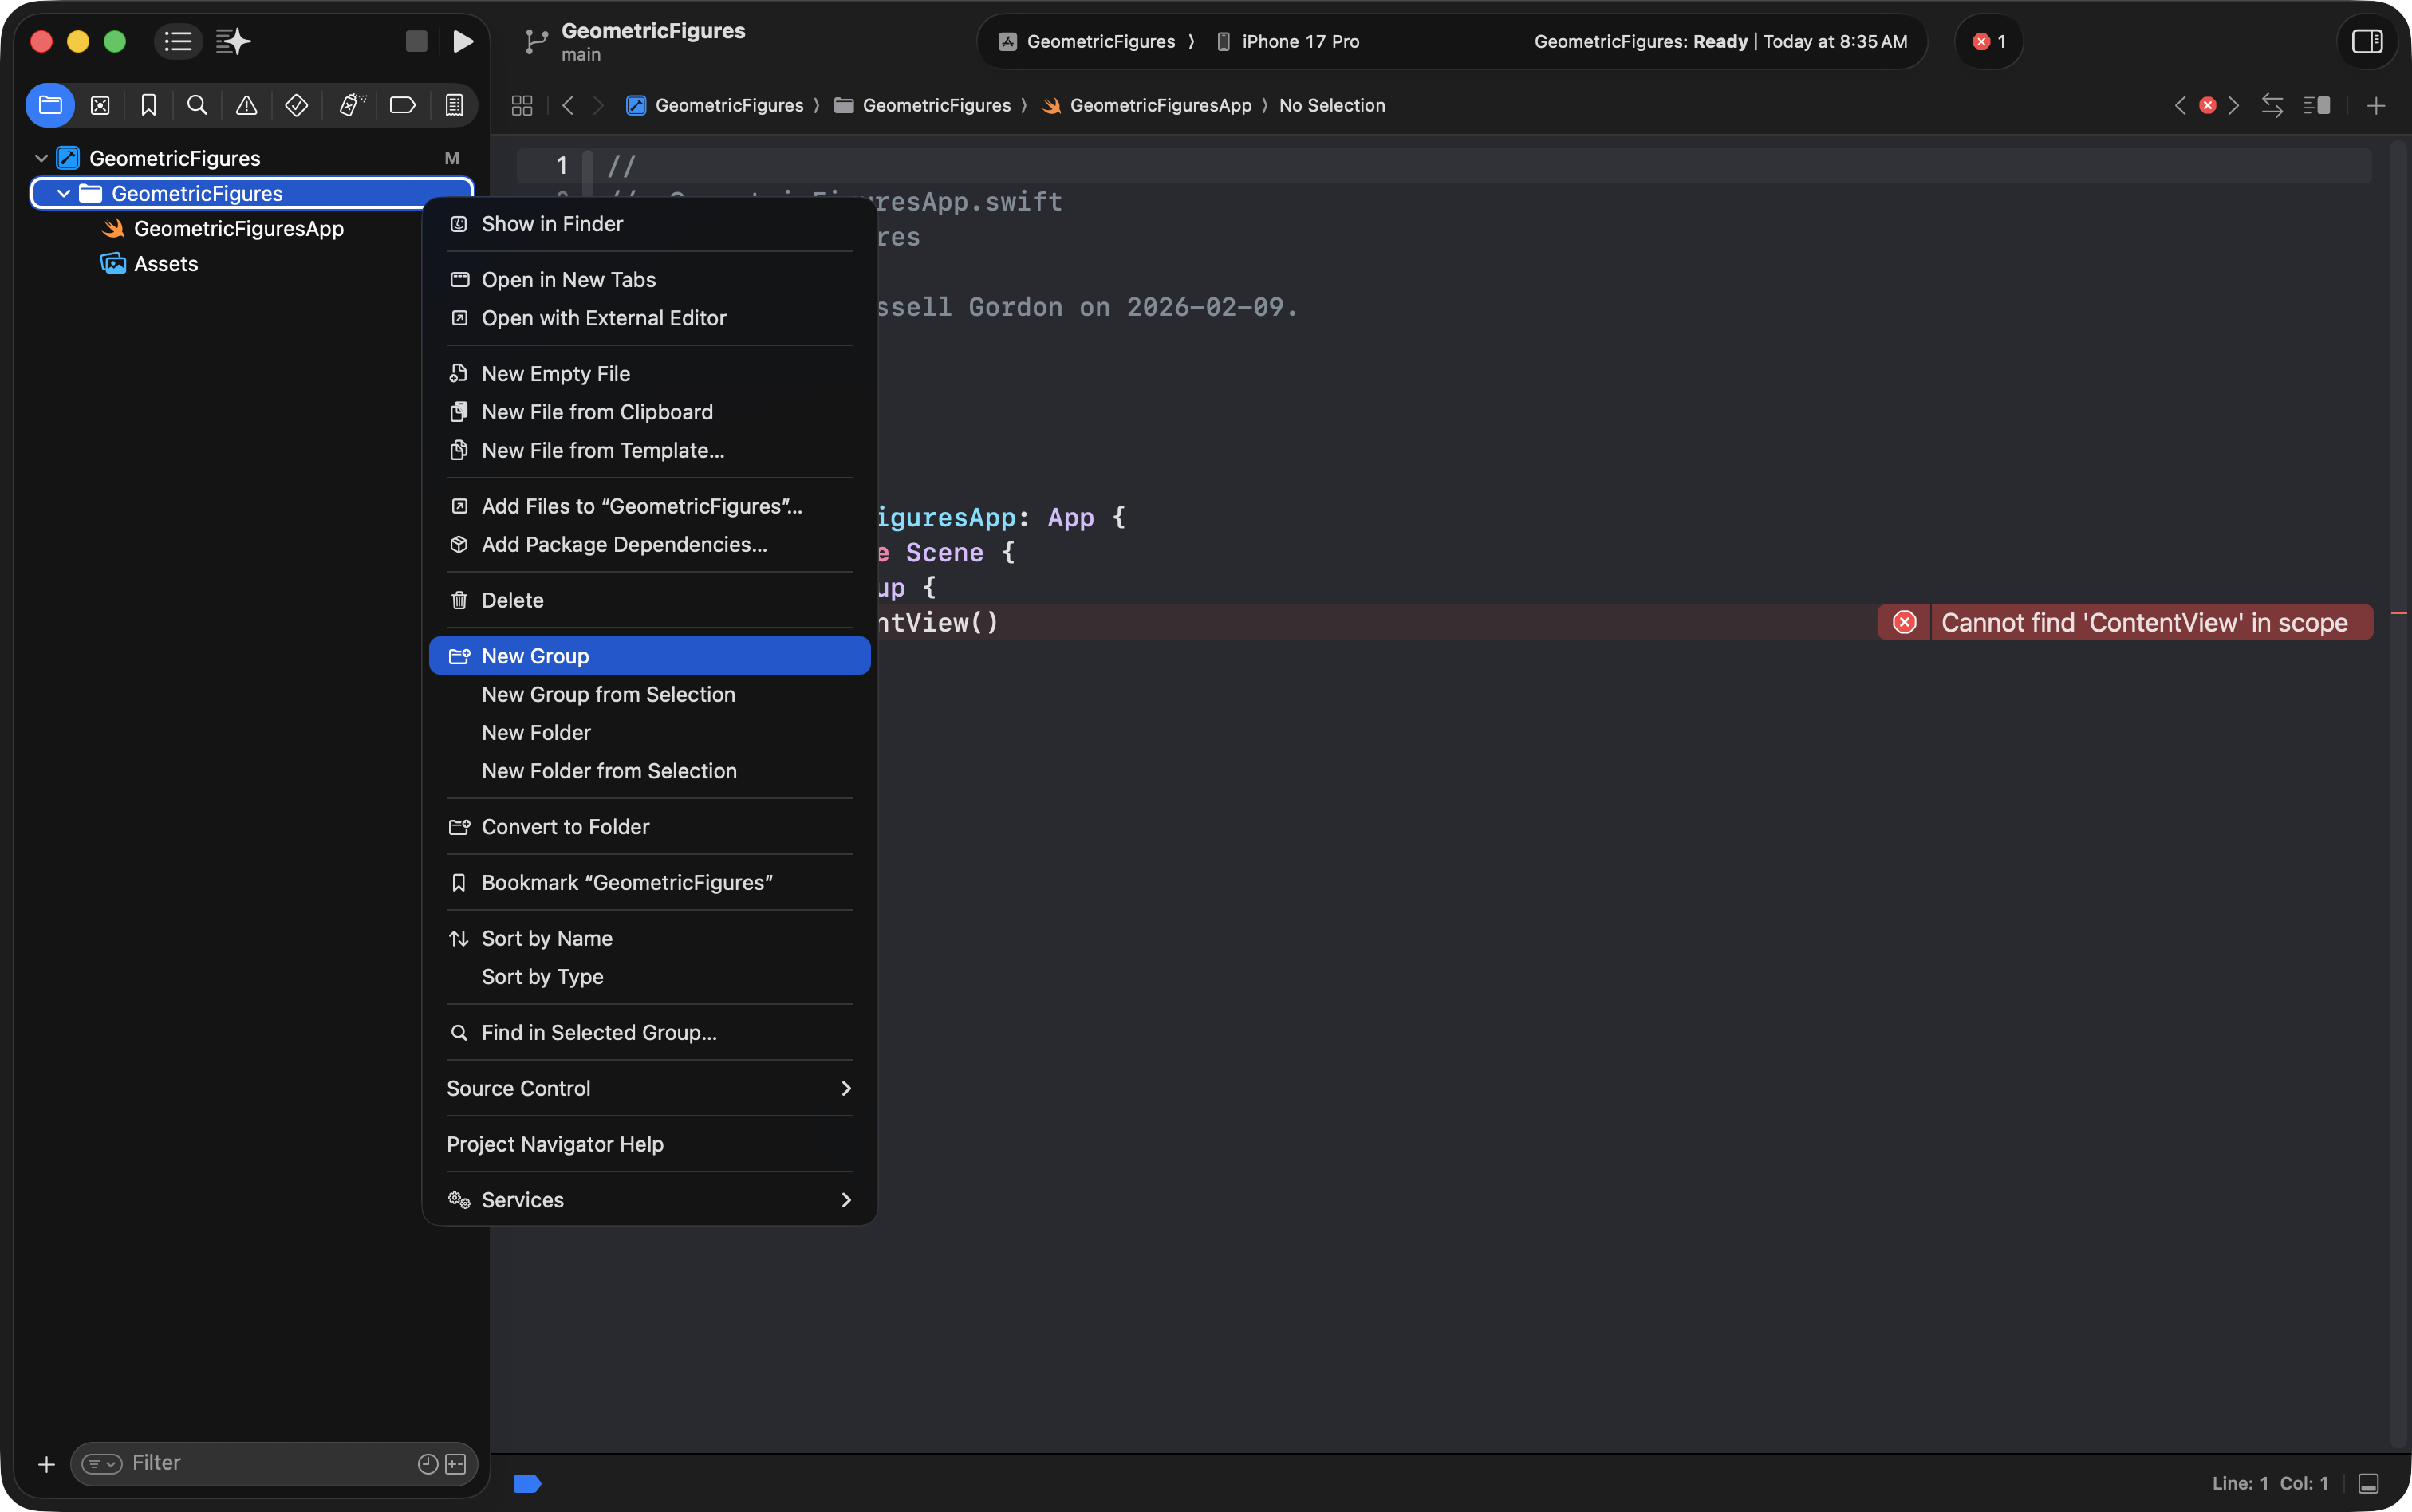
Create a new group
Make a Views group
- Two-finger tap on the
GeometricFiguresgroup in the navigator - Choose New Group
- Name it:
Views
Now drag your app entry point file back to the top (so it’s easy to locate), and keep Views underneath:
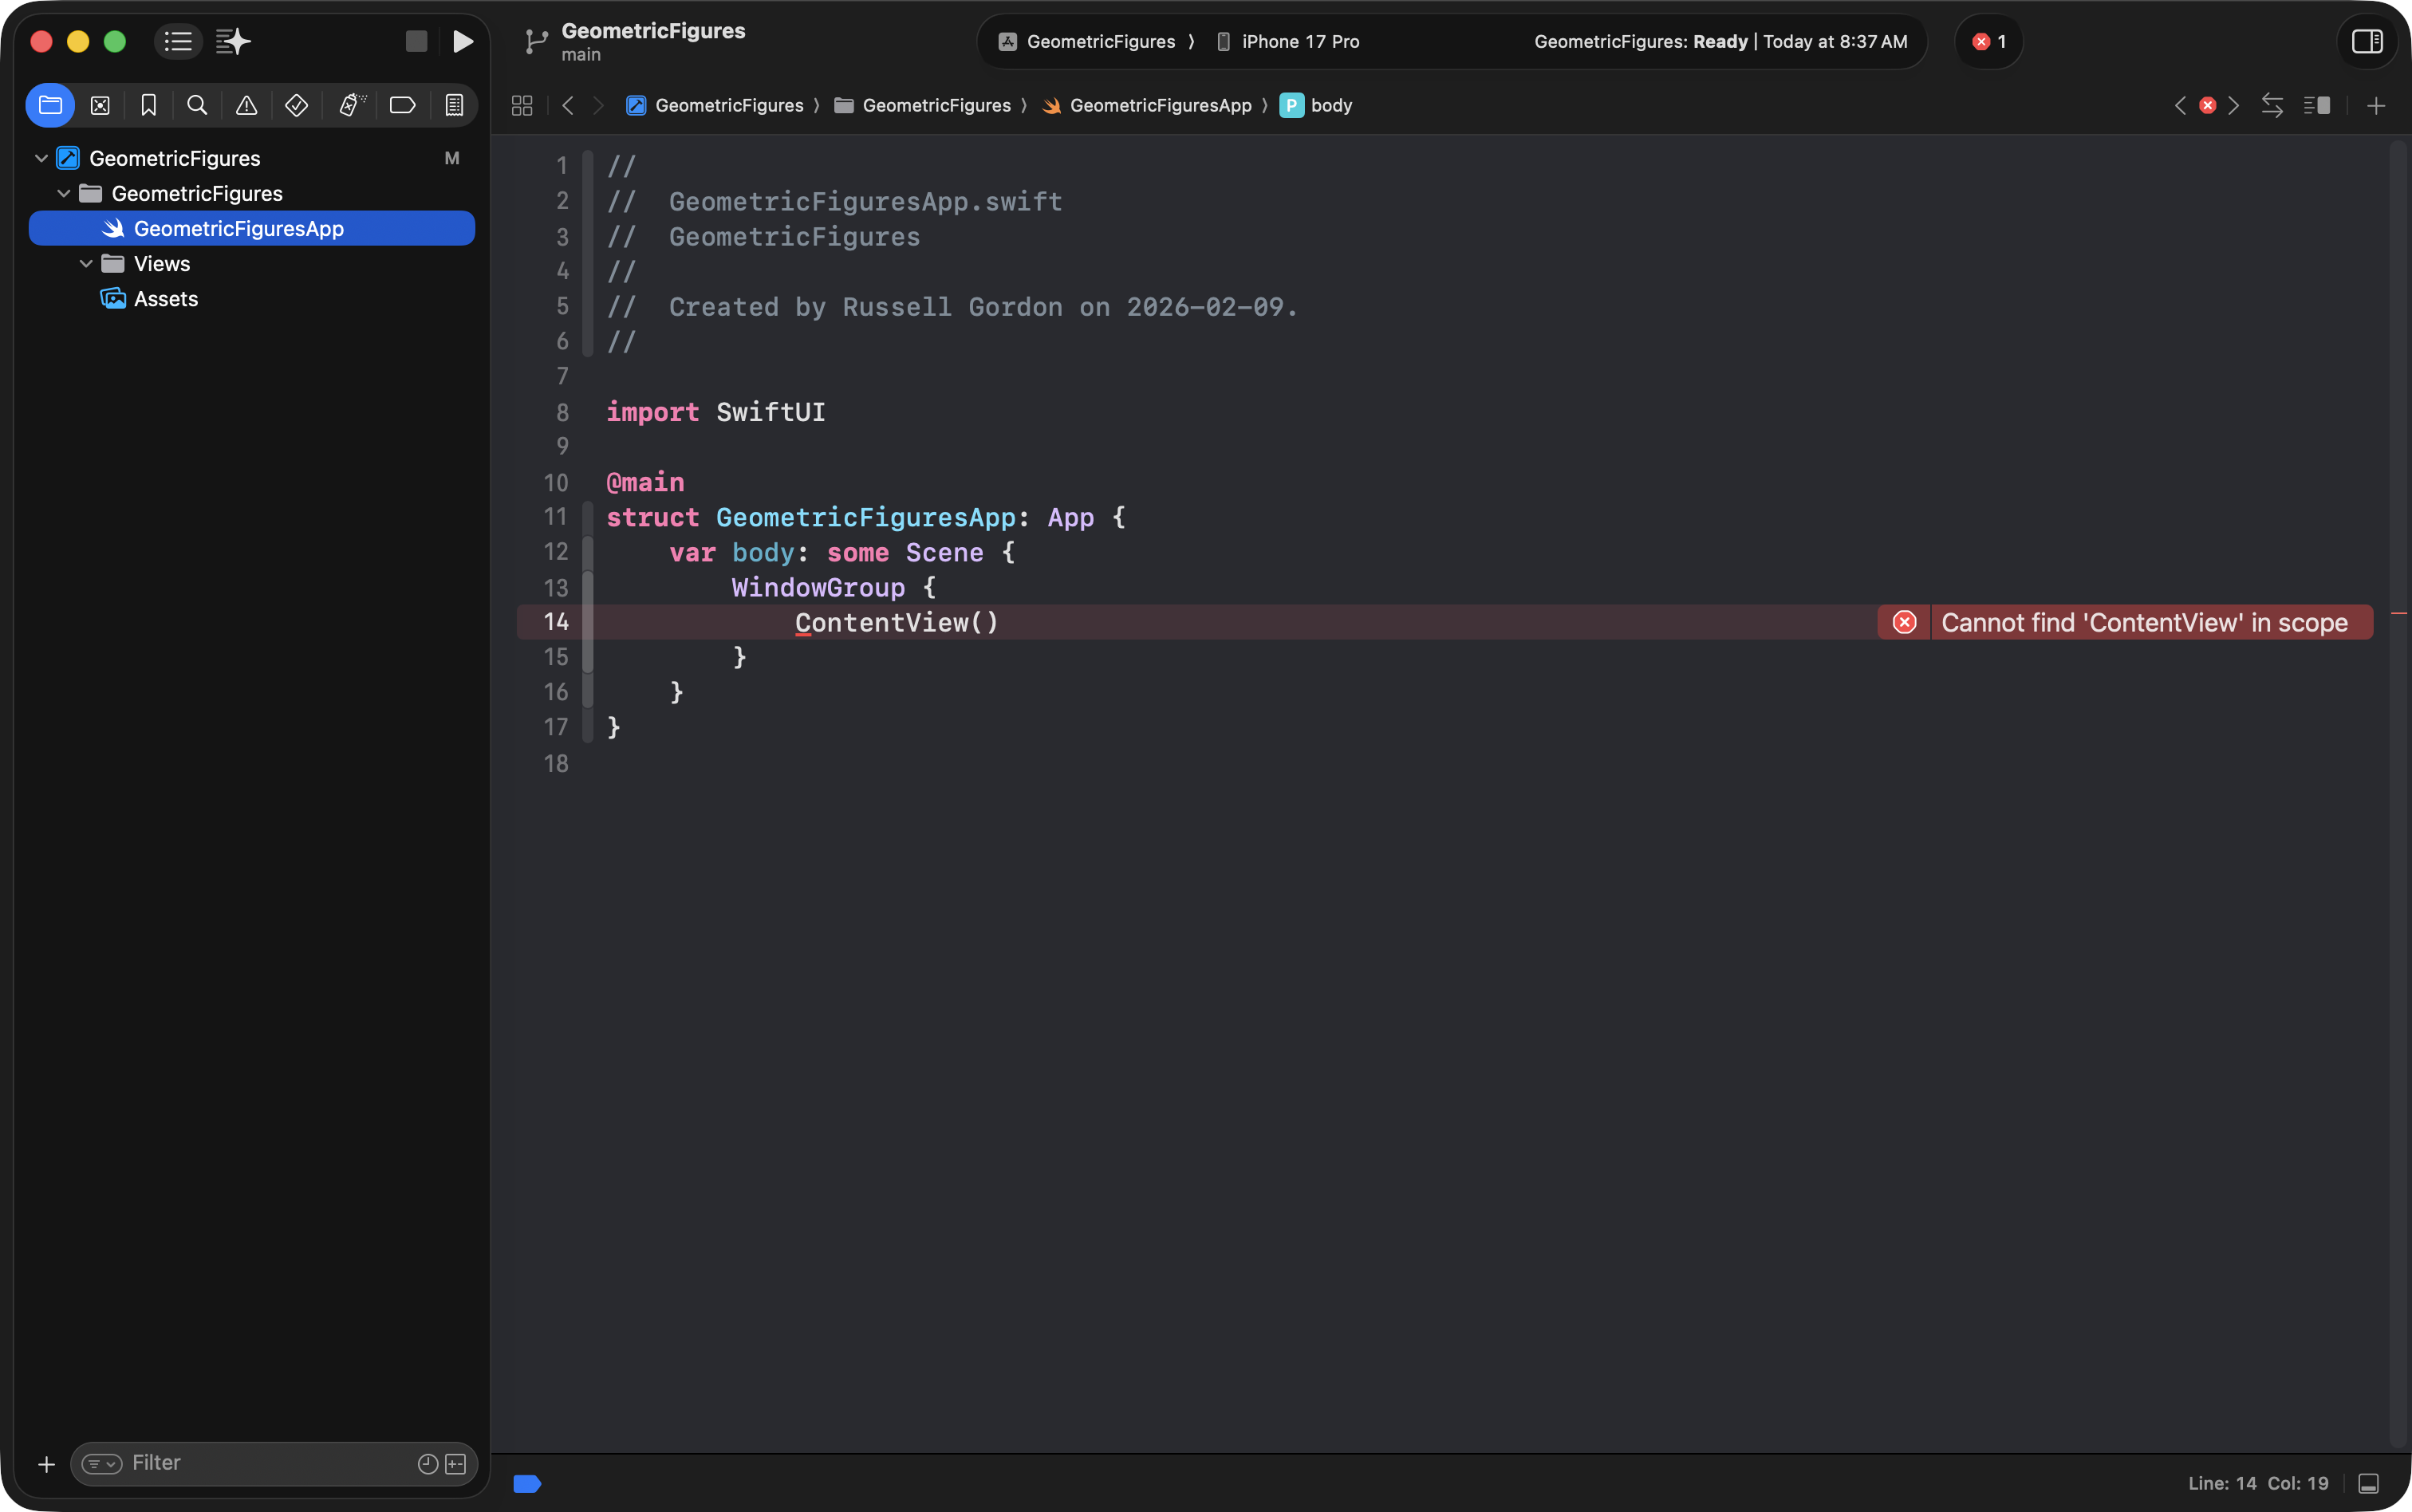
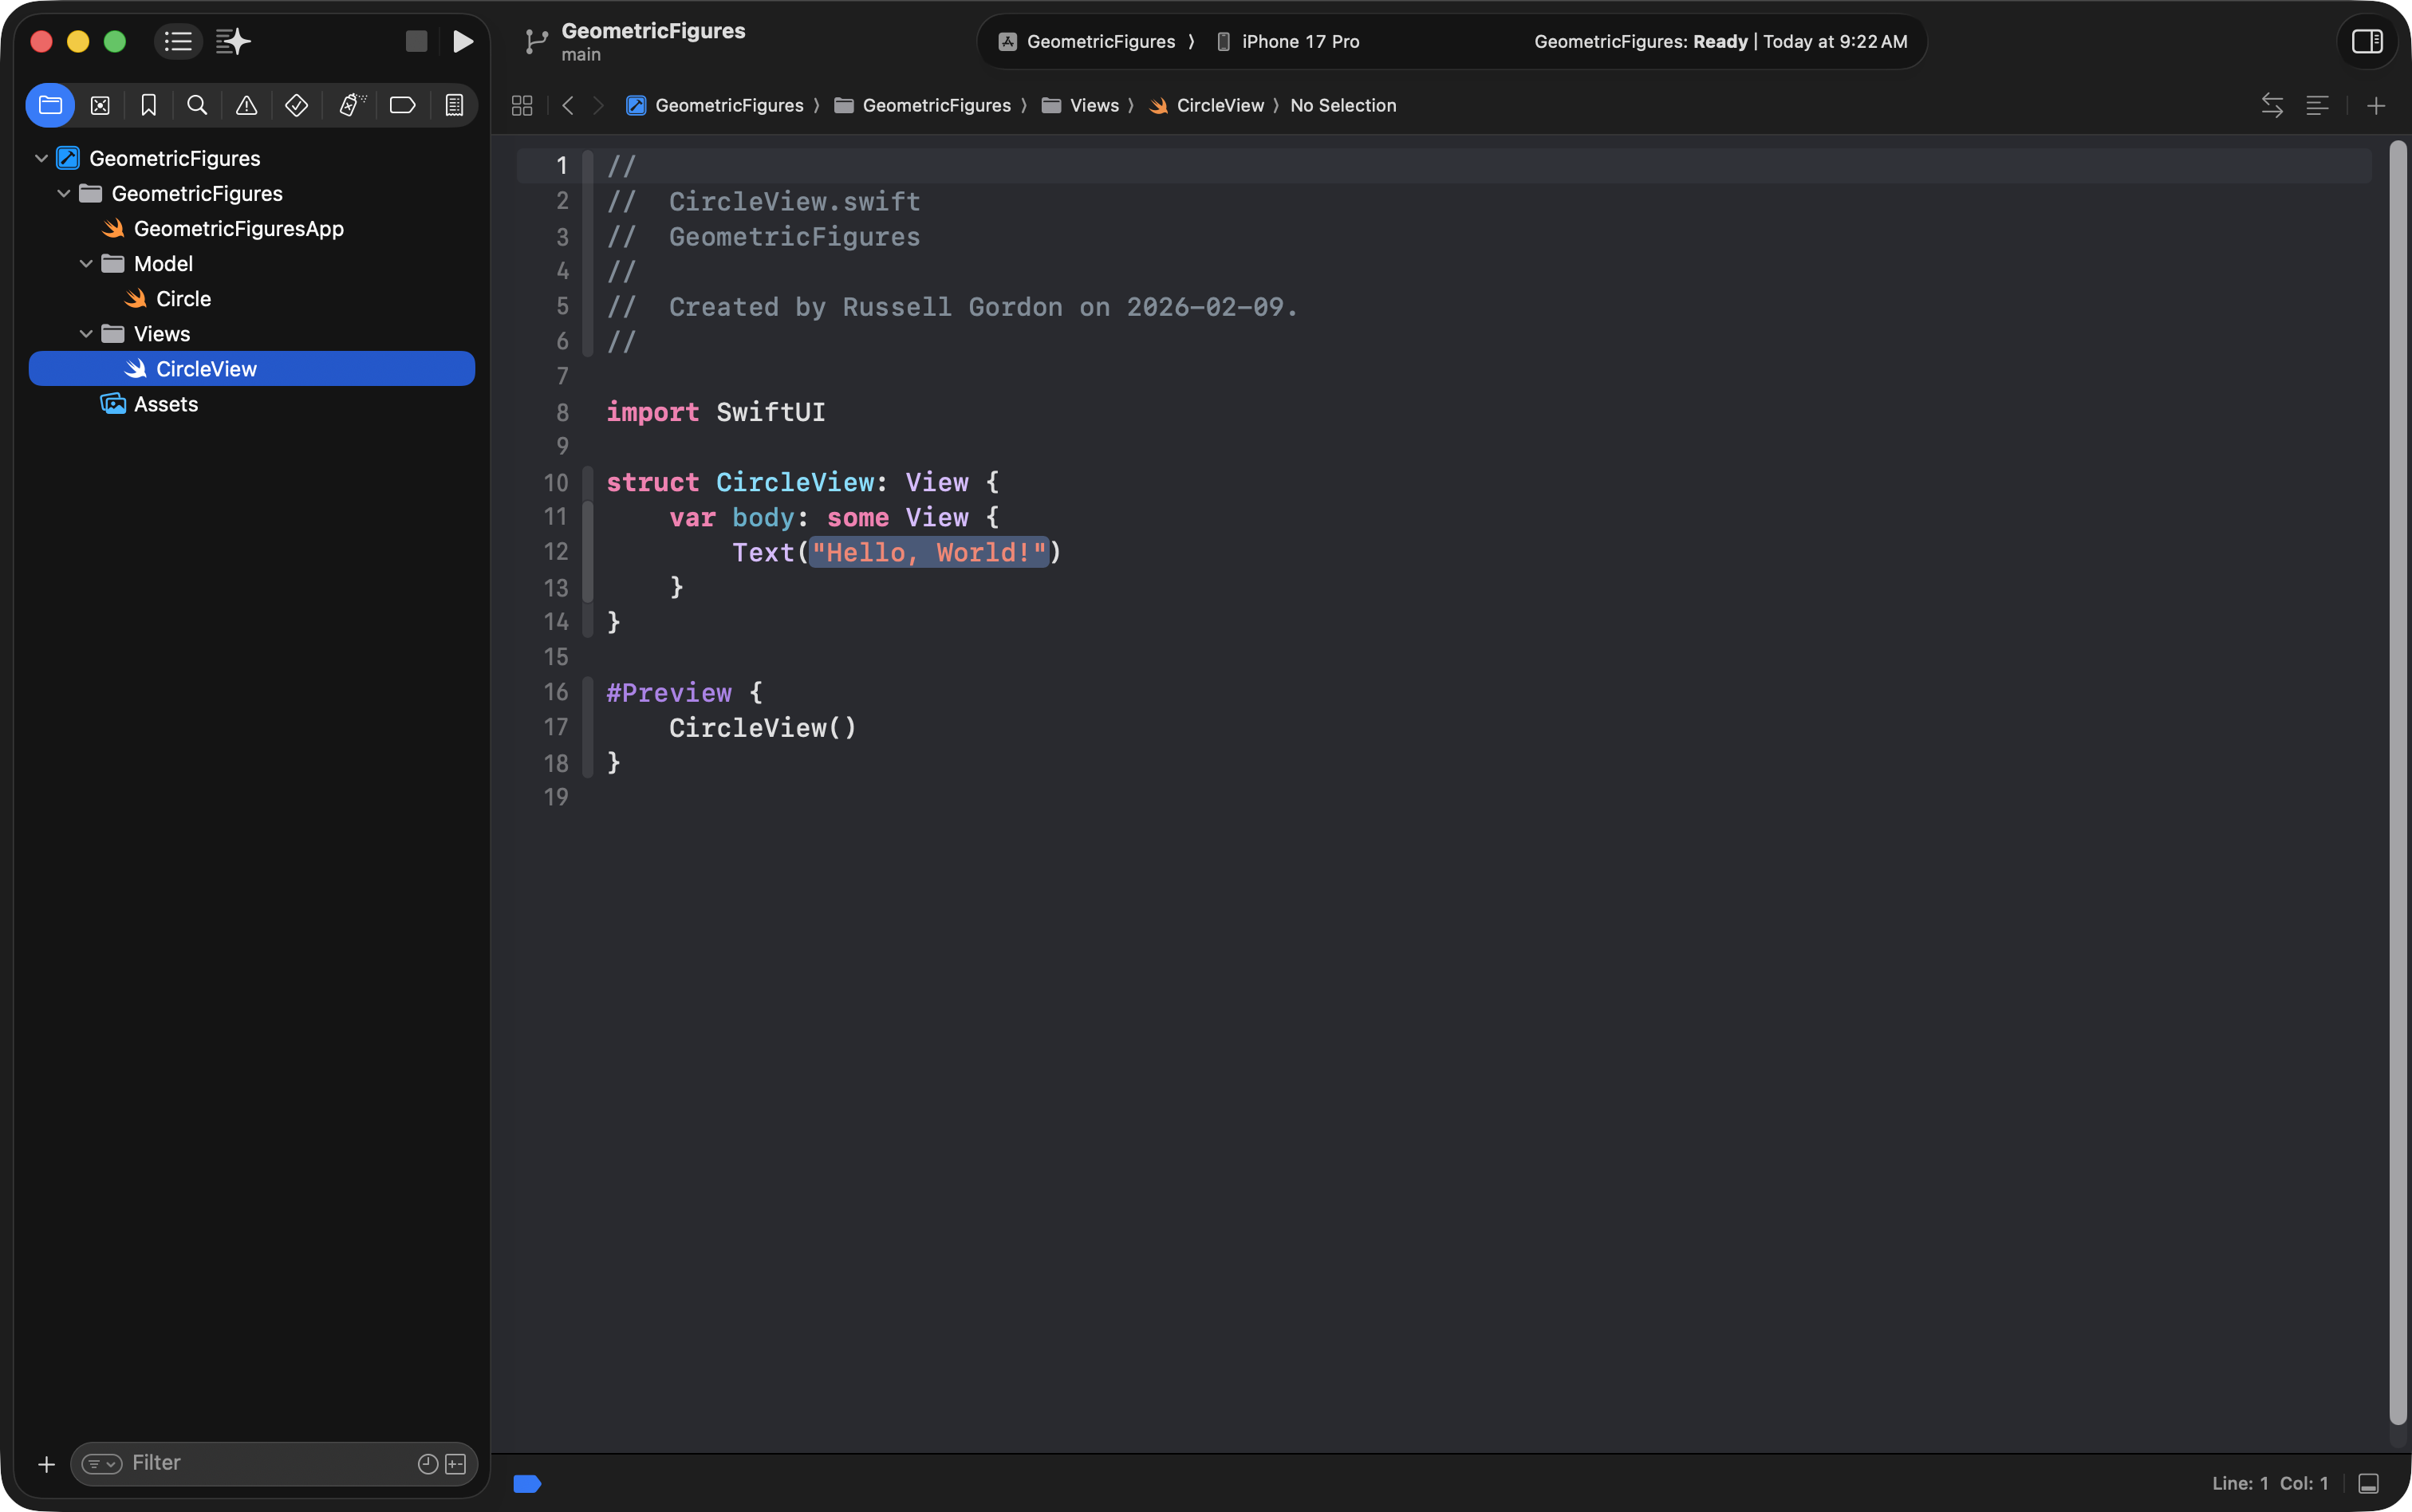
Create CircleView.swift
Two-finger tap on the the Views group:
- Choose New File from Template…
- Choose SwiftUI View
- Click Next
- Name it:
CircleView.swift - Click Create
Use PascalCase: capital letter at the start of each word.
At this point, CircleView exists, but the project still won’t build until we fix the entry point.
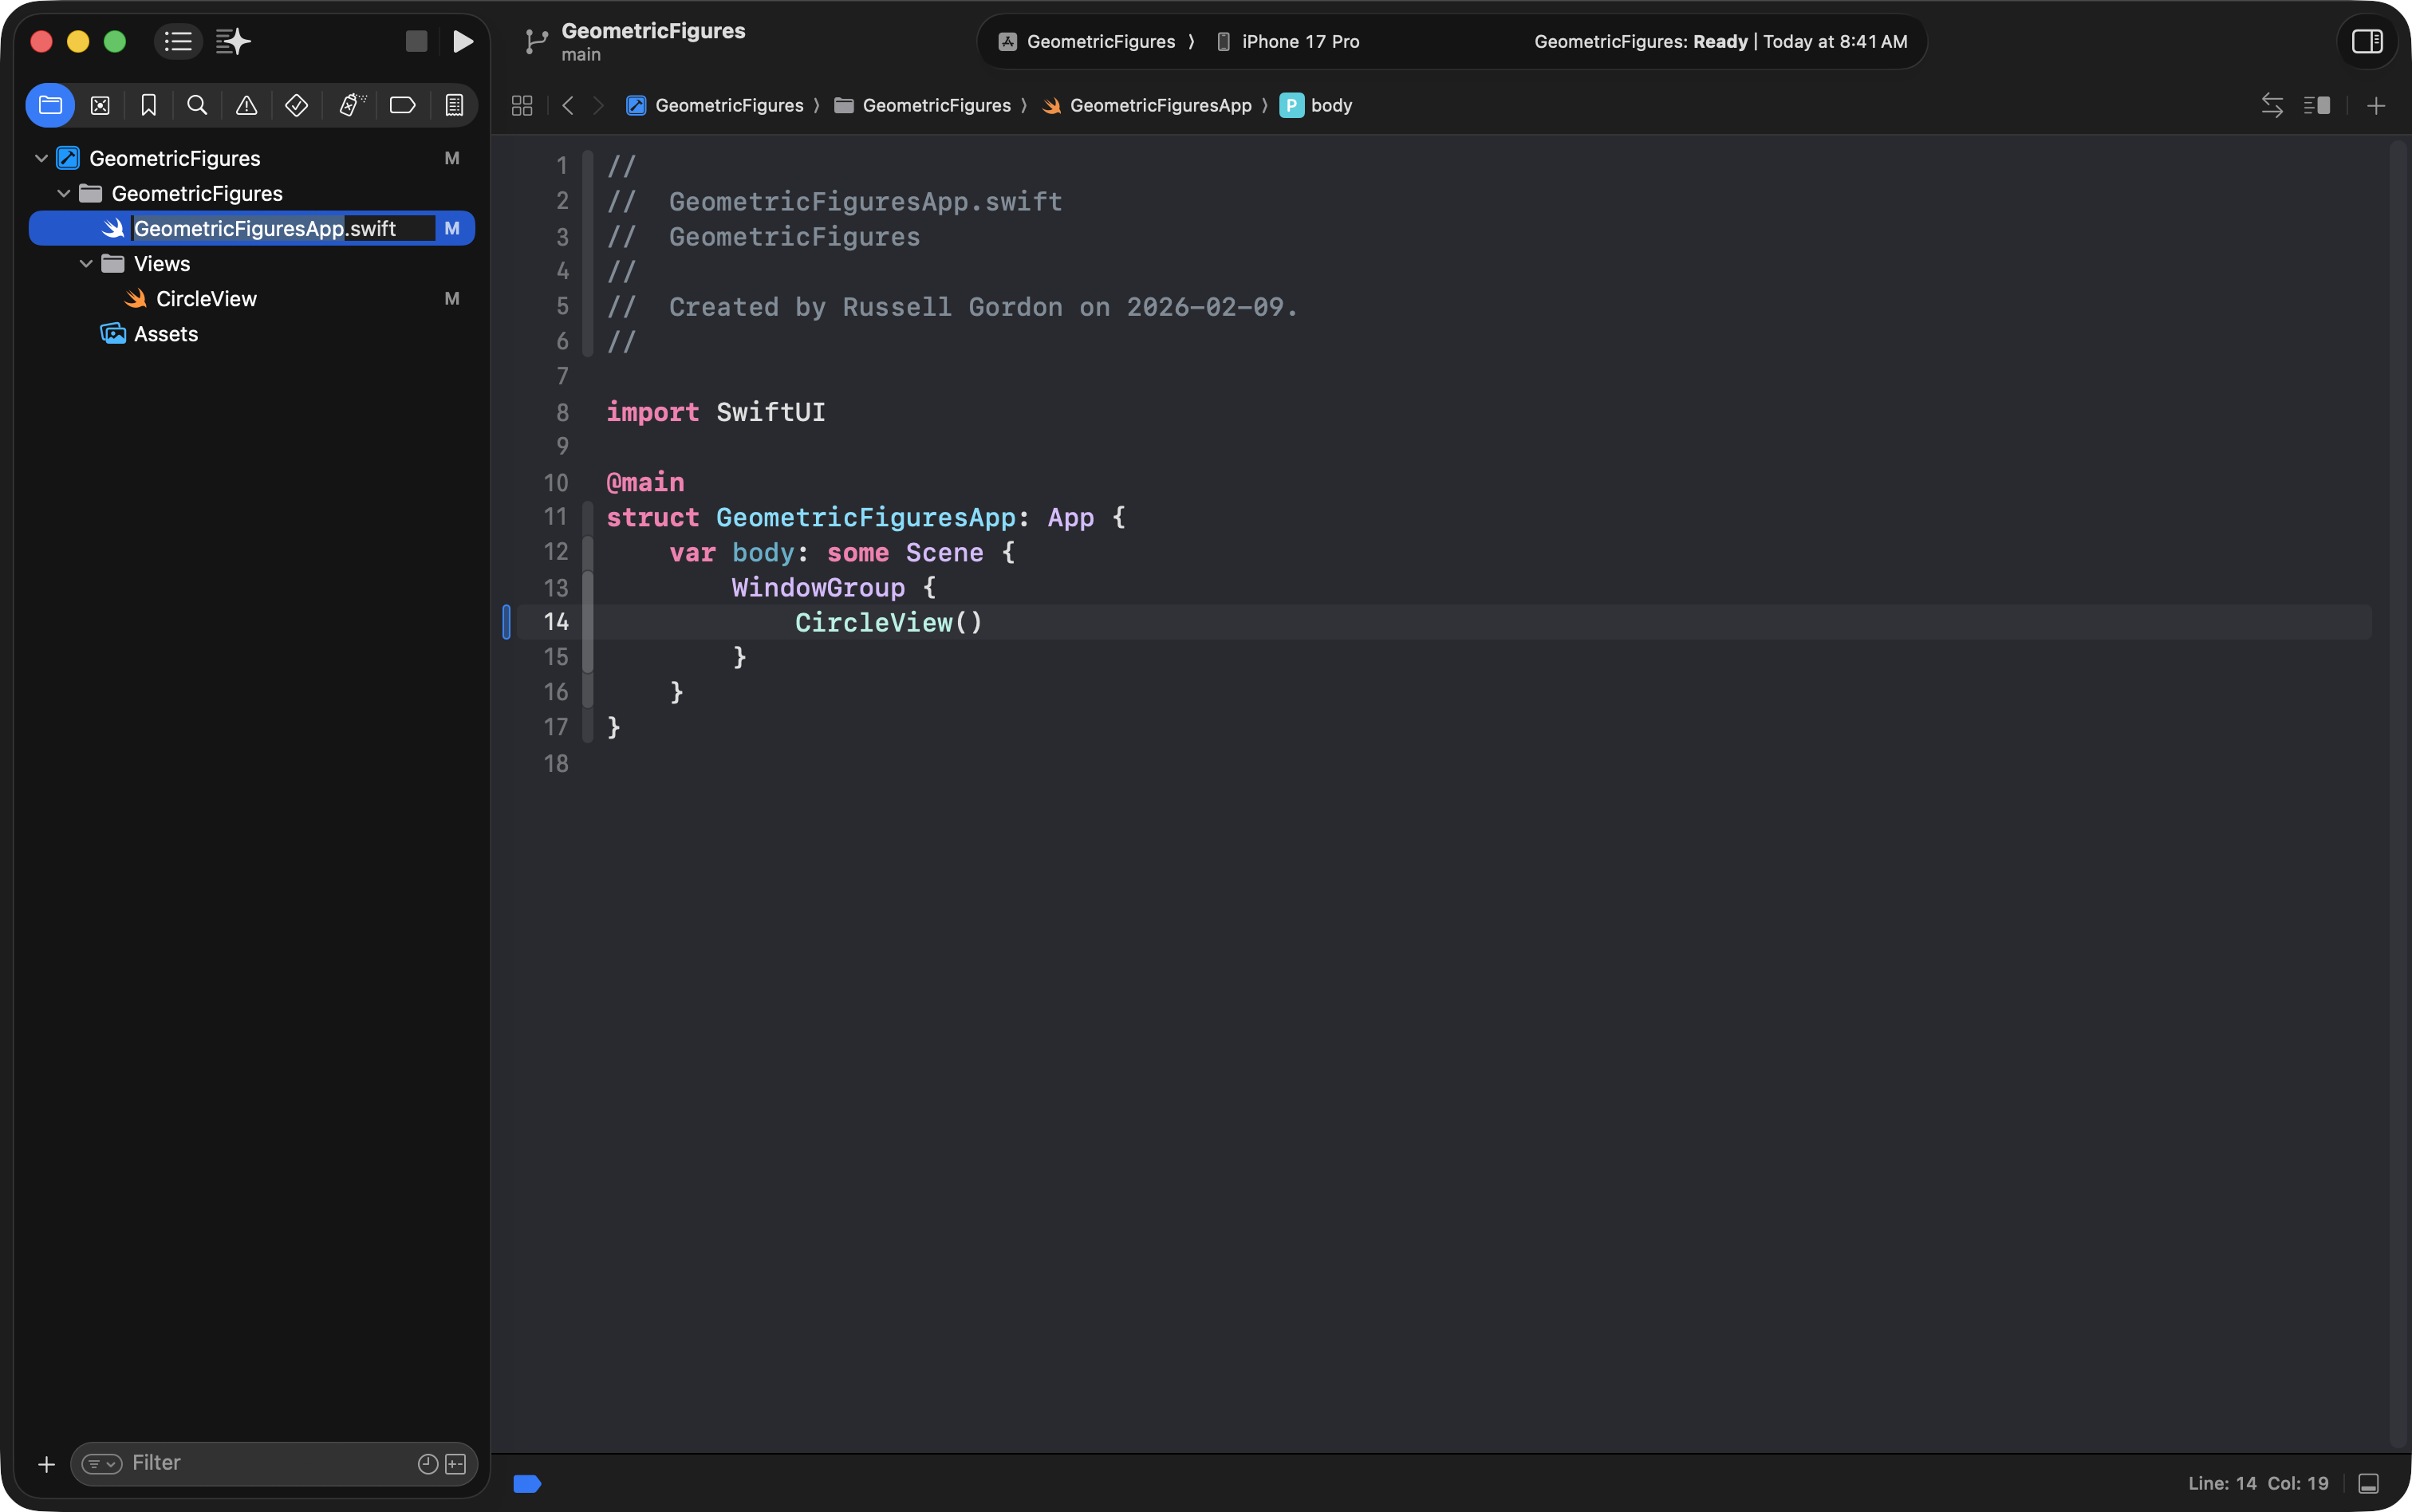
Update the app entry point
Return to your app entry point file and replace:
ContentView()with:
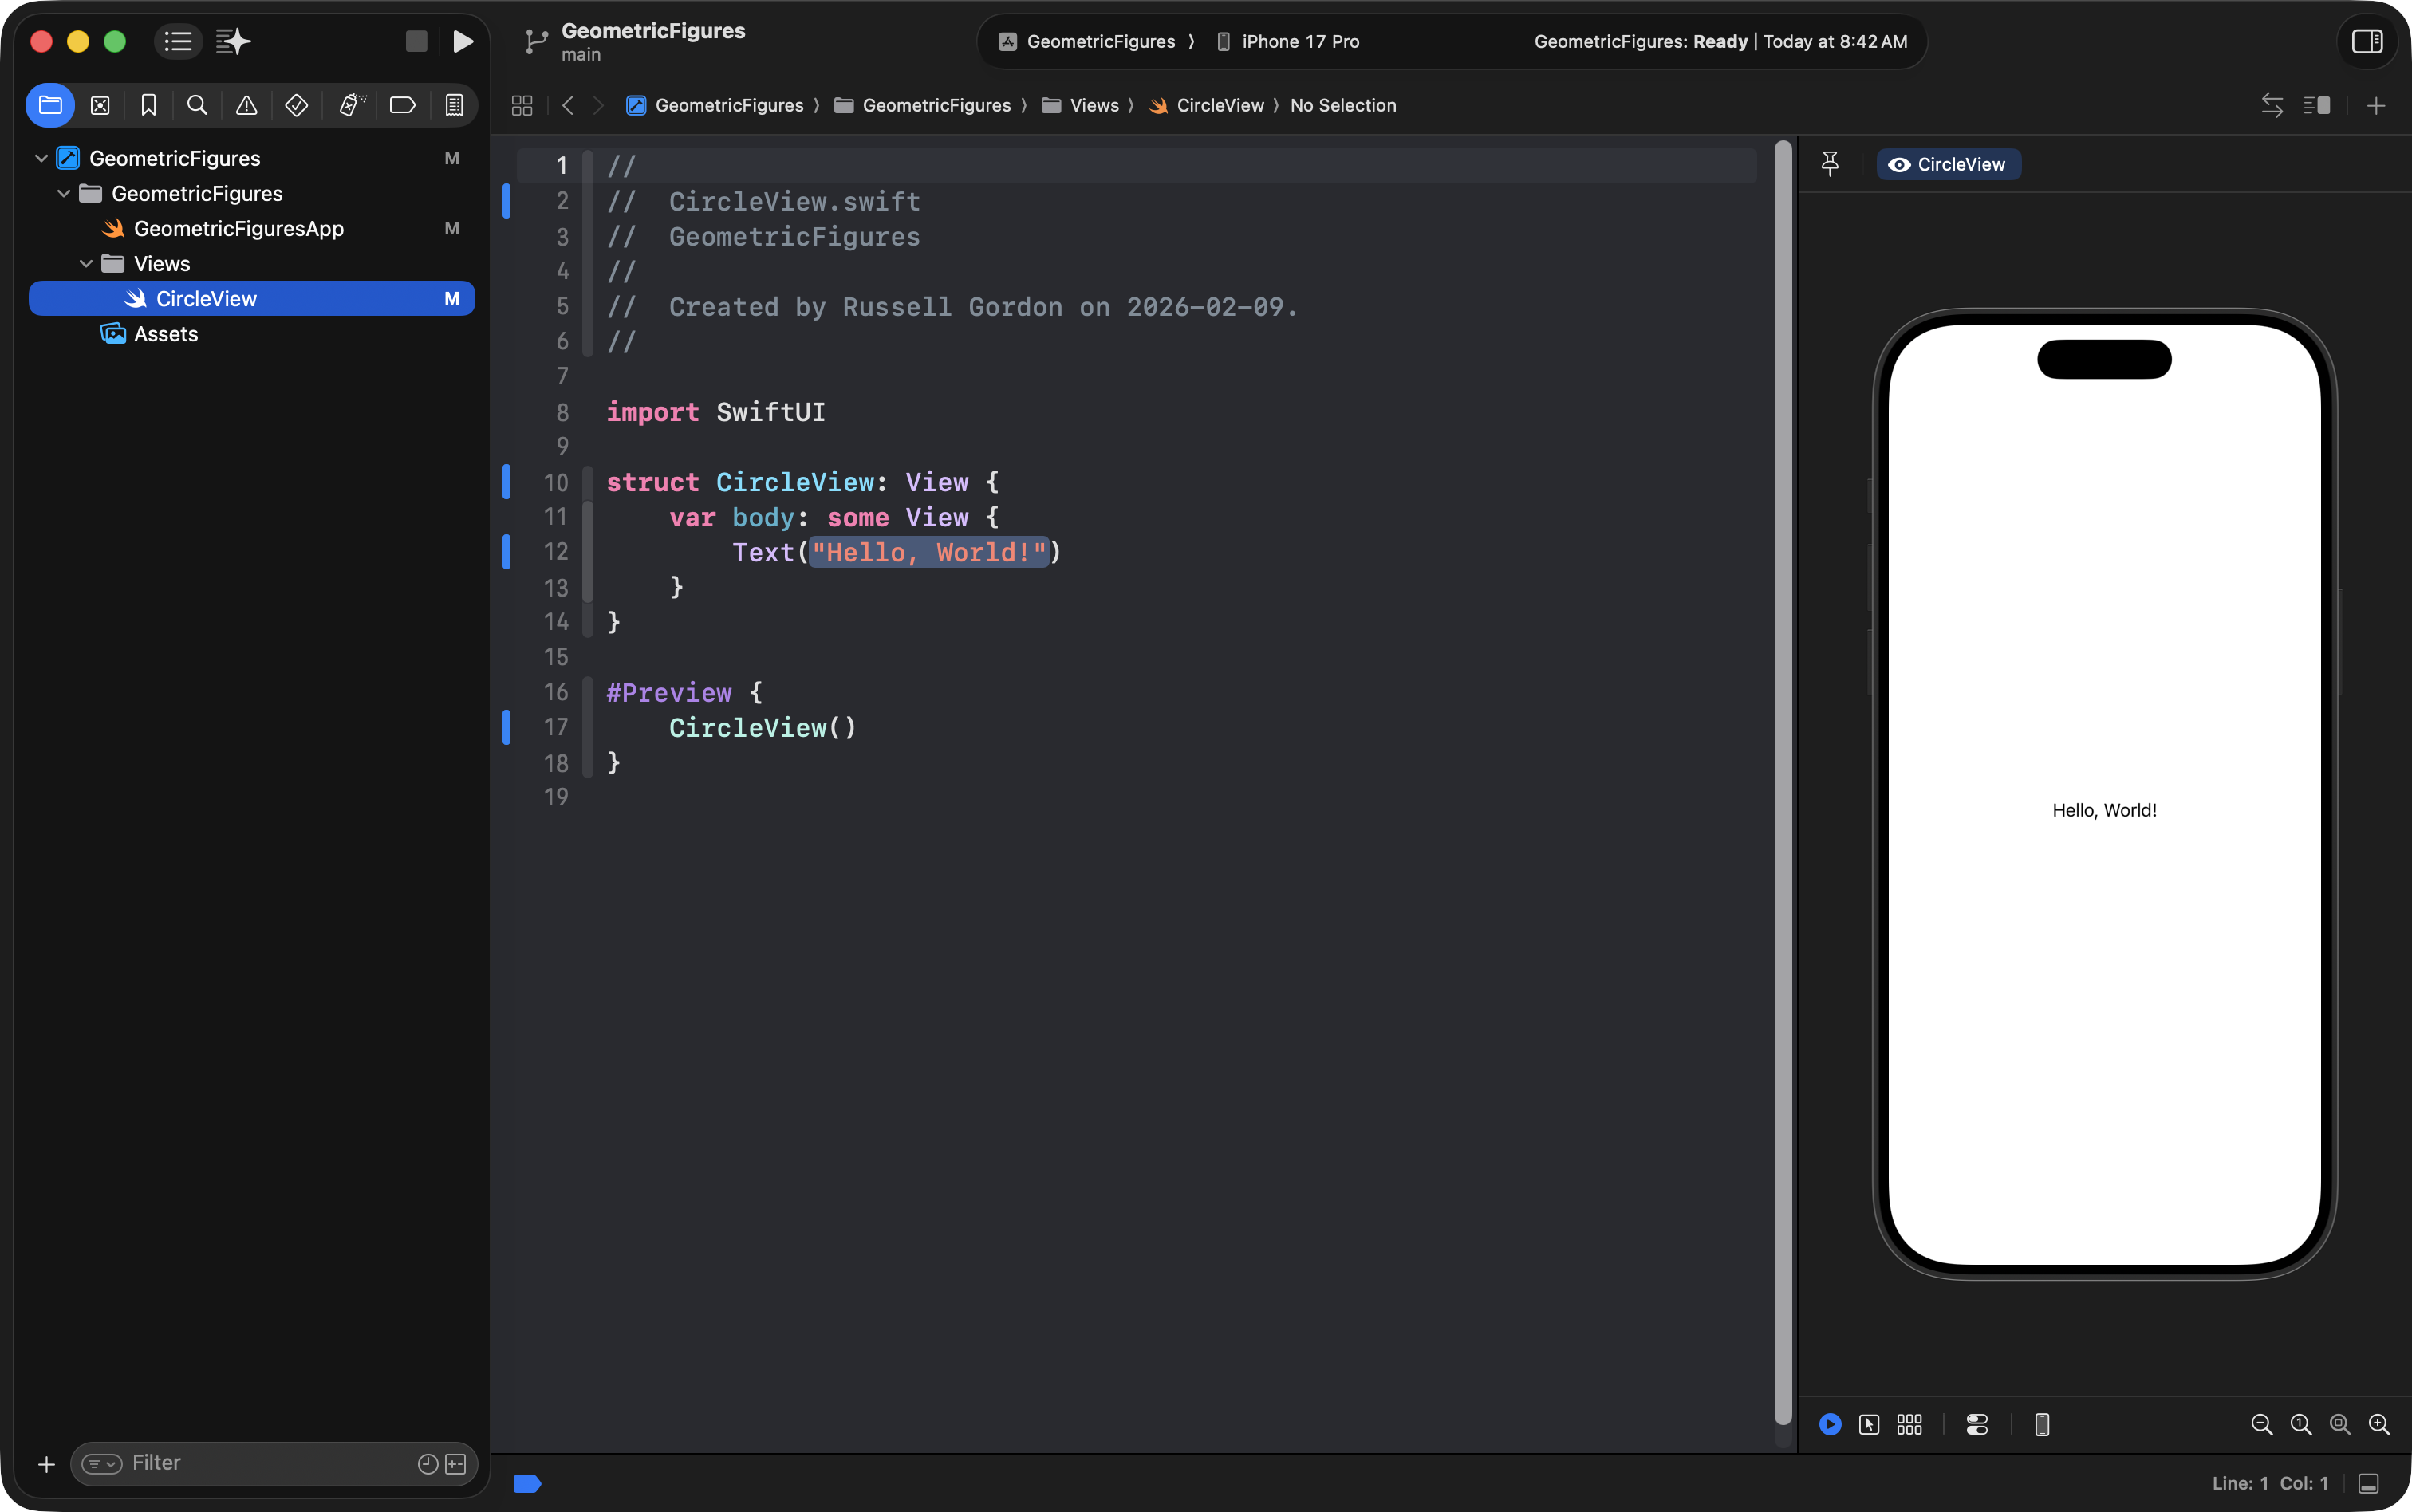
CircleView()Now the compiler error should disappear:
… and CircleView should preview successfully:
What is a view?
A view shows a visible part of the user interface within an app.
A SwiftUI view is still just a structure.
You’ve been writing structures since the very start of this course.
A view is just a structure that conforms to the View protocol.
The View protocol rule is:
A structure that conforms to
Viewmust have a computed property namedbodythat returns one view.
And remember: the one view returned by body can contain other views.
Recall the idea of Russian nesting dolls given the other day:

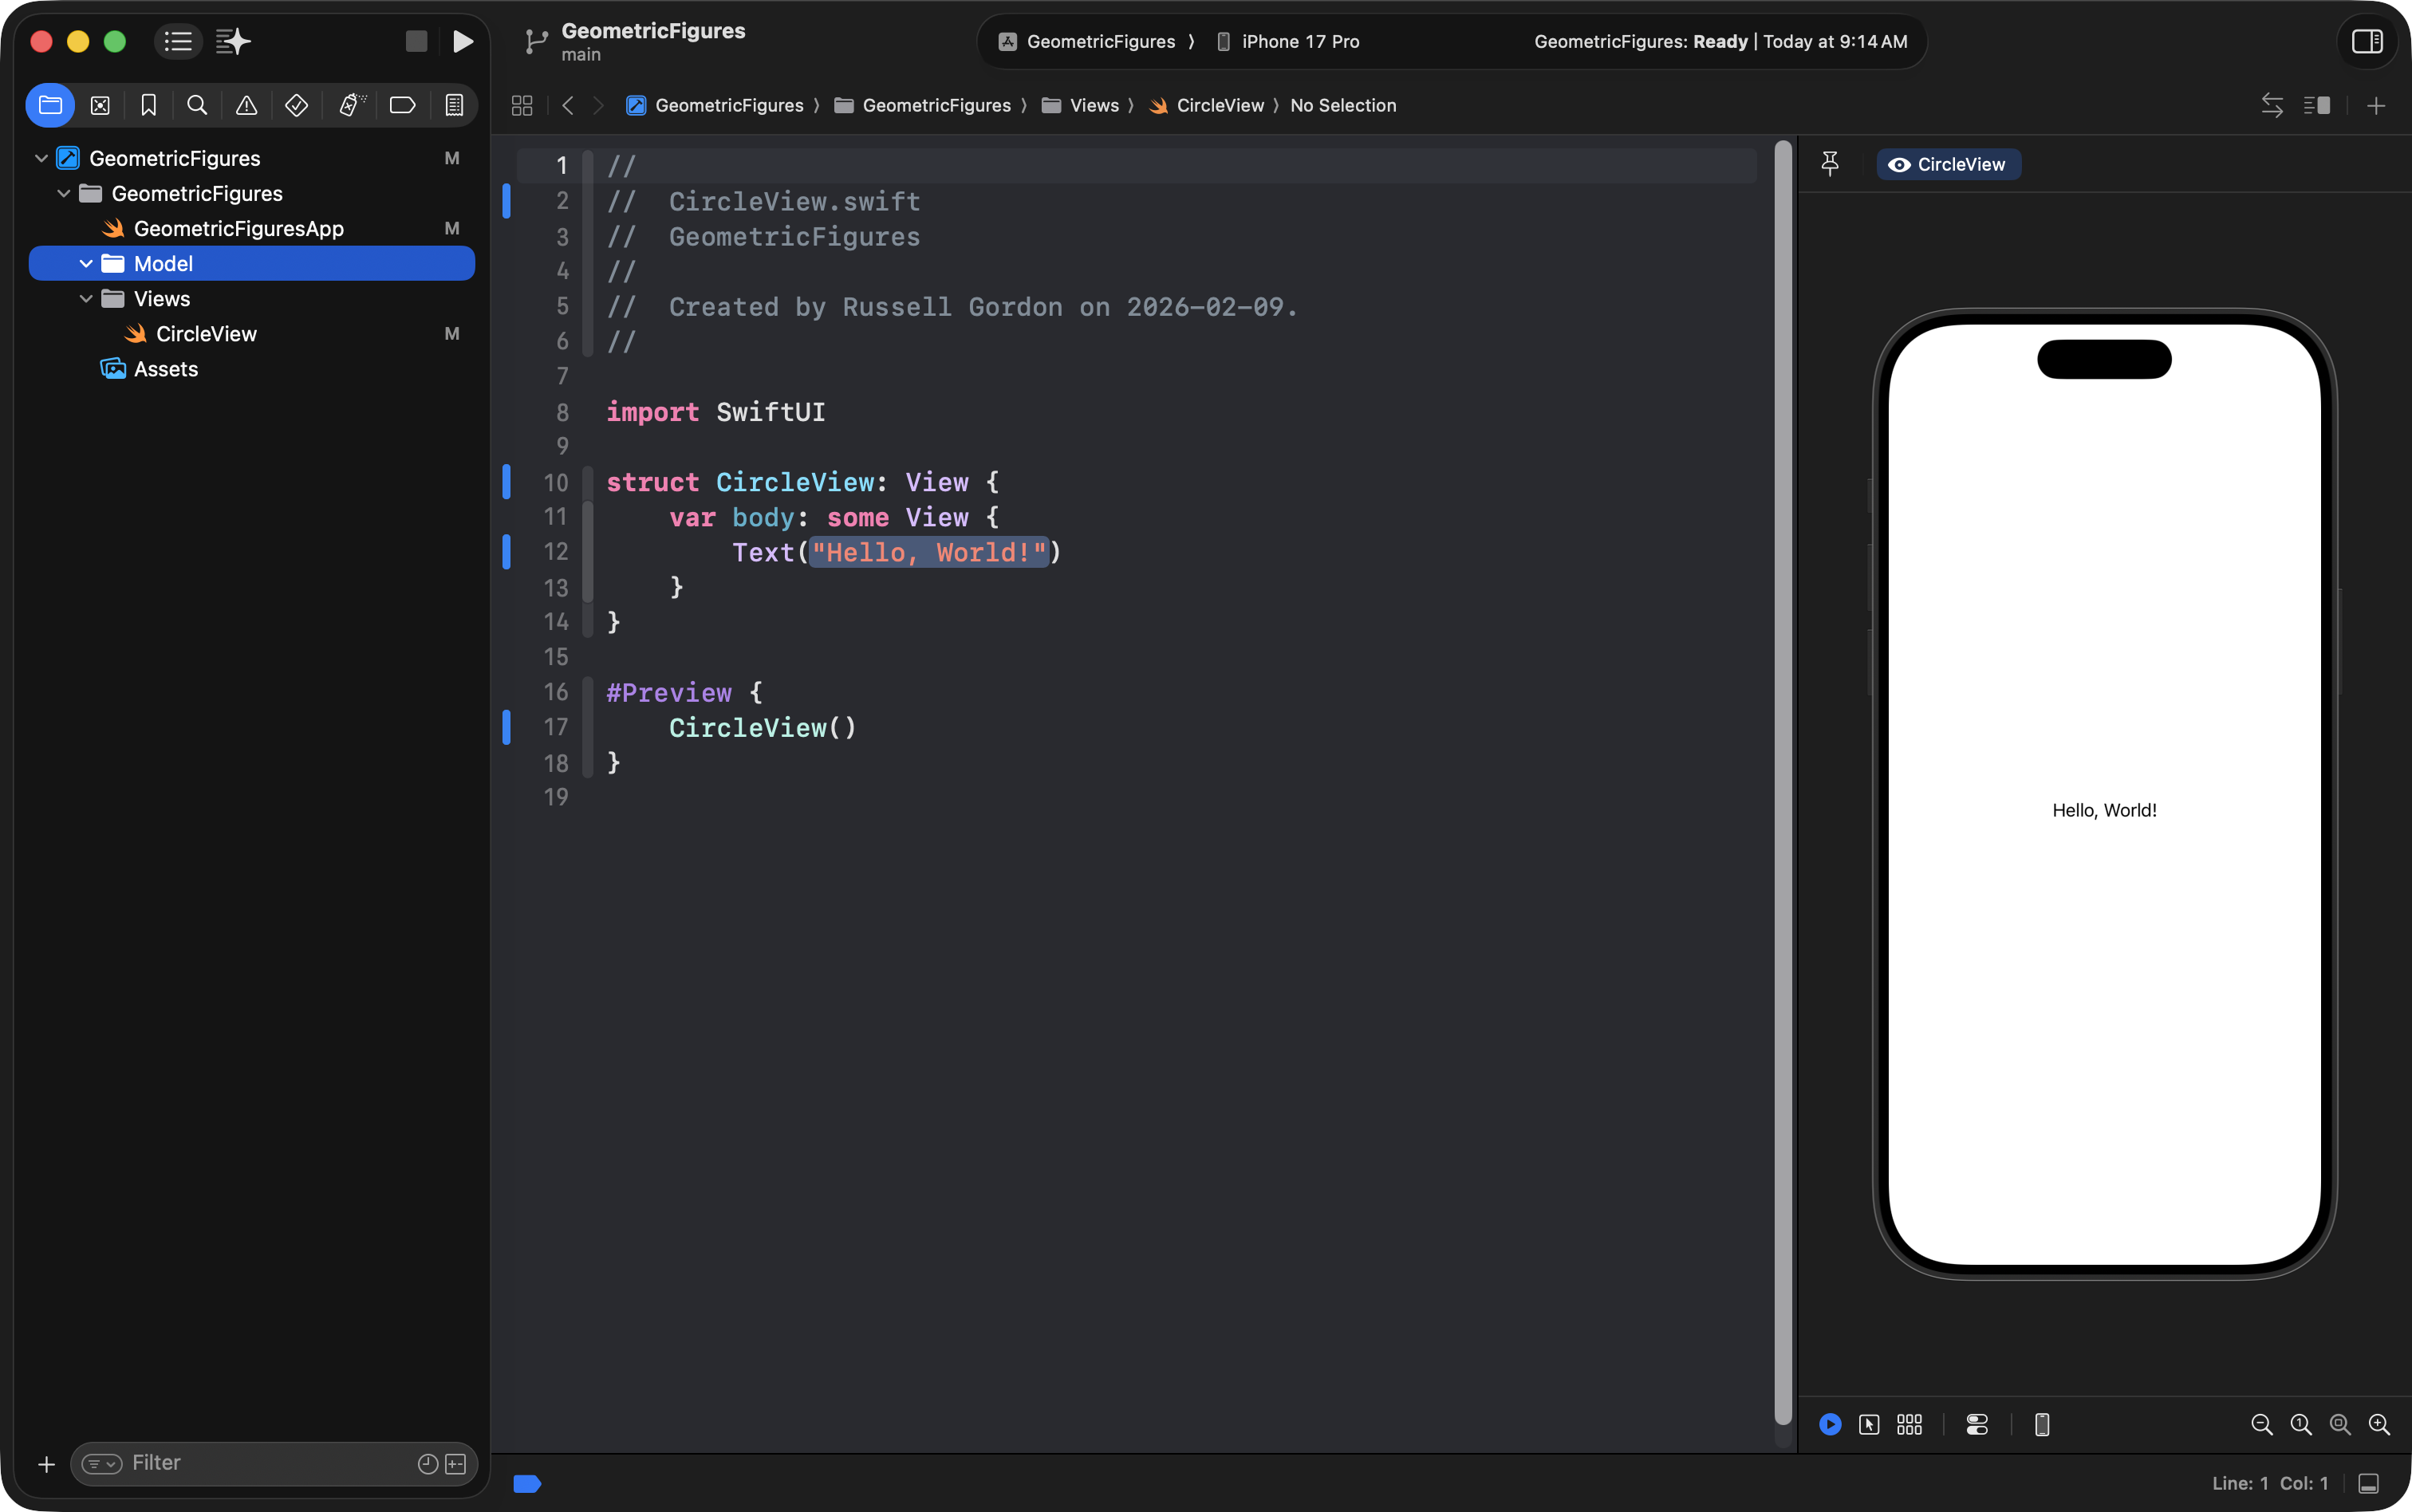
Add a Model group
Views are what the user sees.
A model is the description of the data your app holds (and sometimes the processing that your app performs).
Create a Model group
- Two-finger tap on the
GeometricFiguresgroup in the navigator - Choose New Group
- Name it:
Model(singular, not plural)
Arrange your project so it looks like:
- App entry point file
- Model
- Views
As shown here:
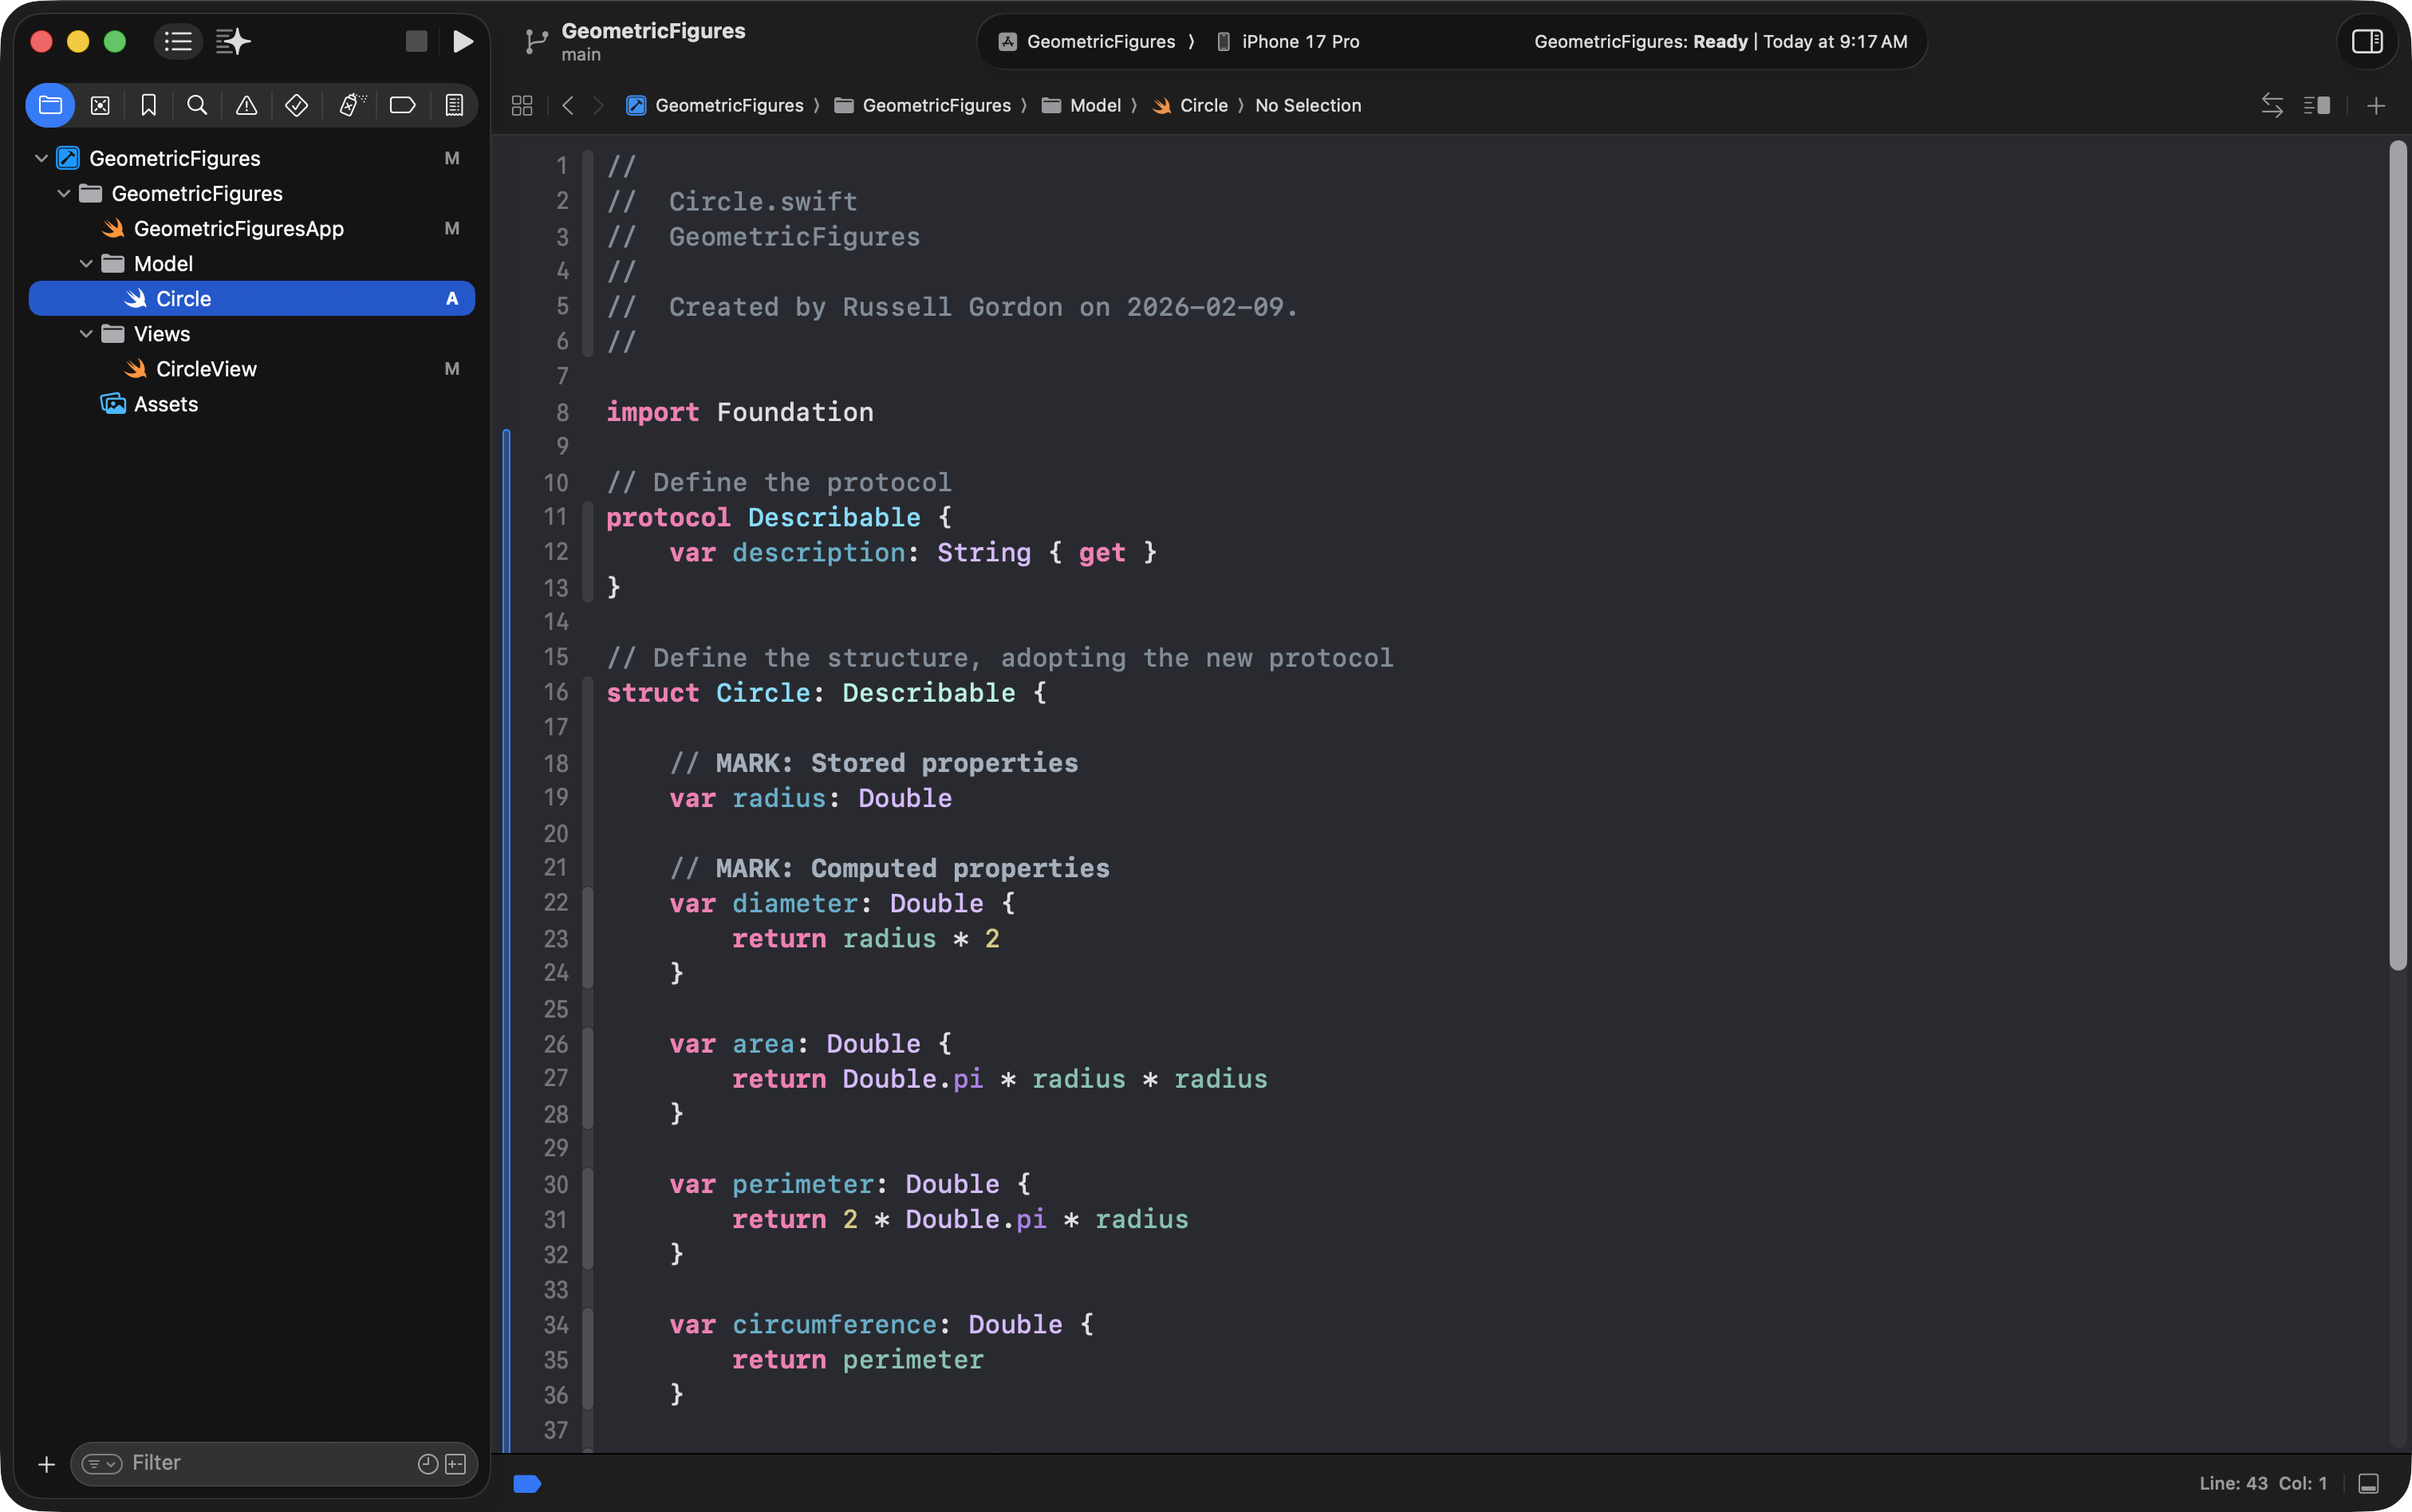
Create Circle.swift
Two-finger tap on the the Model group:
- Choose New File from Template…
- Choose Swift File
- Click Next
- Name it:
Circle.swift - Click Create
You can copy and paste this code directly into the newly created file:
// Define the protocol
protocol Describable {
    var description: String { get }
}

// Define the structure, adopting the new protocol
struct Circle: Describable {

    // MARK: Stored properties
    var radius: Double

    // MARK: Computed properties
    var diameter: Double {
        return radius * 2
    }

    var area: Double {
        return Double.pi * radius * radius
    }

    var perimeter: Double {
        return 2 * Double.pi * radius
    }

    var circumference: Double {
        return perimeter
    }

    var description: String {
        return "The radius of this circle is \(radius) units."
    }

}
The new file should look like this:
Save progress
Now is a good time to commit your work, since you have created the project and set up groups for the Model and View layers of your app.
Press Option-Command-C and provide a commit message like:
Created groups for model and view layers of the app.
… like this:
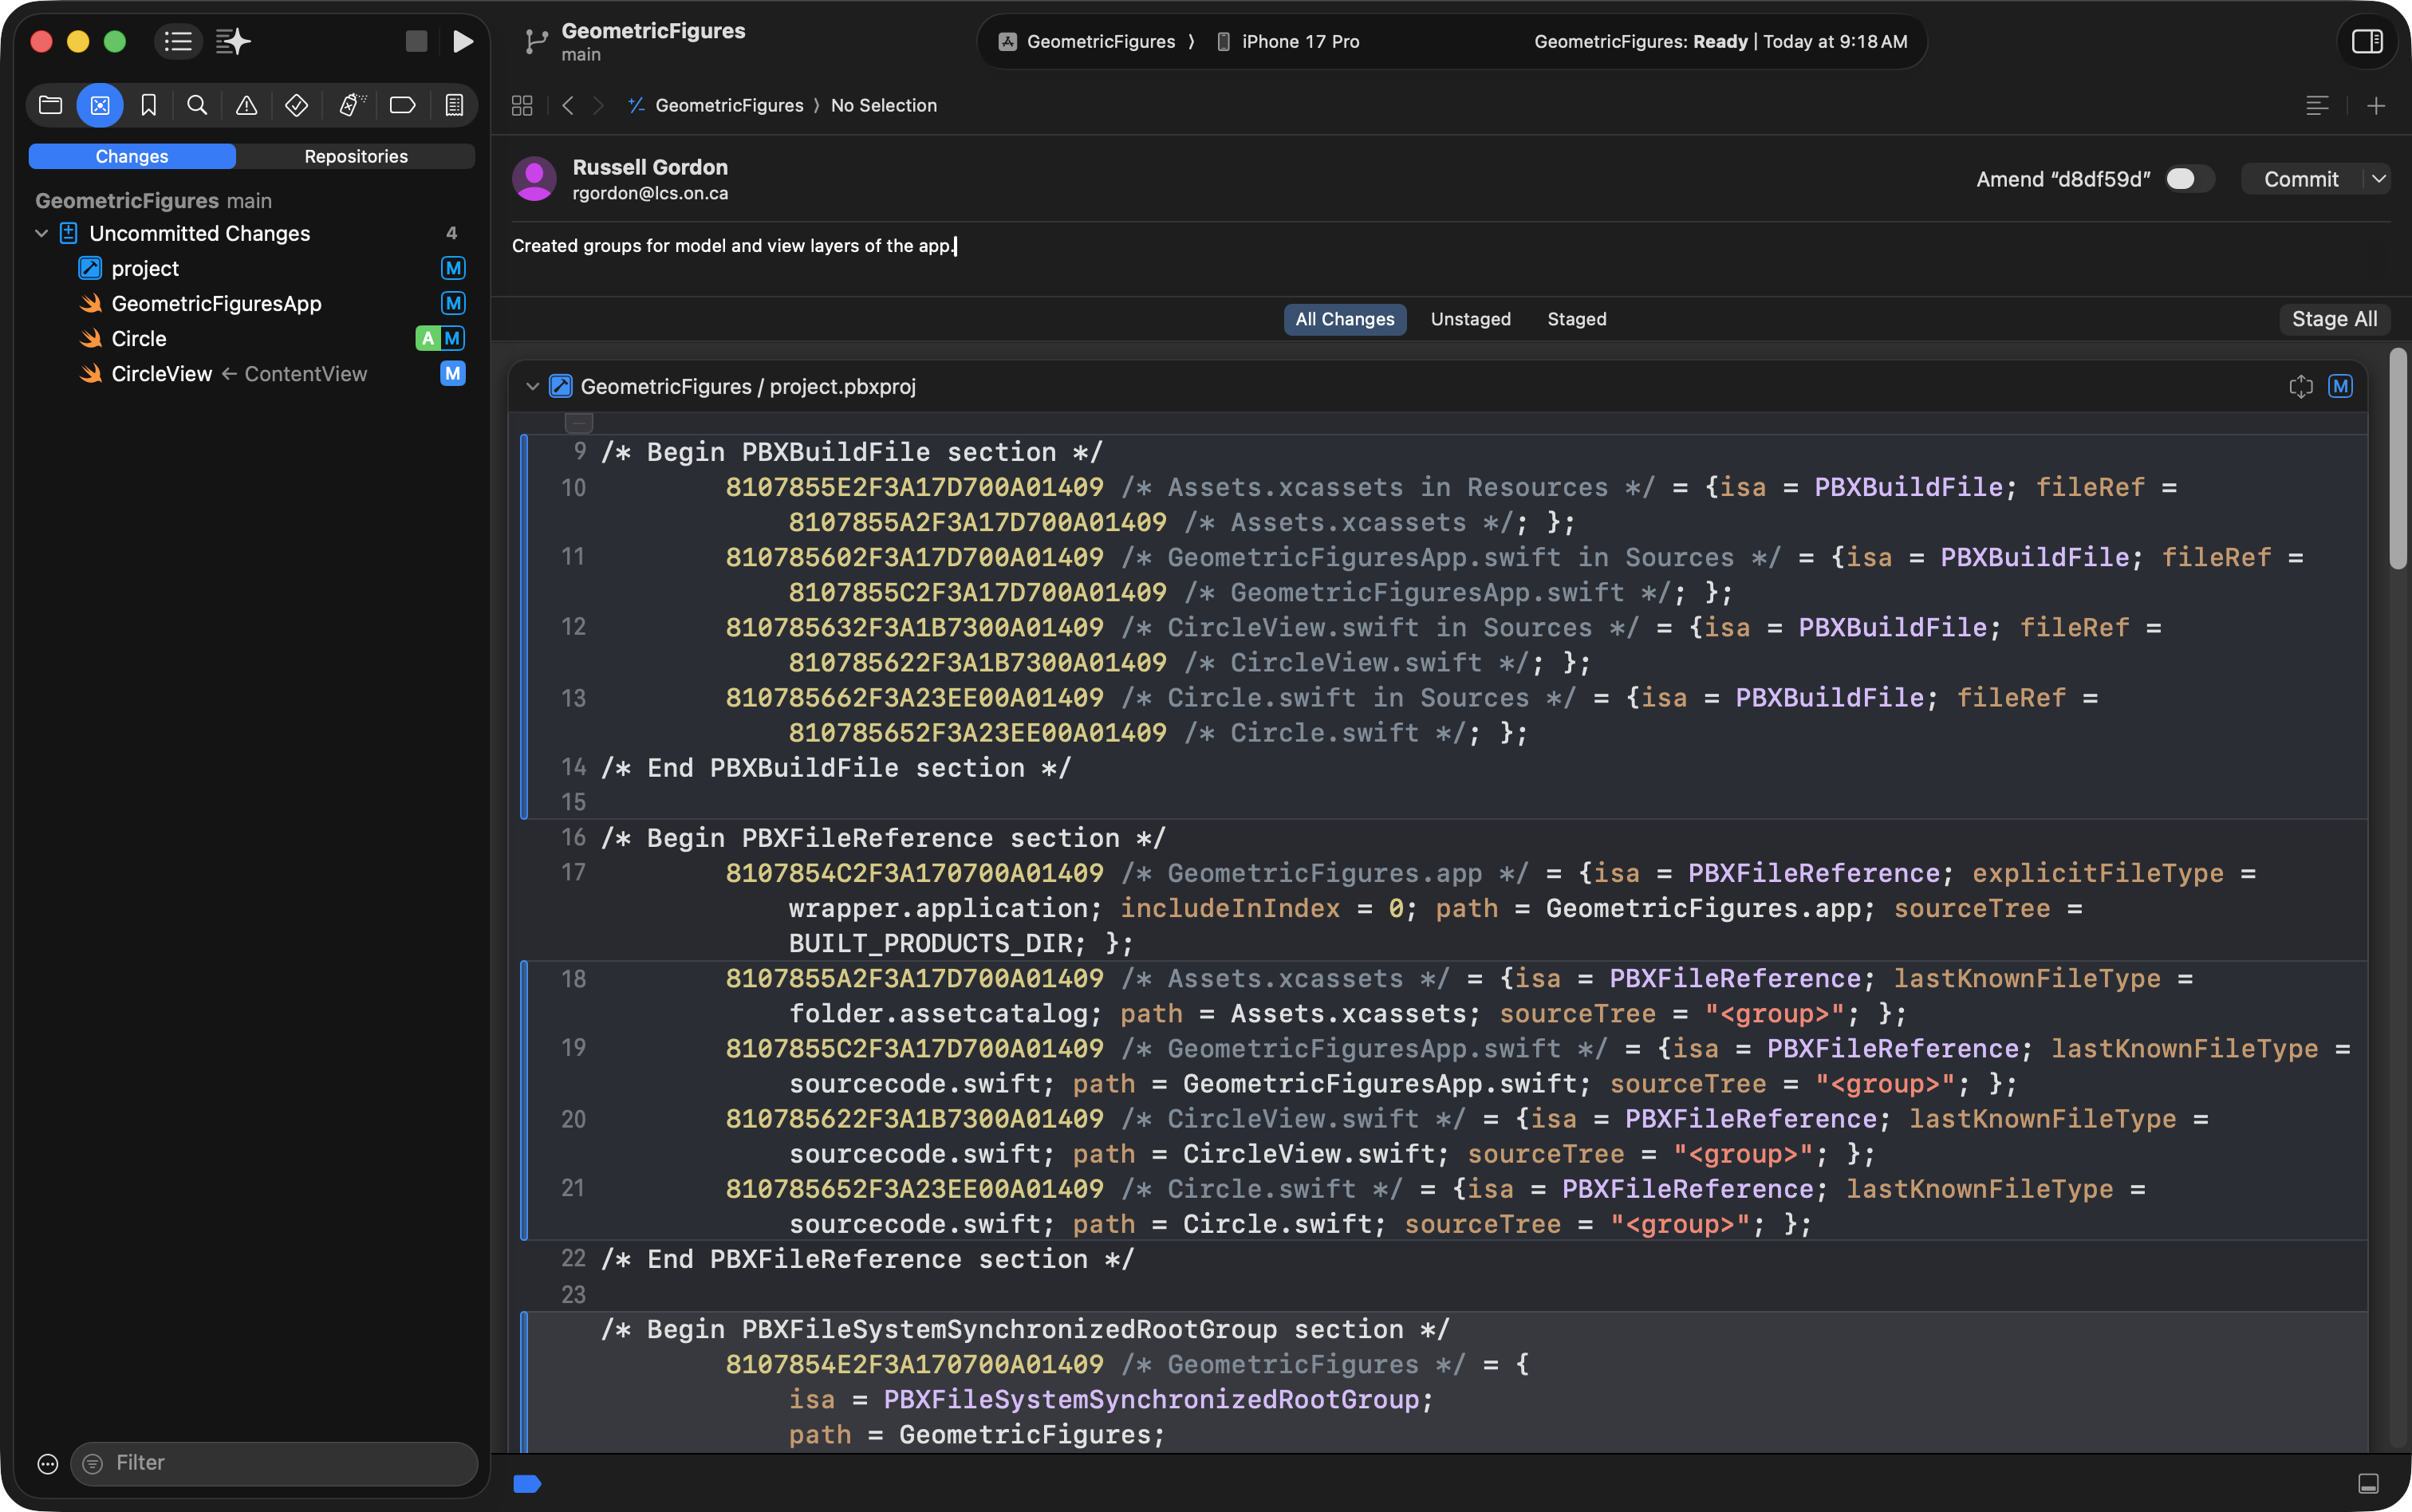
Then press:
- Stage All
- Commit
- Push
You have just saved a local copy of your work and pushed it to your remote GitHub repository as well:
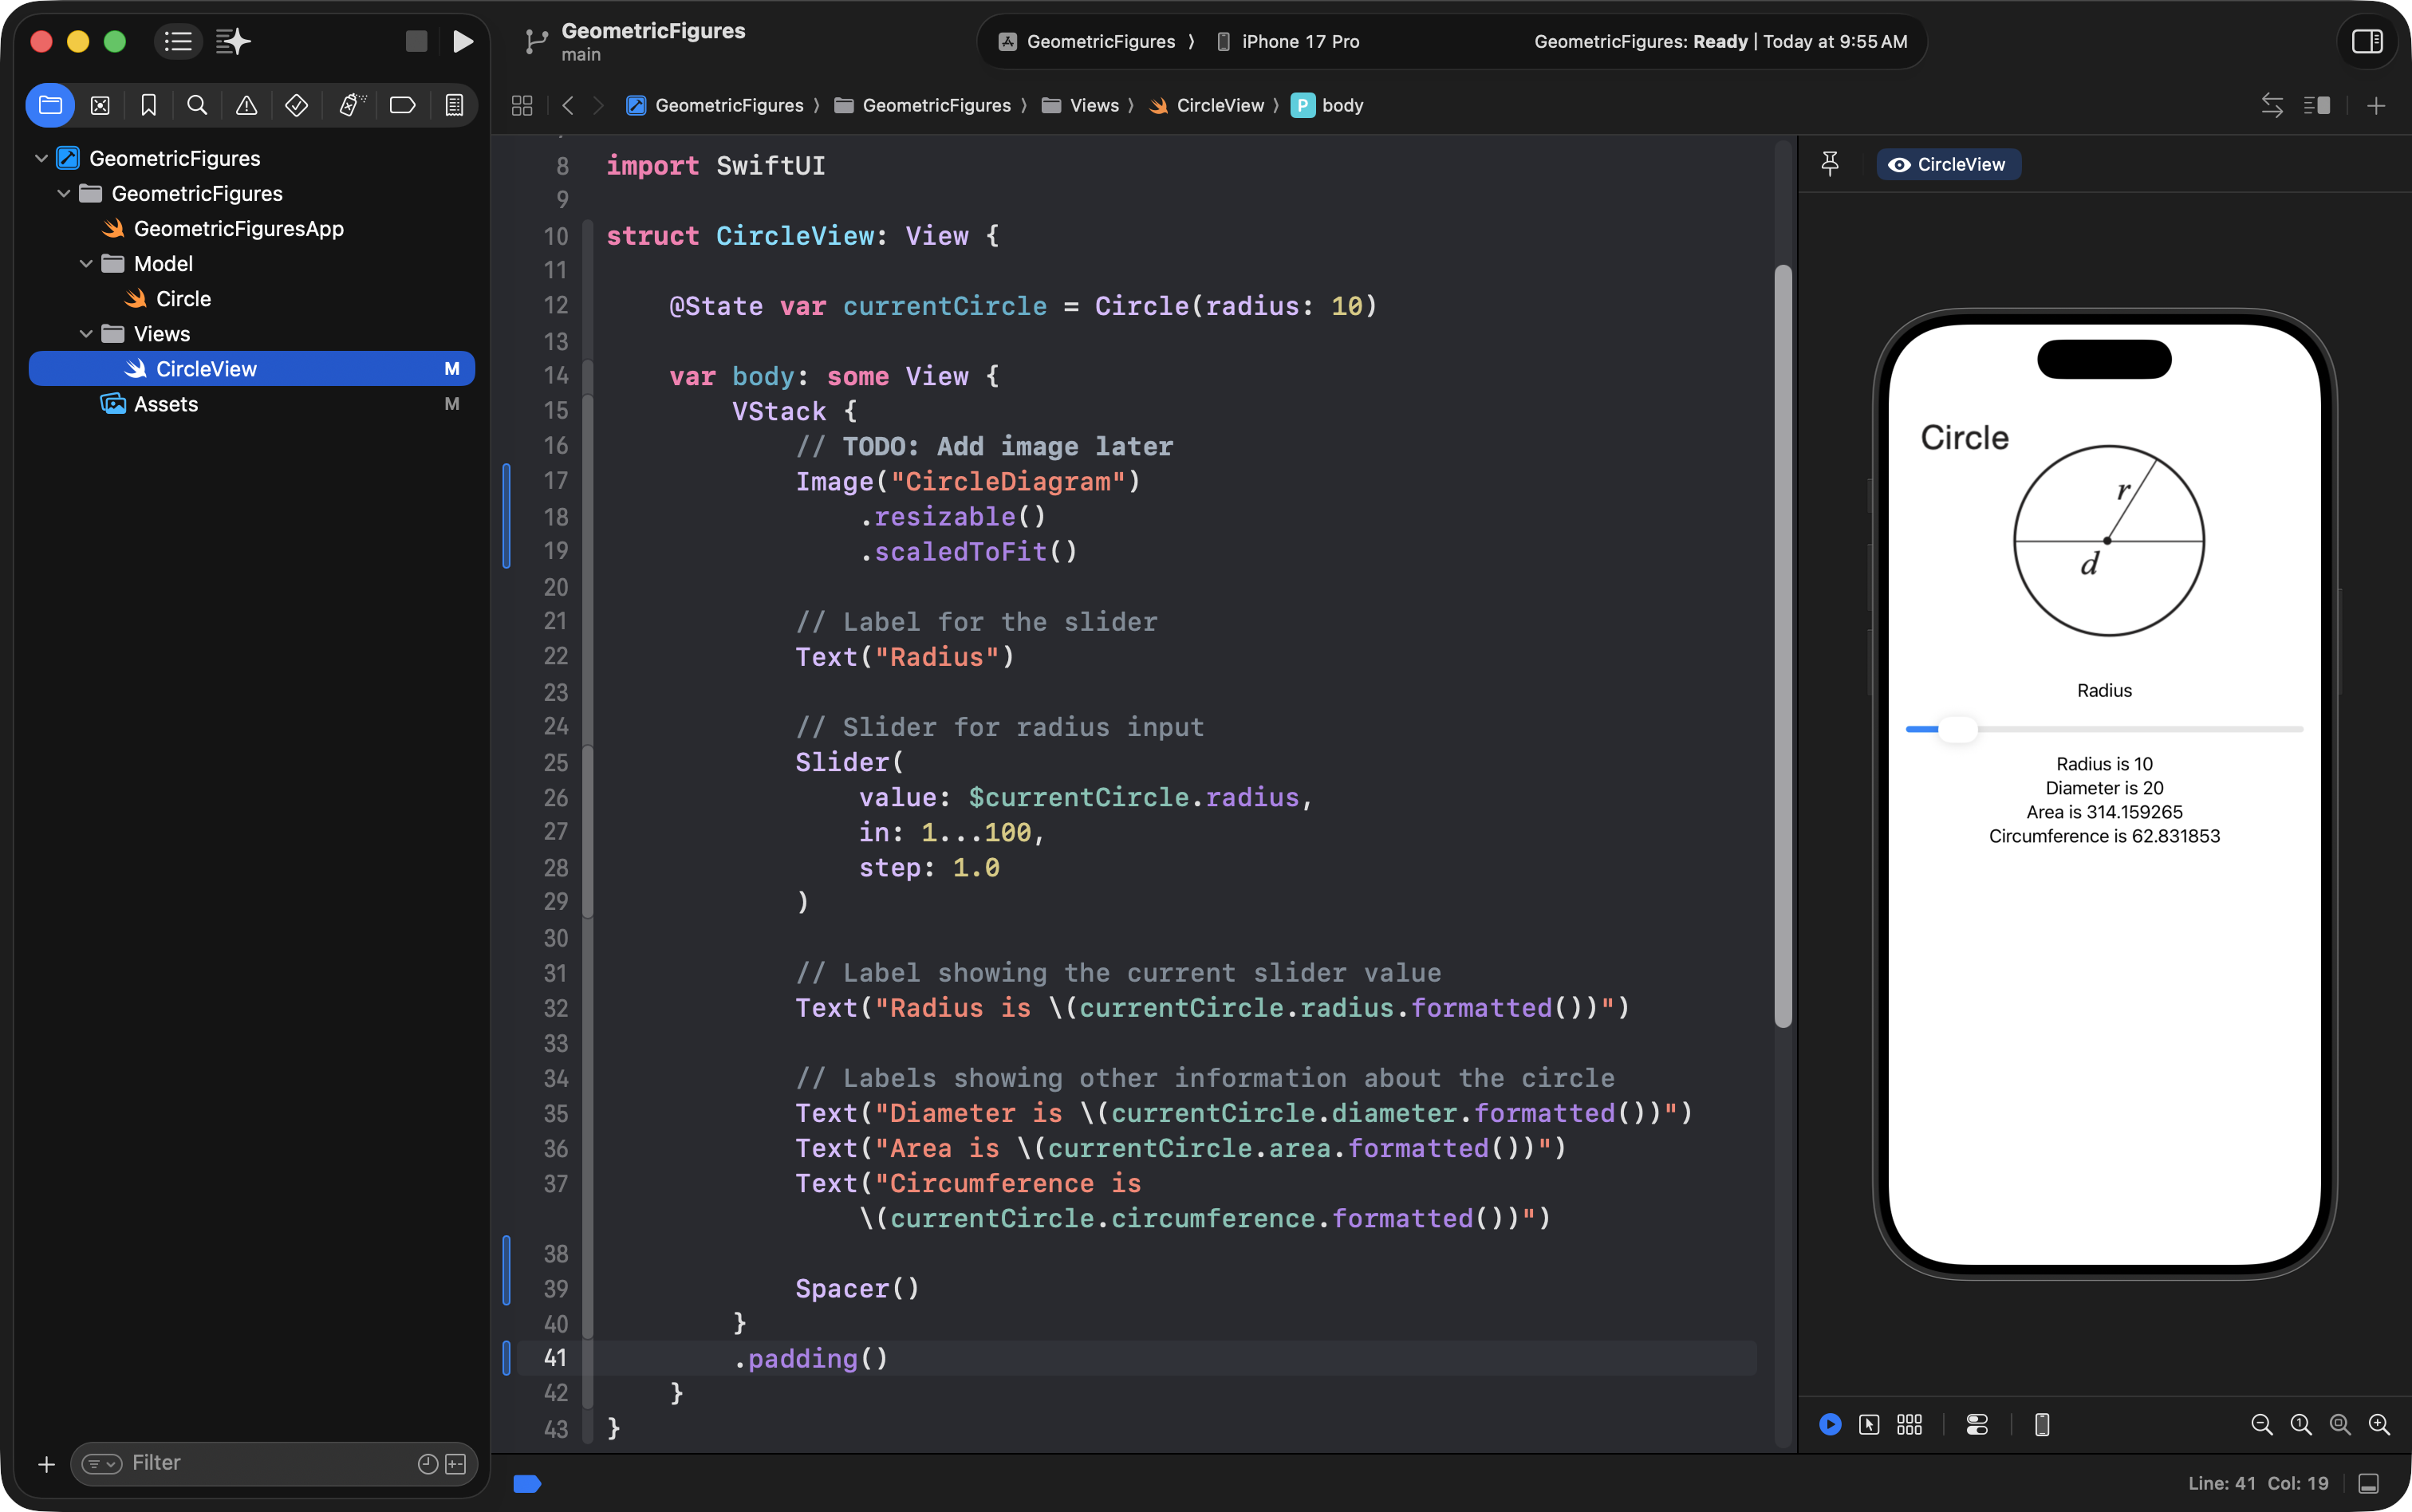
Now press Command-1 to return to the project navigator, then select the CircleView file:
Connect the model to the view
CircleView’s job is to provide a user interface to interact with a Circle.
Start with a stored property
We need a circle to work with.
You might try this, like we did earlier this year when working an Xcode playground:
let currentCircle = Circle(radius: 10)But there’s a problem…
If the user changes the radius when running our app, we need the value to change.
That means this must be a variable:
var currentCircle = Circle(radius: 10)However, this is still not enough.
Why we need @State
In SwiftUI, when stored data changes, we want the user interface to update automatically.
To tell SwiftUI “watch this value,” we mark it with a property wrapper.
In this case:
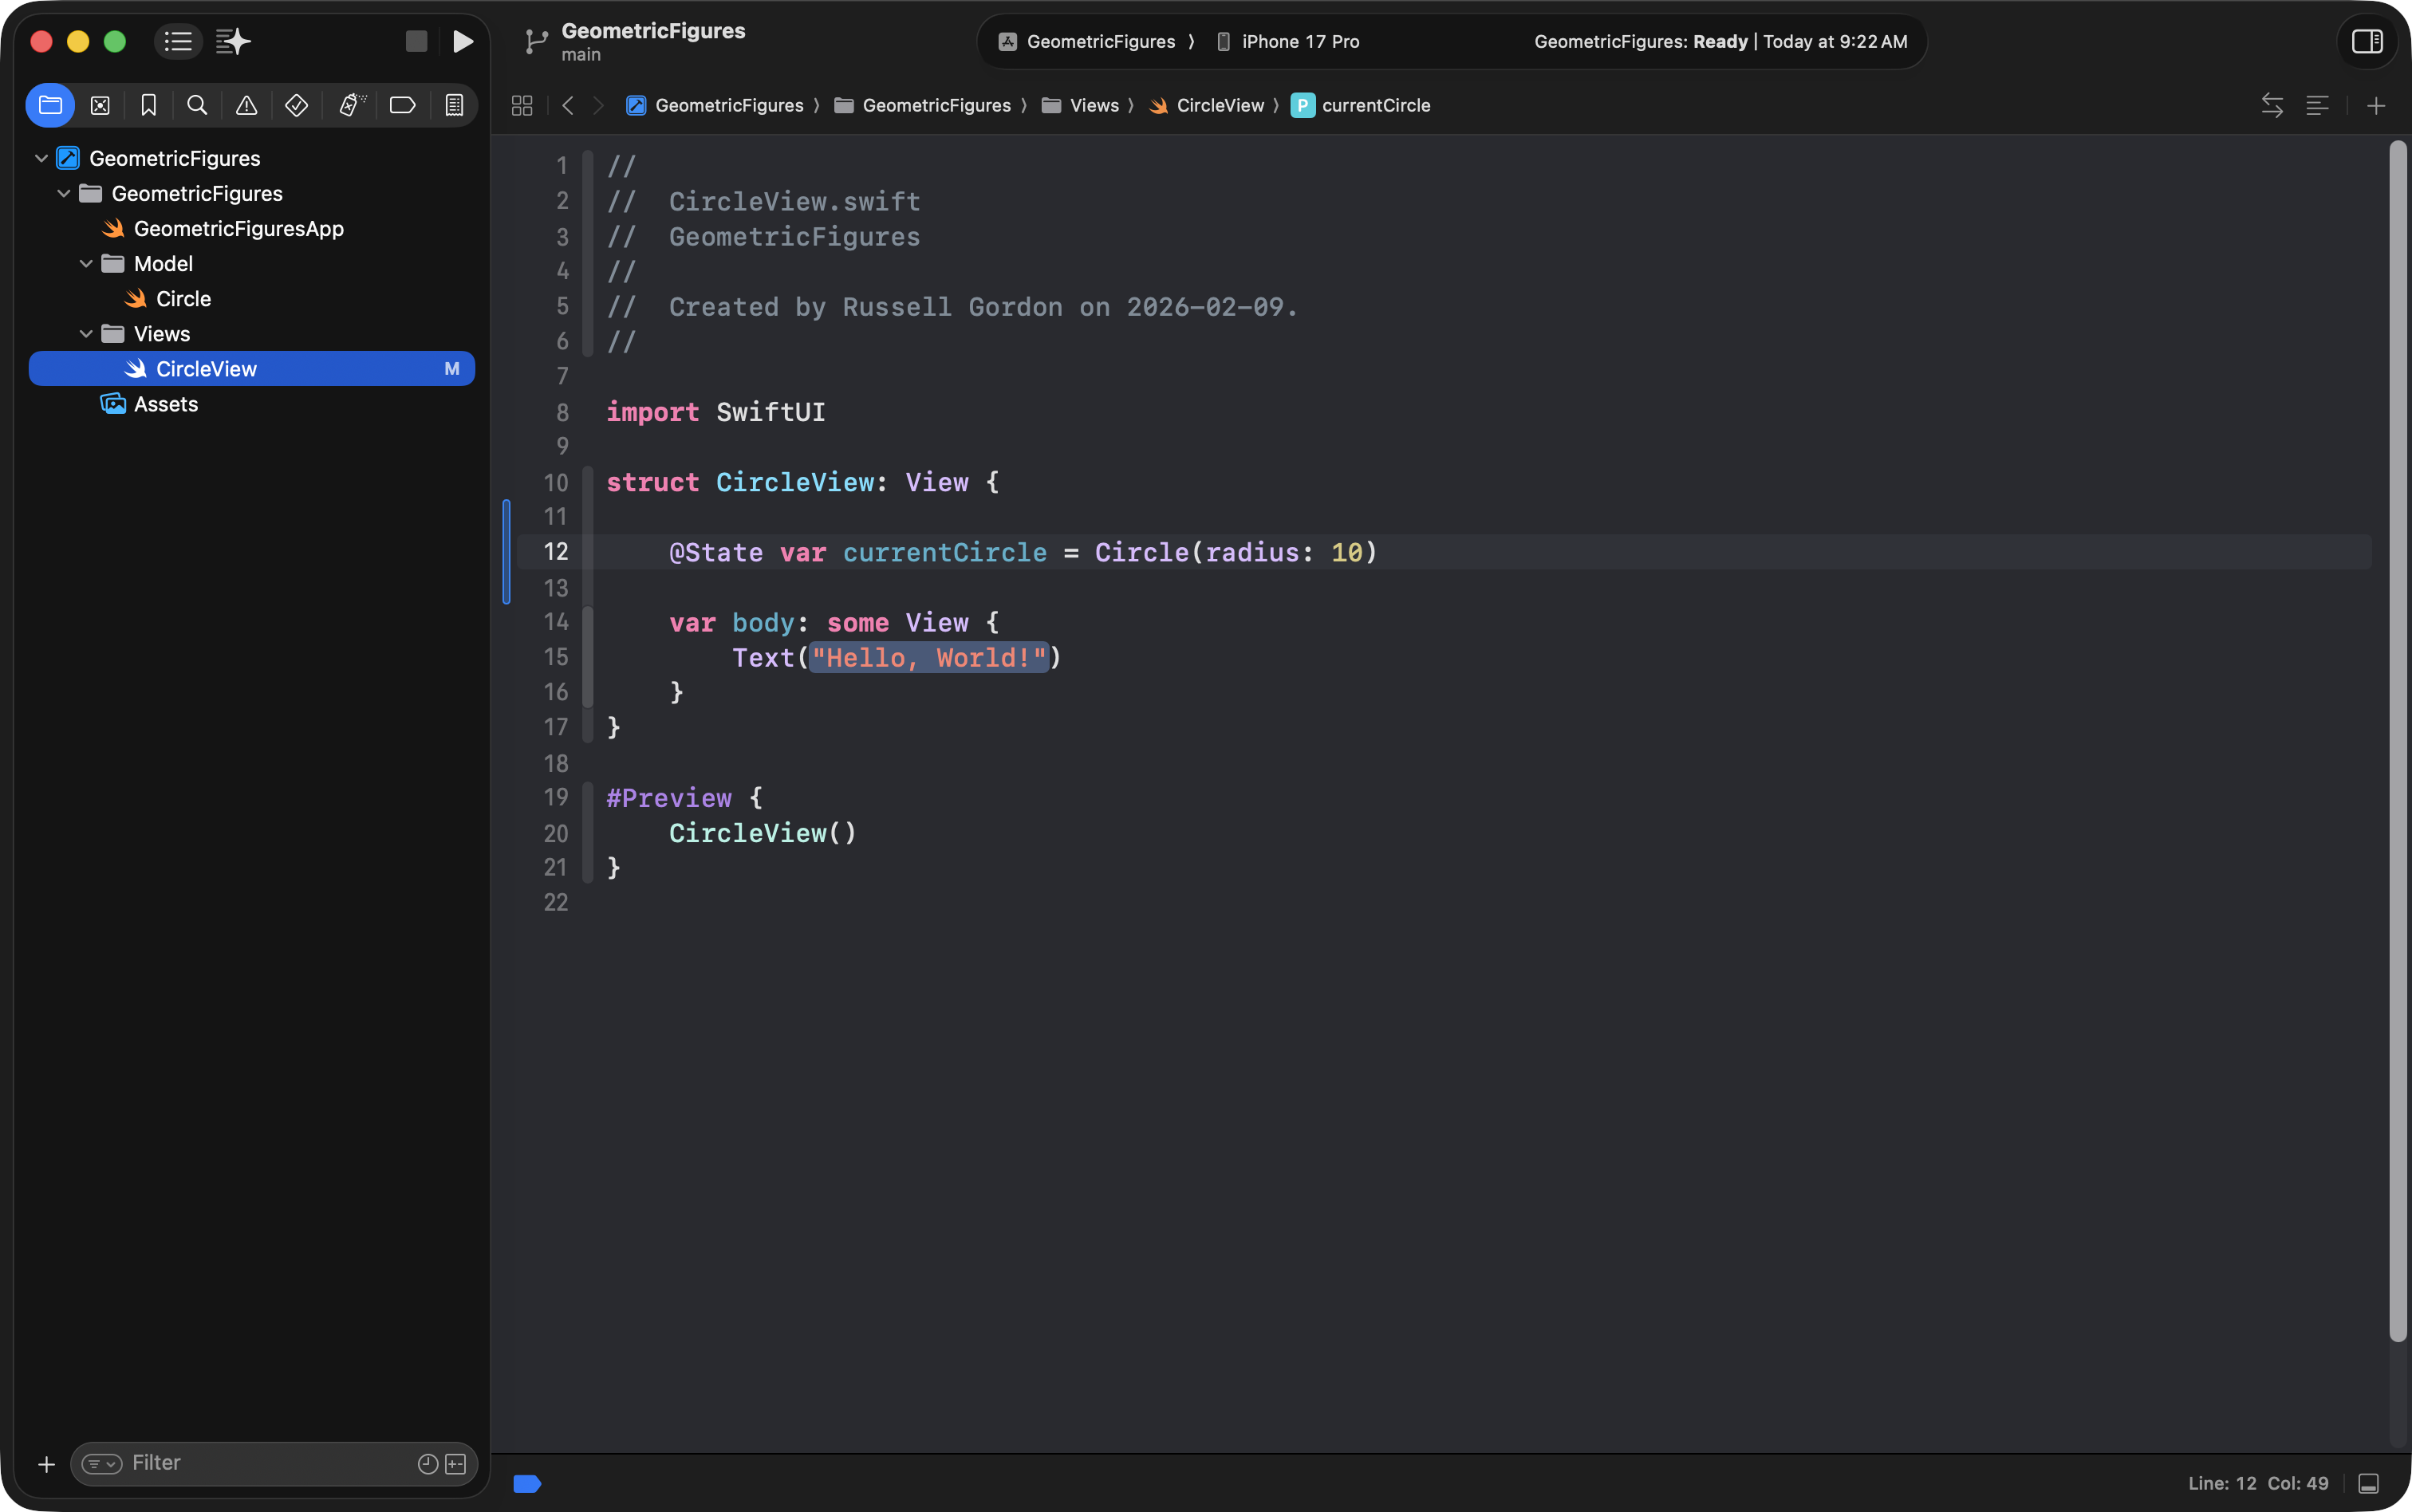
@State var currentCircle = Circle(radius: 10)@State means:
“This value may change. When it changes, update the UI.”
So, add the code above to your CircleView file, like this:
Build the UI
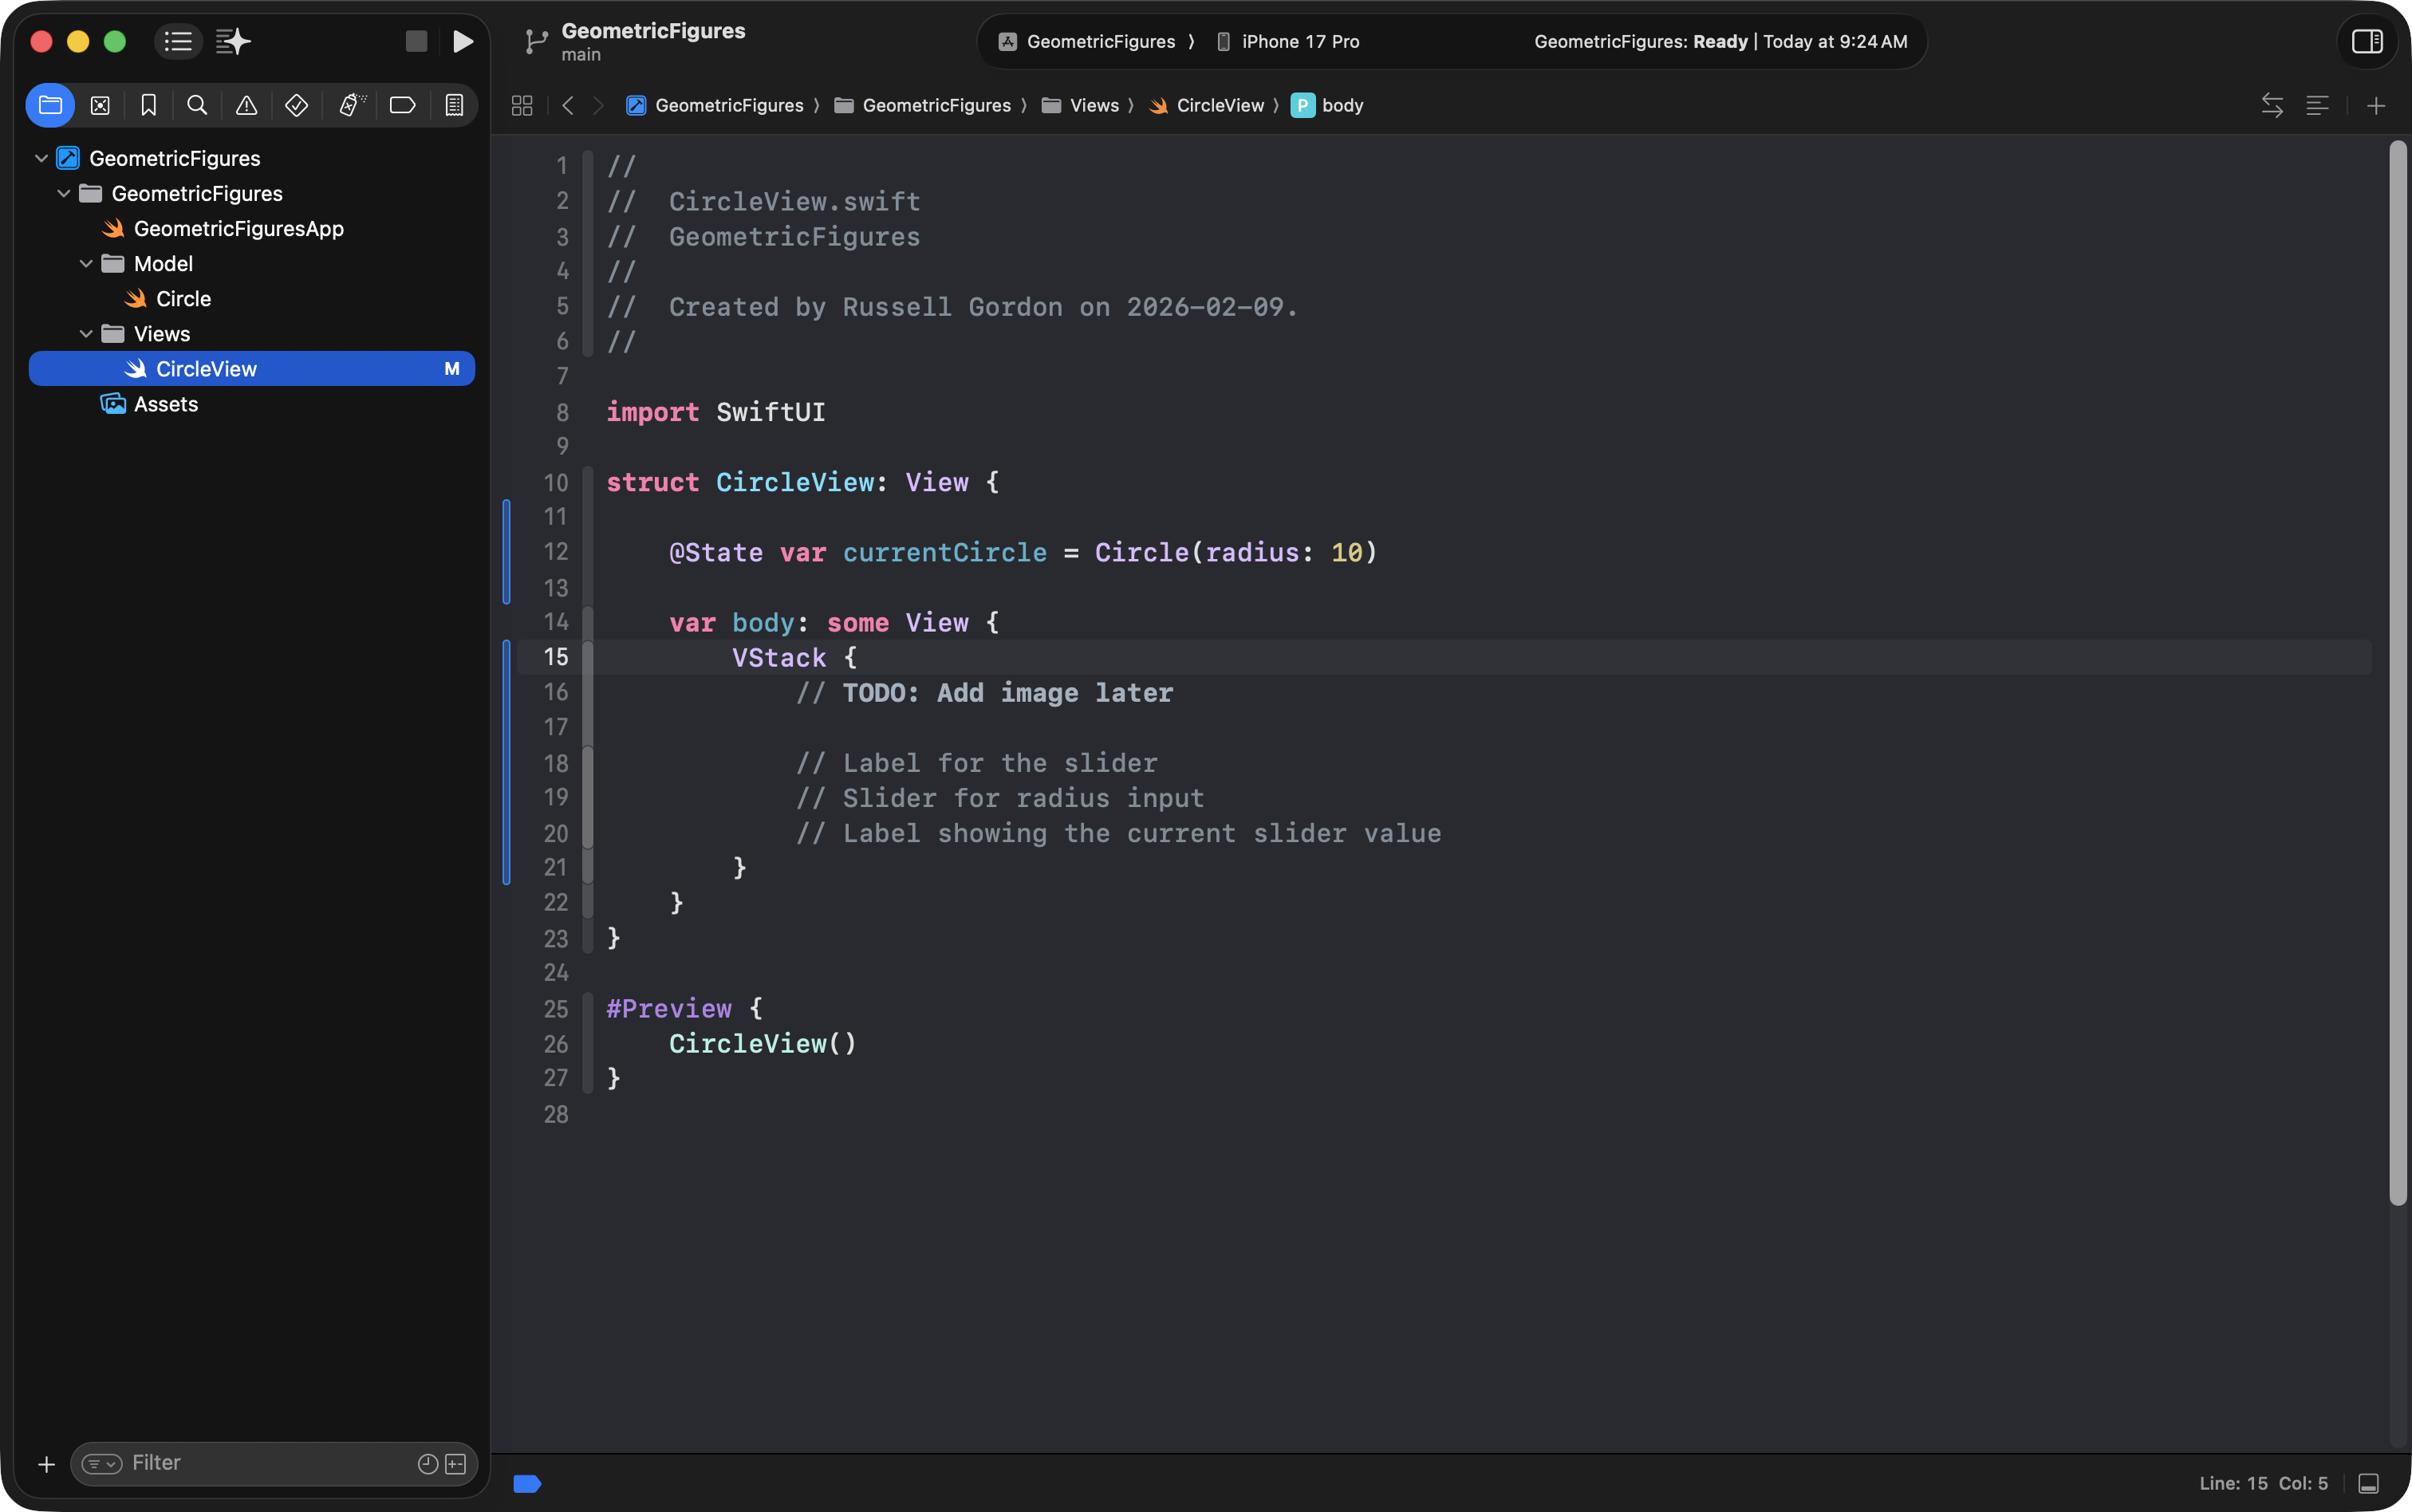
We’re going to stack items vertically, so we’ll start with a VStack.
Sometimes it helps to leave “breadcrumbs” by writing comments first.
VStack {
    // TODO: Add image later

    // Label for the slider
    // Slider for radius input
    // Label showing the current slider value
}
Remember: // starts a comment.
Here’s what you should have now:
Add a text label
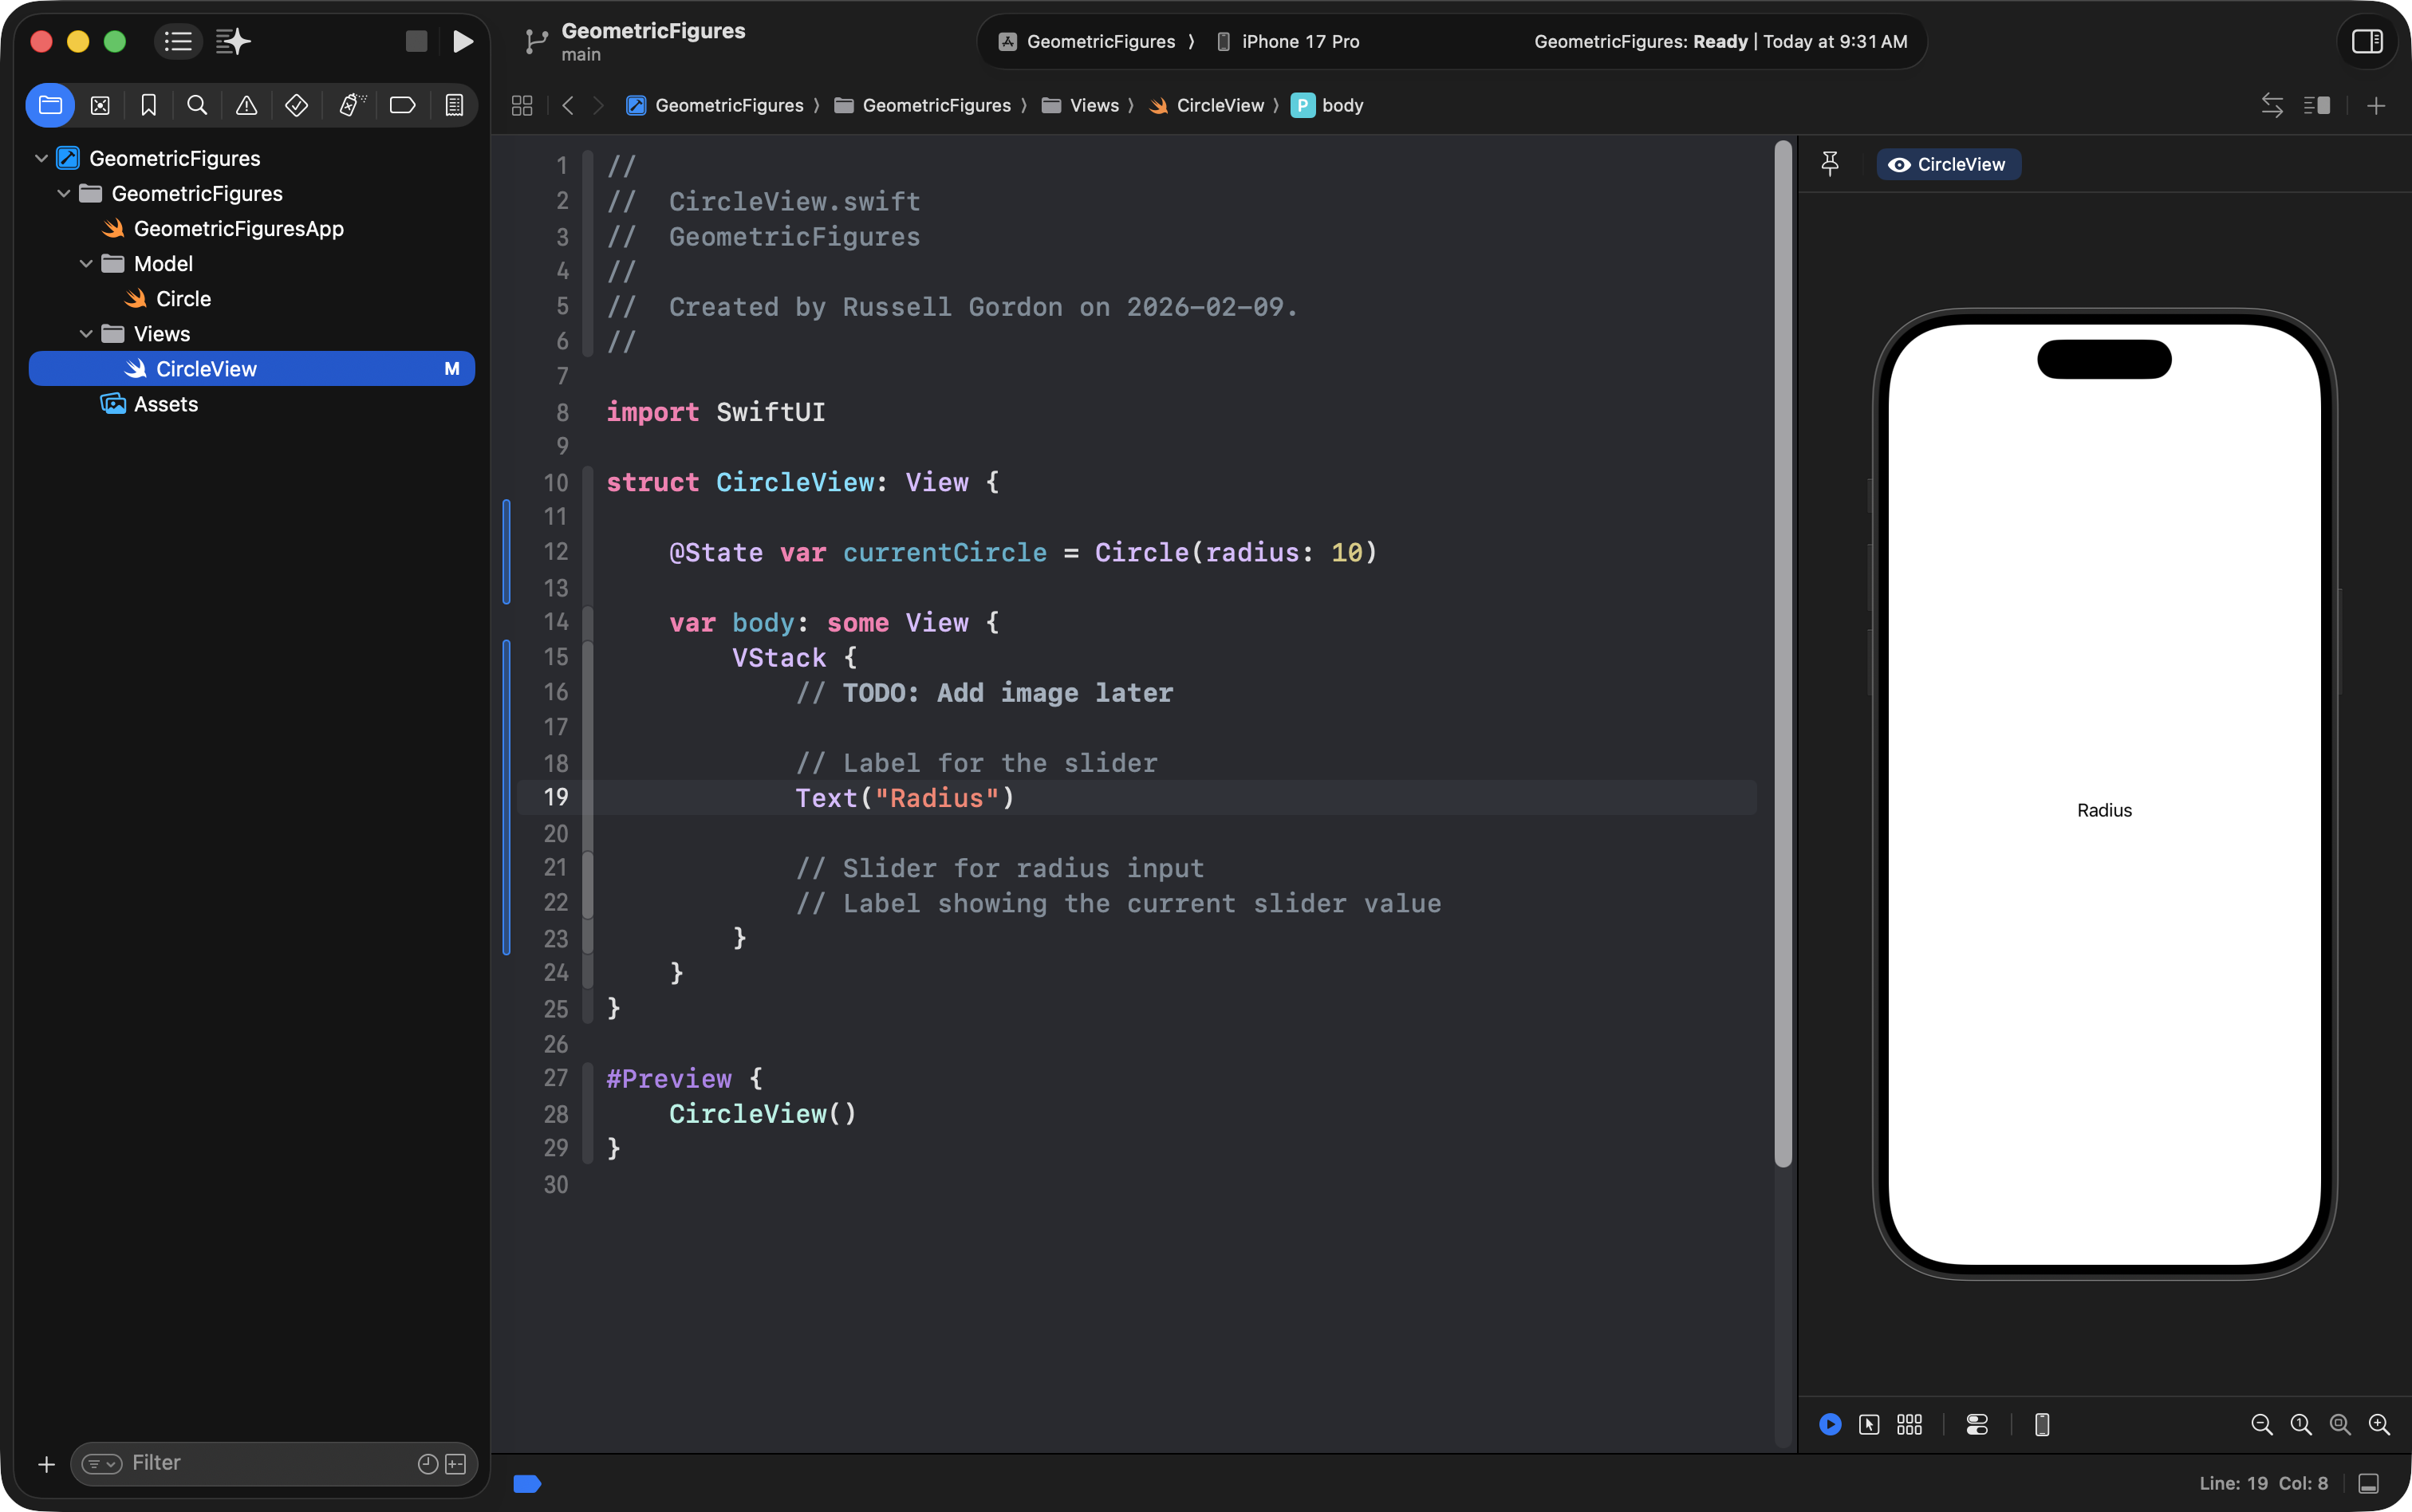
A simple label can be a Text view:
Text("Radius")… like this:
NOTE
If the Canvas area at right that shows the preview is not visible, press Option-Command-Return to open it.
If necessary, press Option-Command-P to start the preview window.
Alternatively, you can look at this view directly on your physical iPhone.
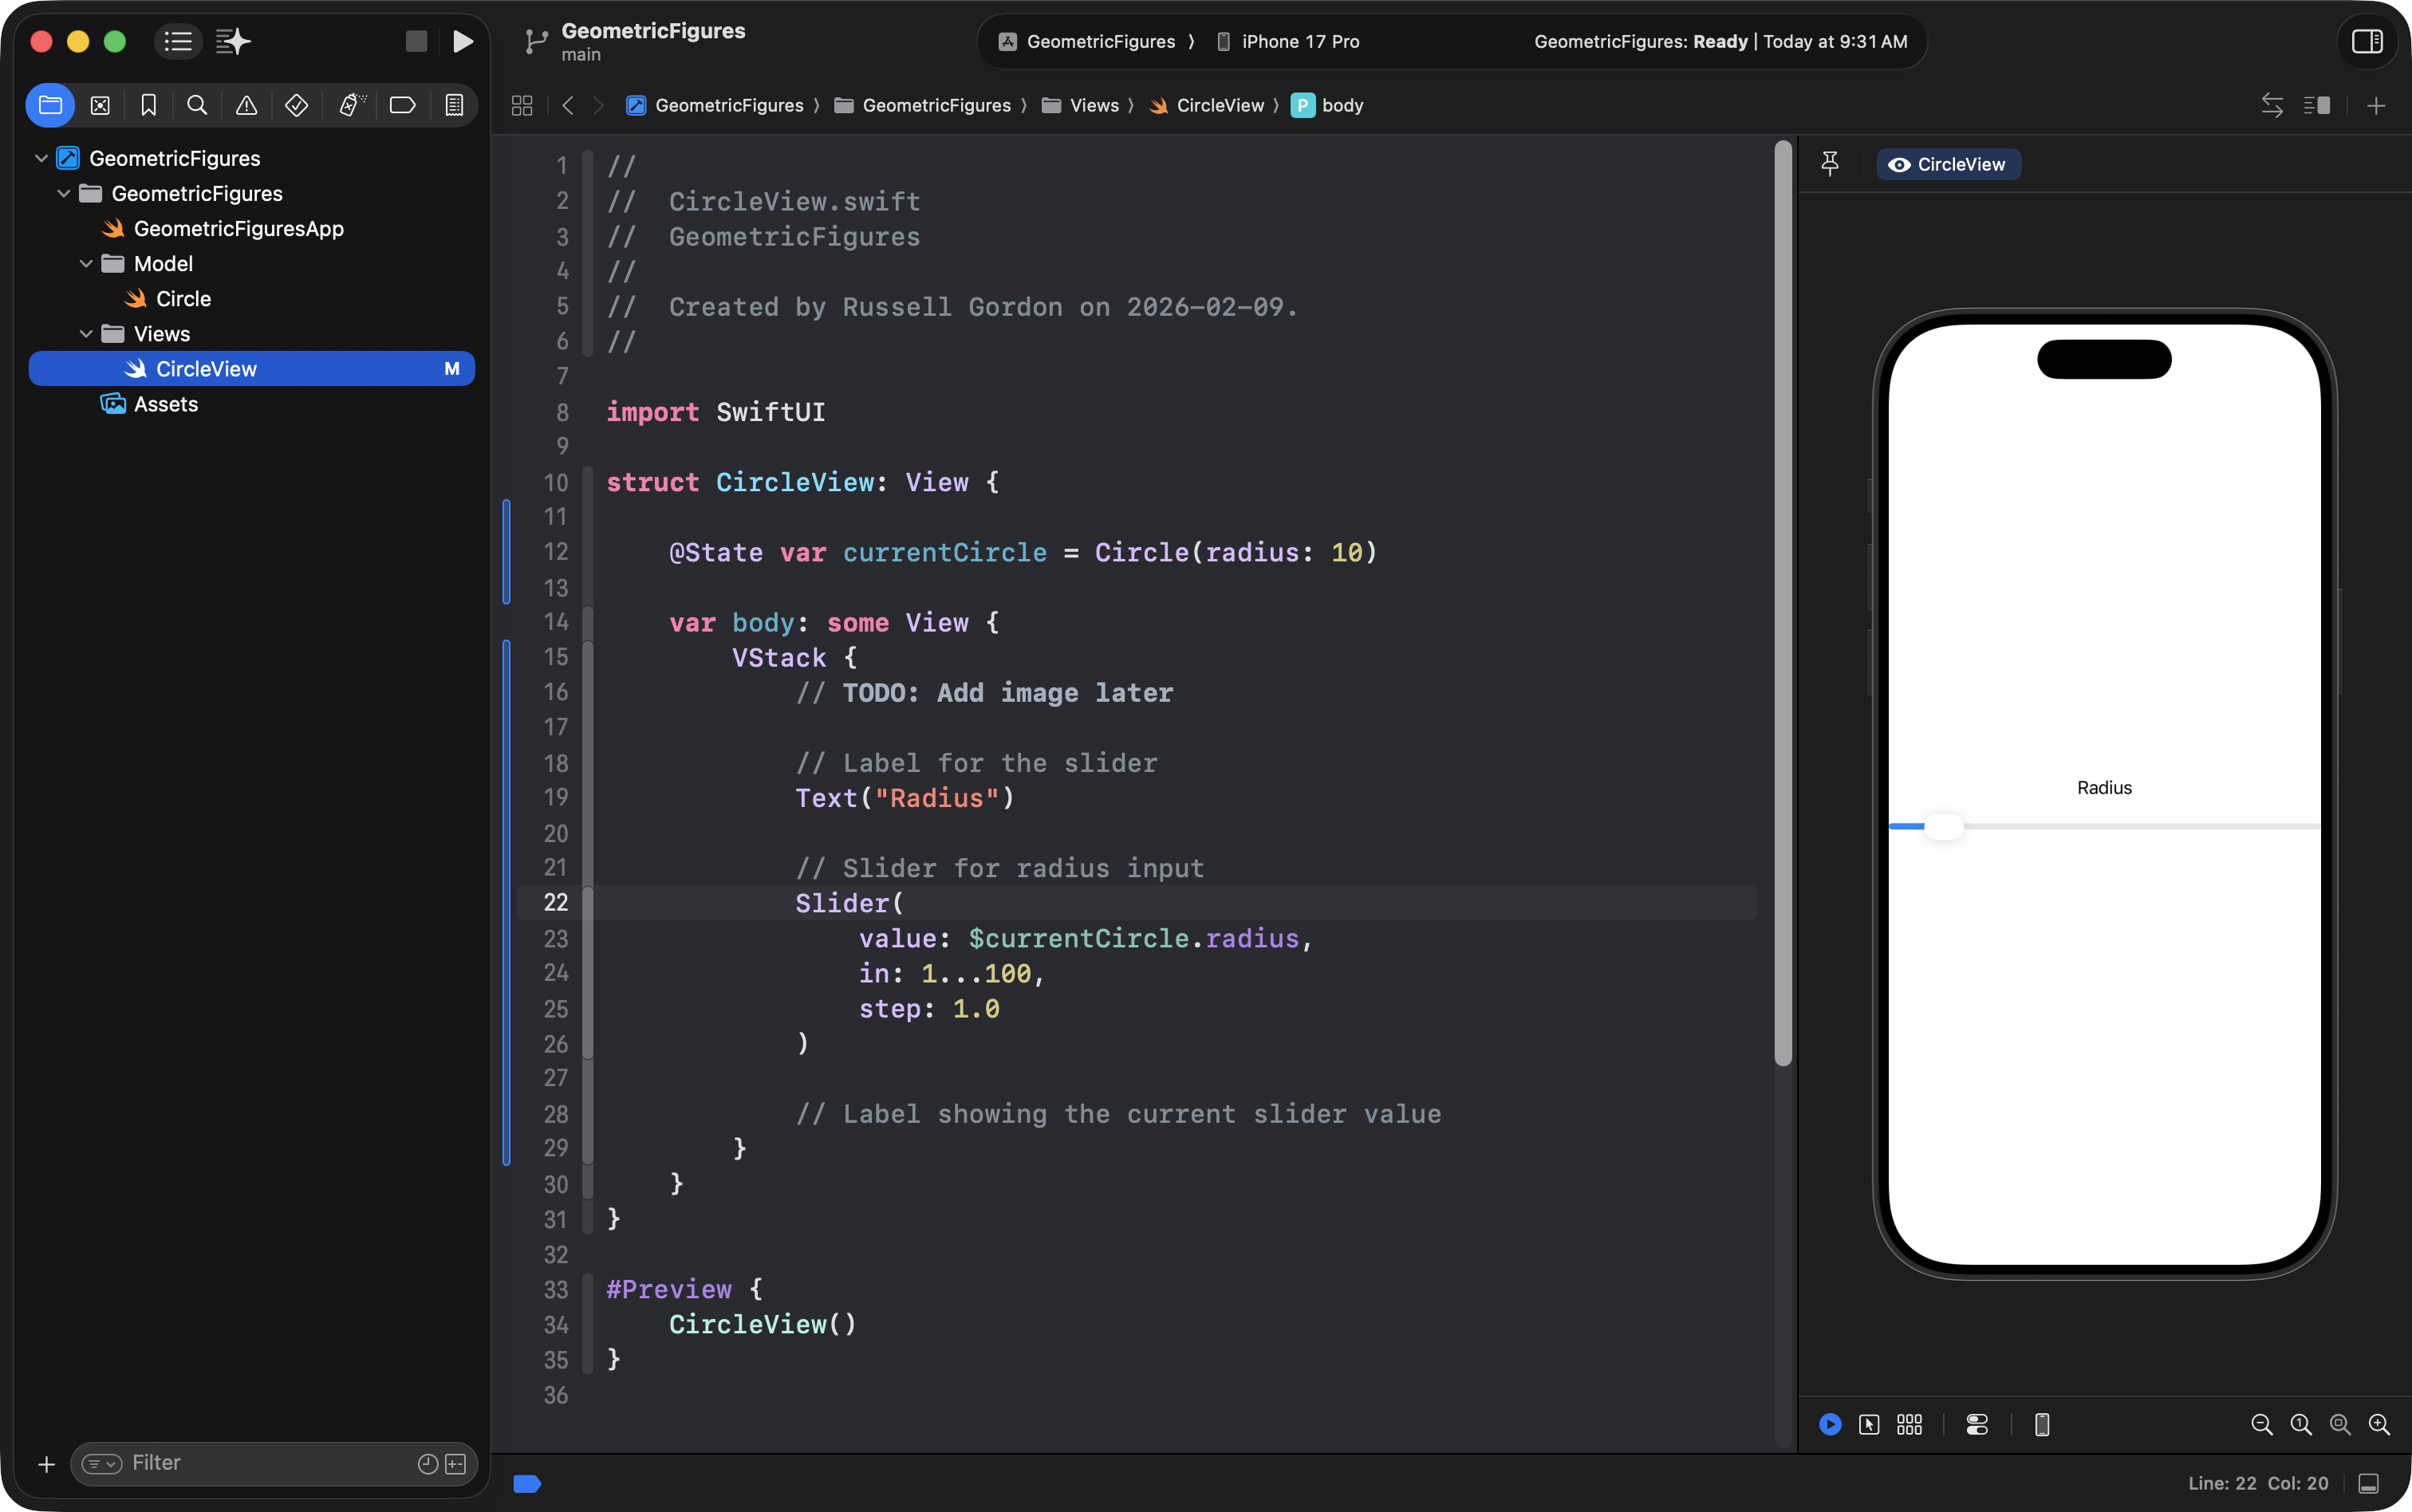
Add a Slider for input
A slider is one of the “Lego pieces” Apple has already built for you. We just connect it to our data.
When you type Slider( in Xcode, you’ll see options.
Use the arrow keys on your keyboard to move up and down the list of suggestions that Xcode will provide.
Choose the version that asks for these parameters:
- a value
- a range
- a step
Then, provide arguments (answers) for the parameters (questions), as shown:
Slider(
    value: $currentCircle.radius,
    in: 1...100,
    step: 1.0
)
… like this:
What is the $ for?
The dollar sign is the syntax that asks for a binding to be created.
It means:
“This control is connected to that stored property.”
So when you drag the slider, it updates currentCircle.radius.
Common error: radius is a let constant
If theCircle structure declares the radius like this:
let radius: Double…you’ll get an error, because a slider needs to change the value.
Fix it in the Circle.swift model file:
var radius: DoubleNow the slider can update the value when the user drags the slider’s control.
Show the current radius
Under the slider, we want to show what the current value is.
A text view needs a string. But the radius is a Double.
So we use string interpolation:
Text("Radius is \(currentCircle.radius)")String interpolation is a way to take a numeric value and display it as text (a string):

Formatting the number
A Double has lots of trailing decimal places.
This is how the computer, internally, keeps track of precise values.
You can use the built-in .formatted() function to hide the extra zeroes for presentation purposes in the UI:
Text("Radius is \(currentCircle.radius.formatted())")Now the number will look much nicer:
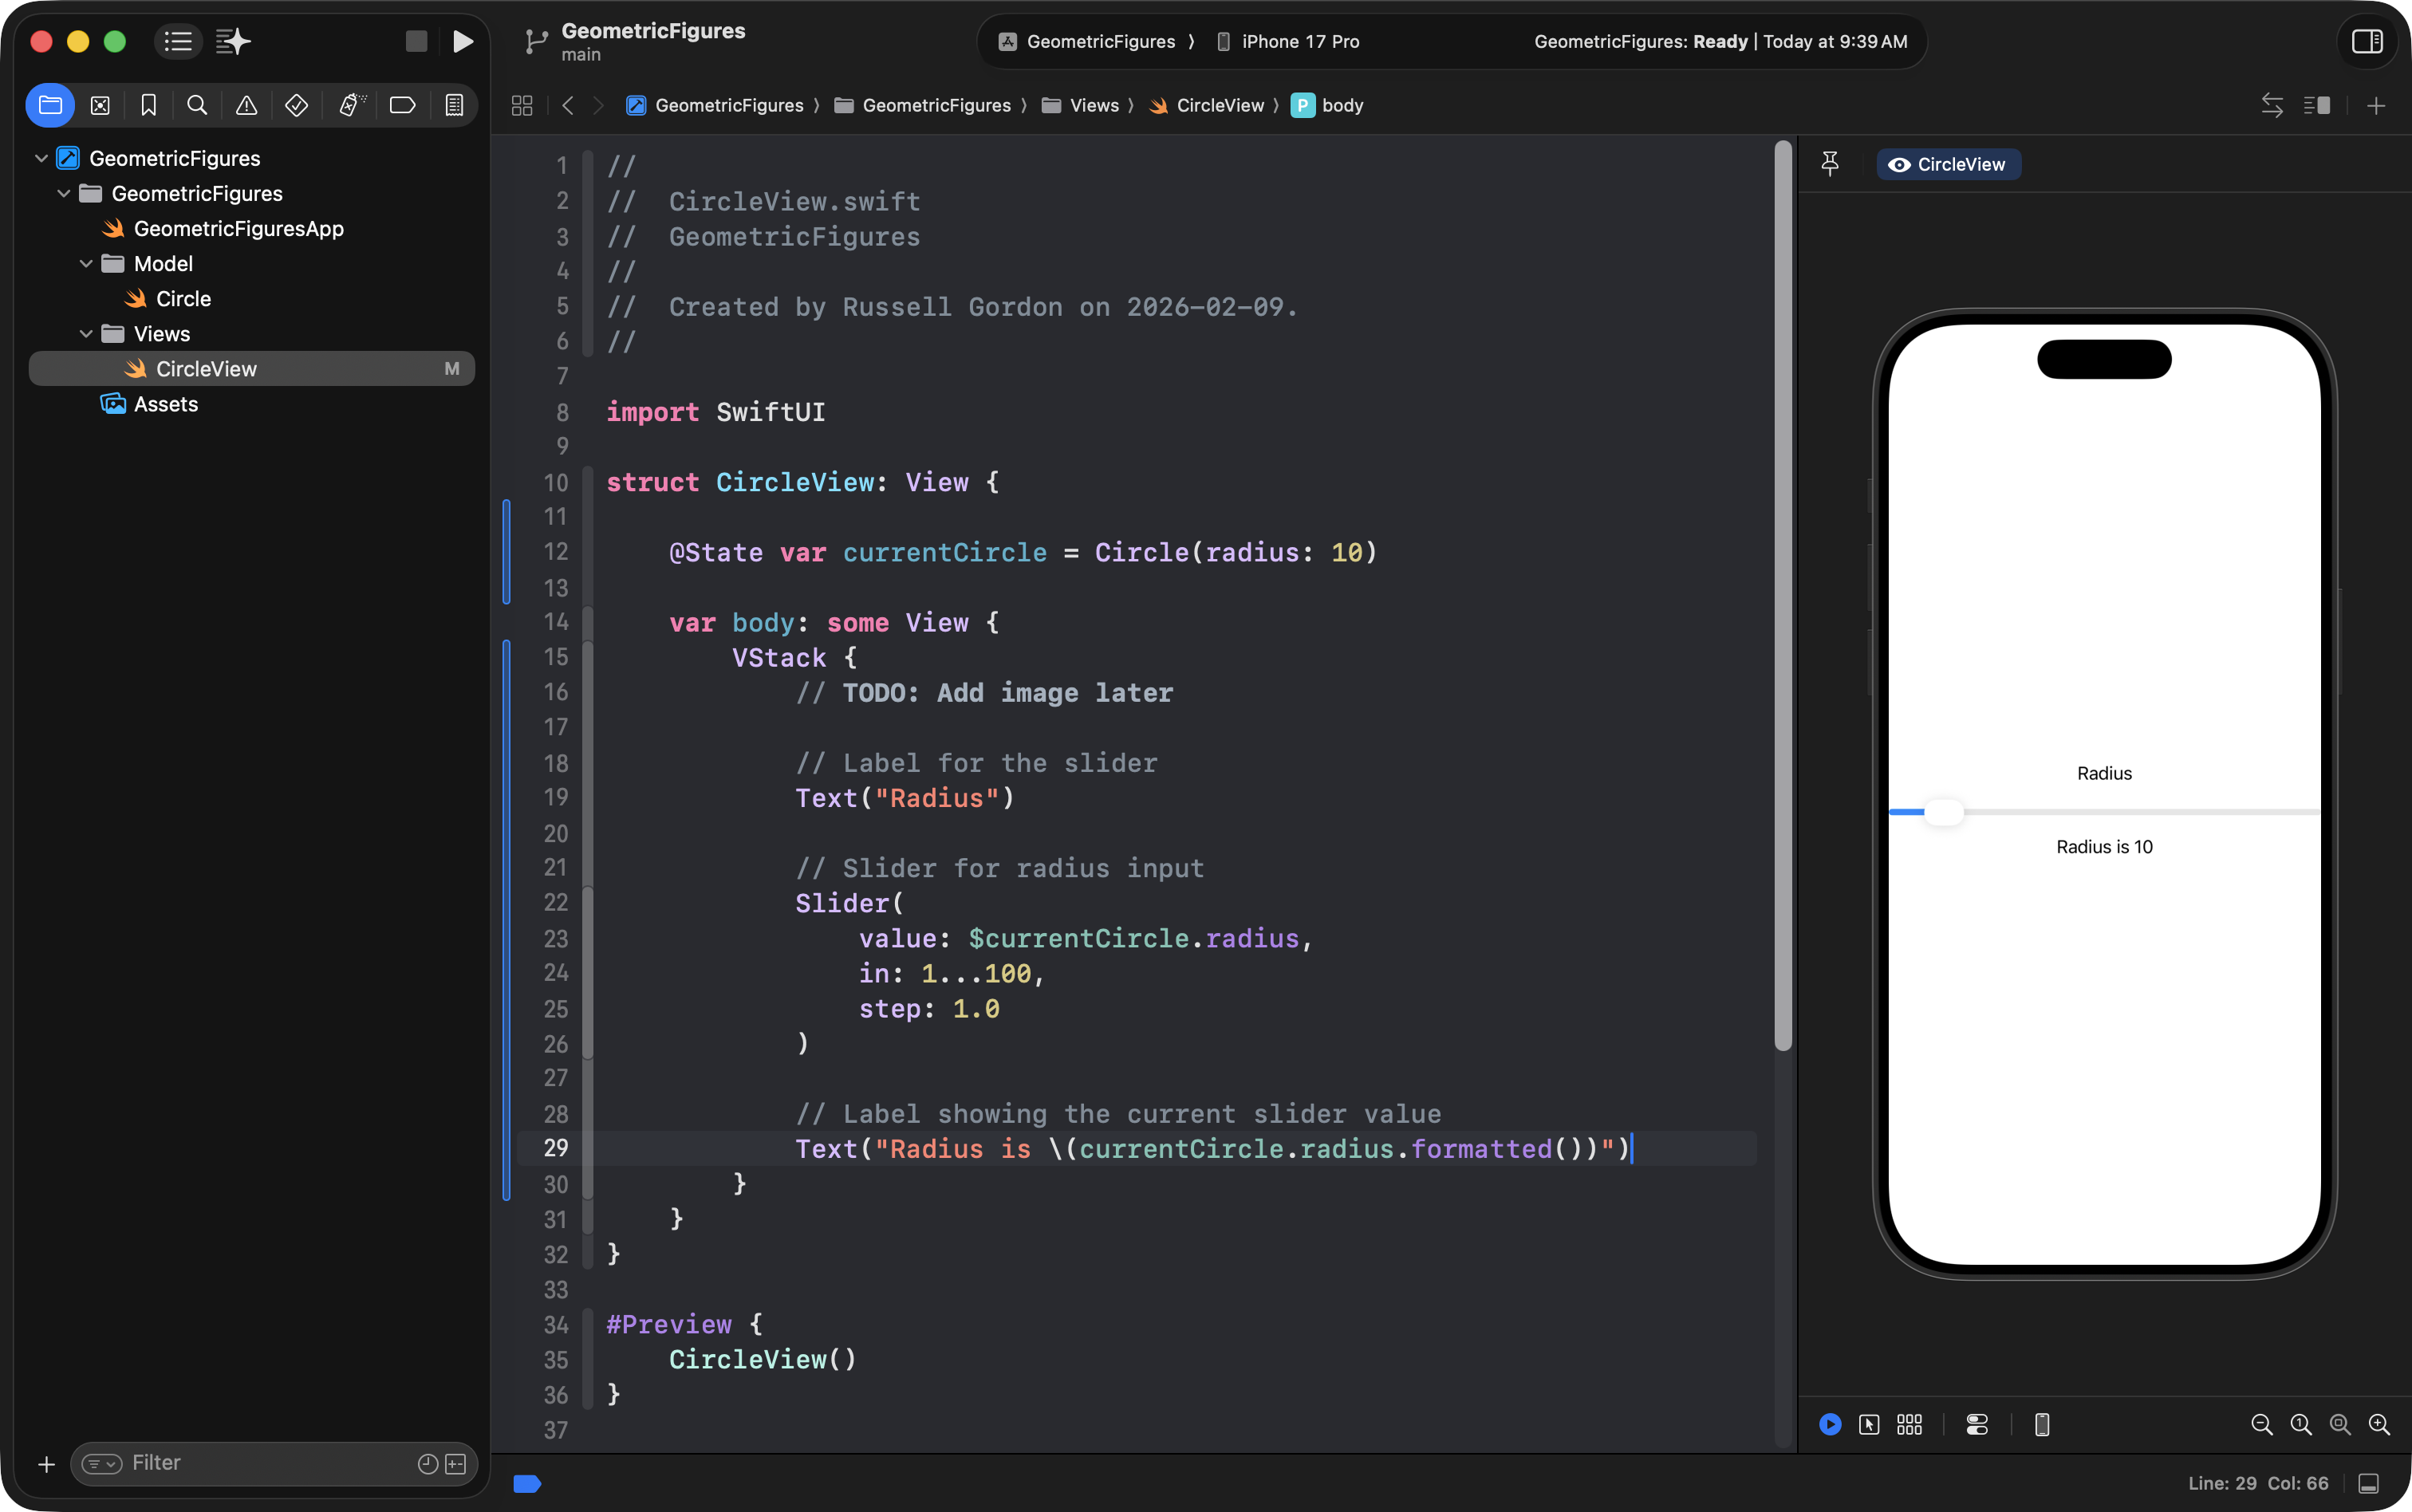
Try dragging the slider. You now have a very basic interactive app!
Save progress again
At this point, something important is working:
- You have a model
- You have a view
- The slider changes data
- The UI updates
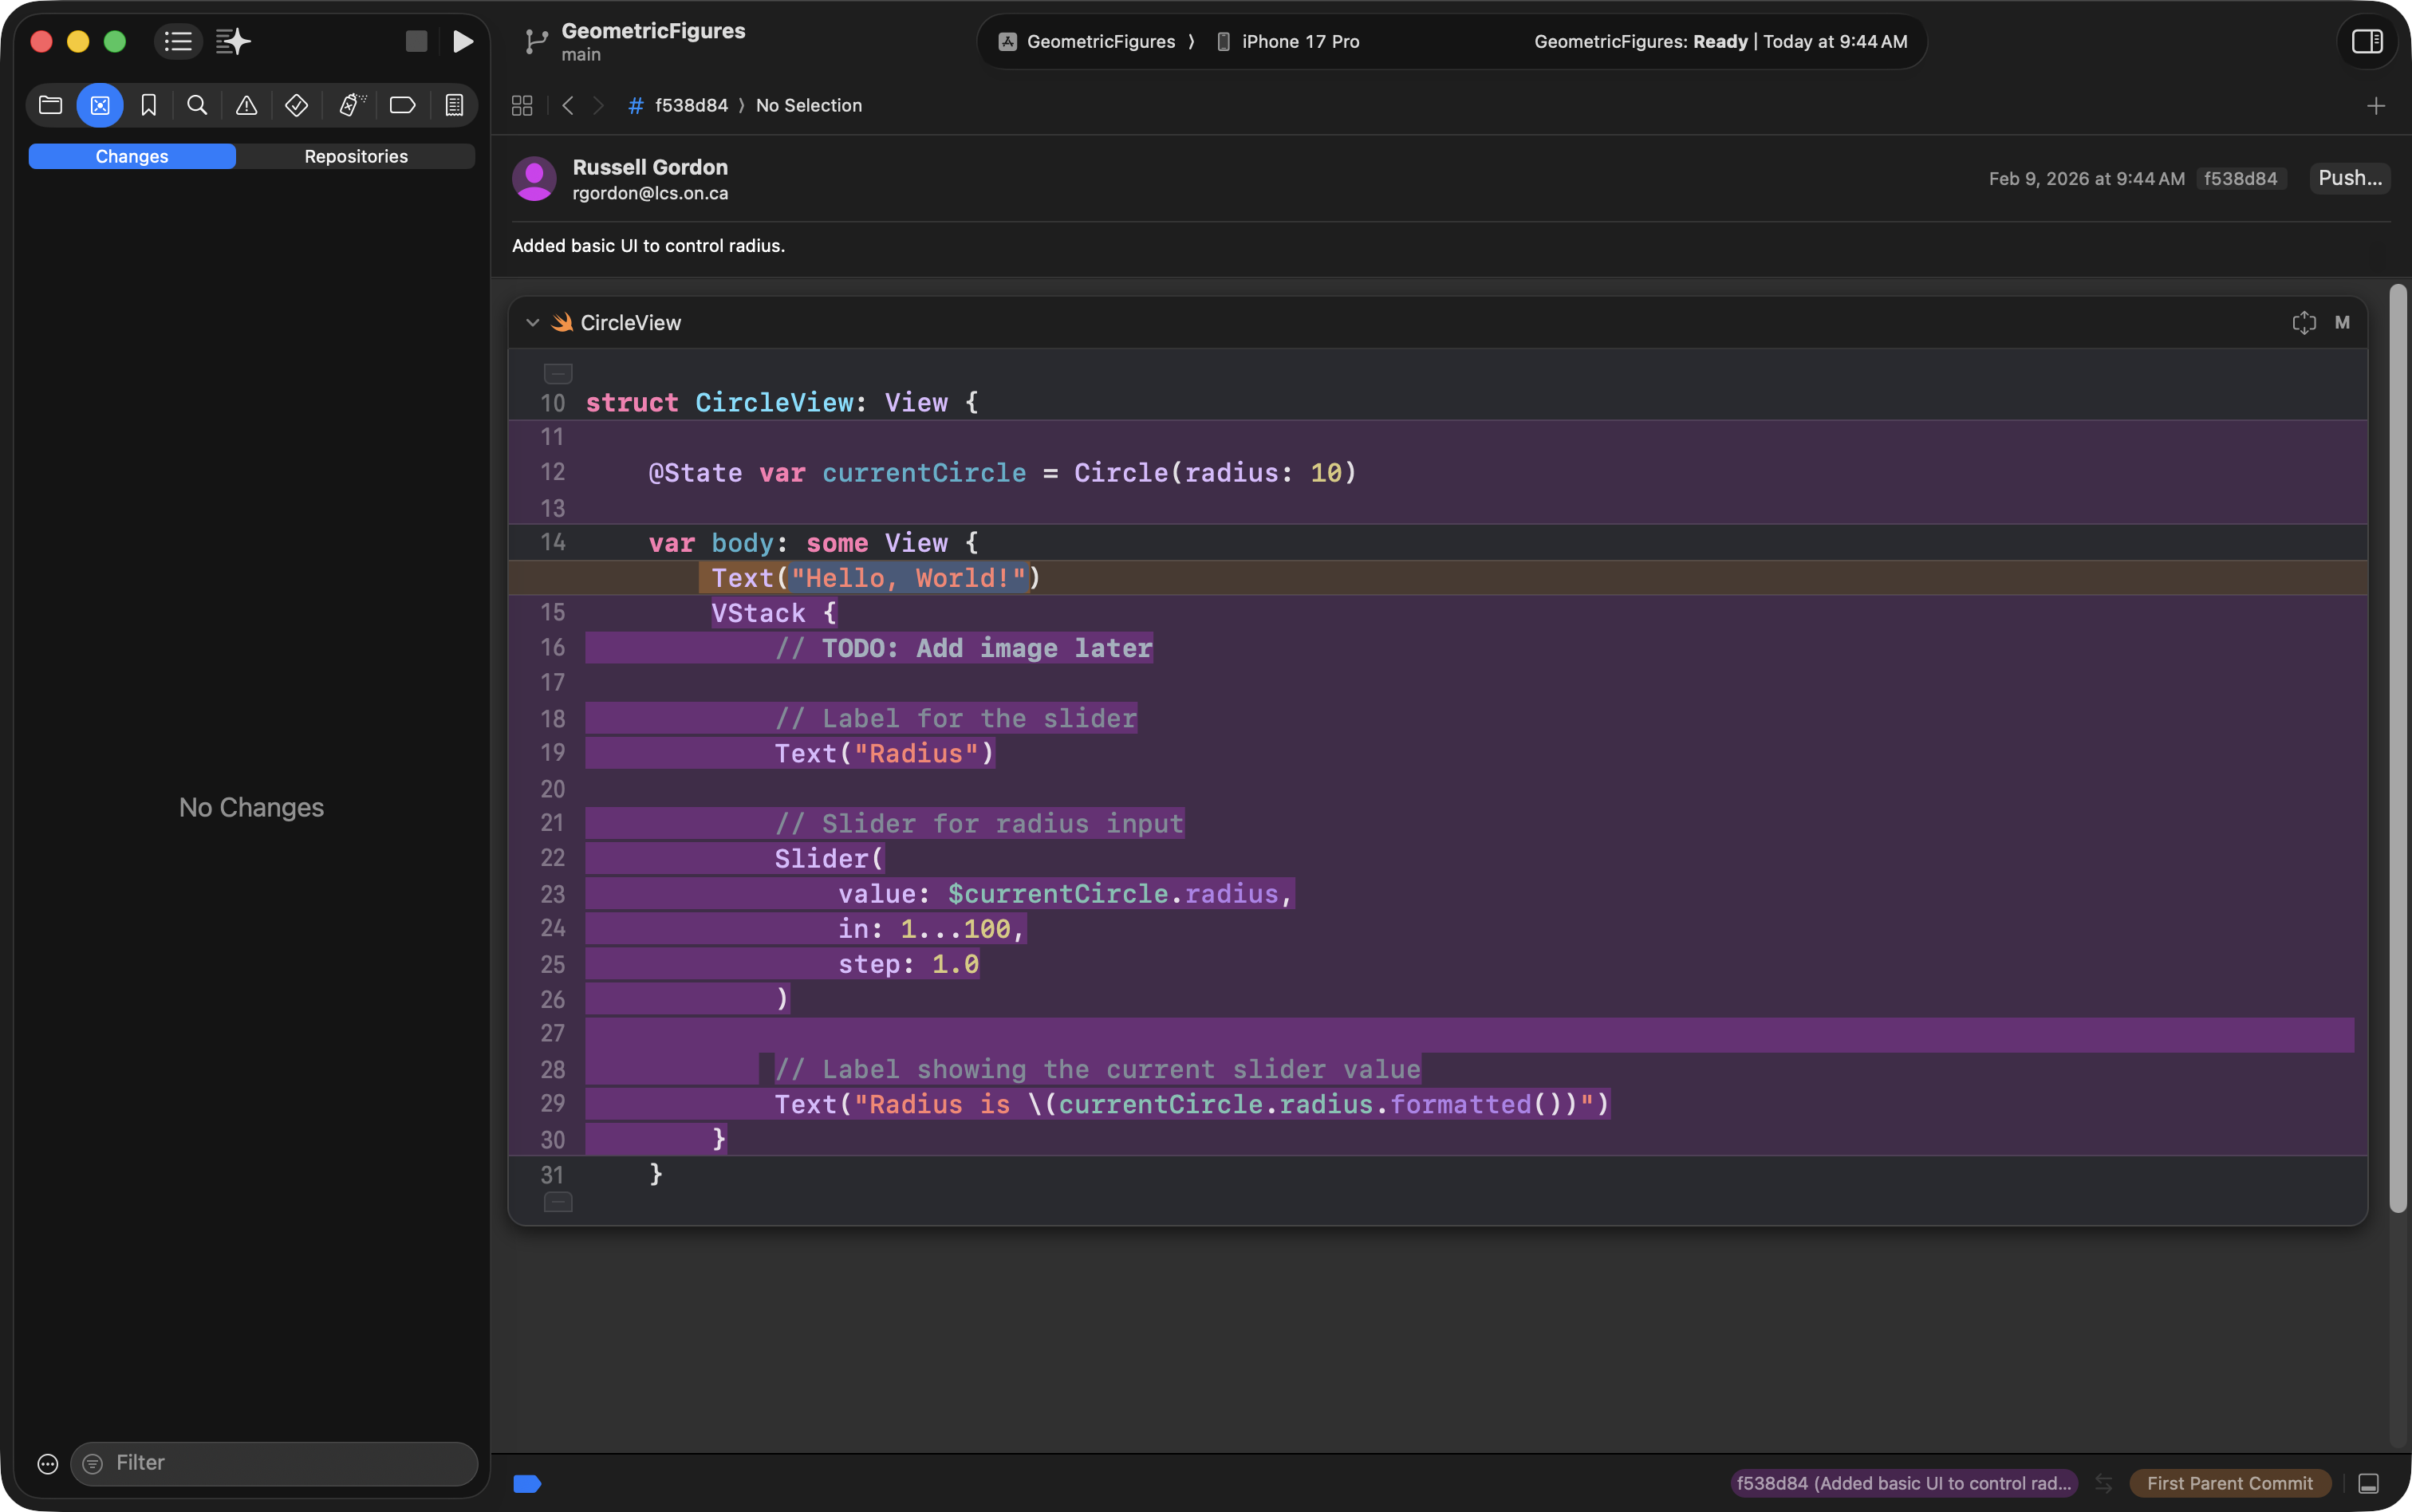
This is a perfect time to commit.
If you don’t like keyboard shortcuts, here is another way to commit your work, using the menus instead.
- Open the Integrate menu
- Choose Commit…
- Write a clear message, for example:
Added basic UI to control radius.
- Click Stage All
- Click Commit
Then go back to the Integrate menu and choose Push to send the commit to GitHub.
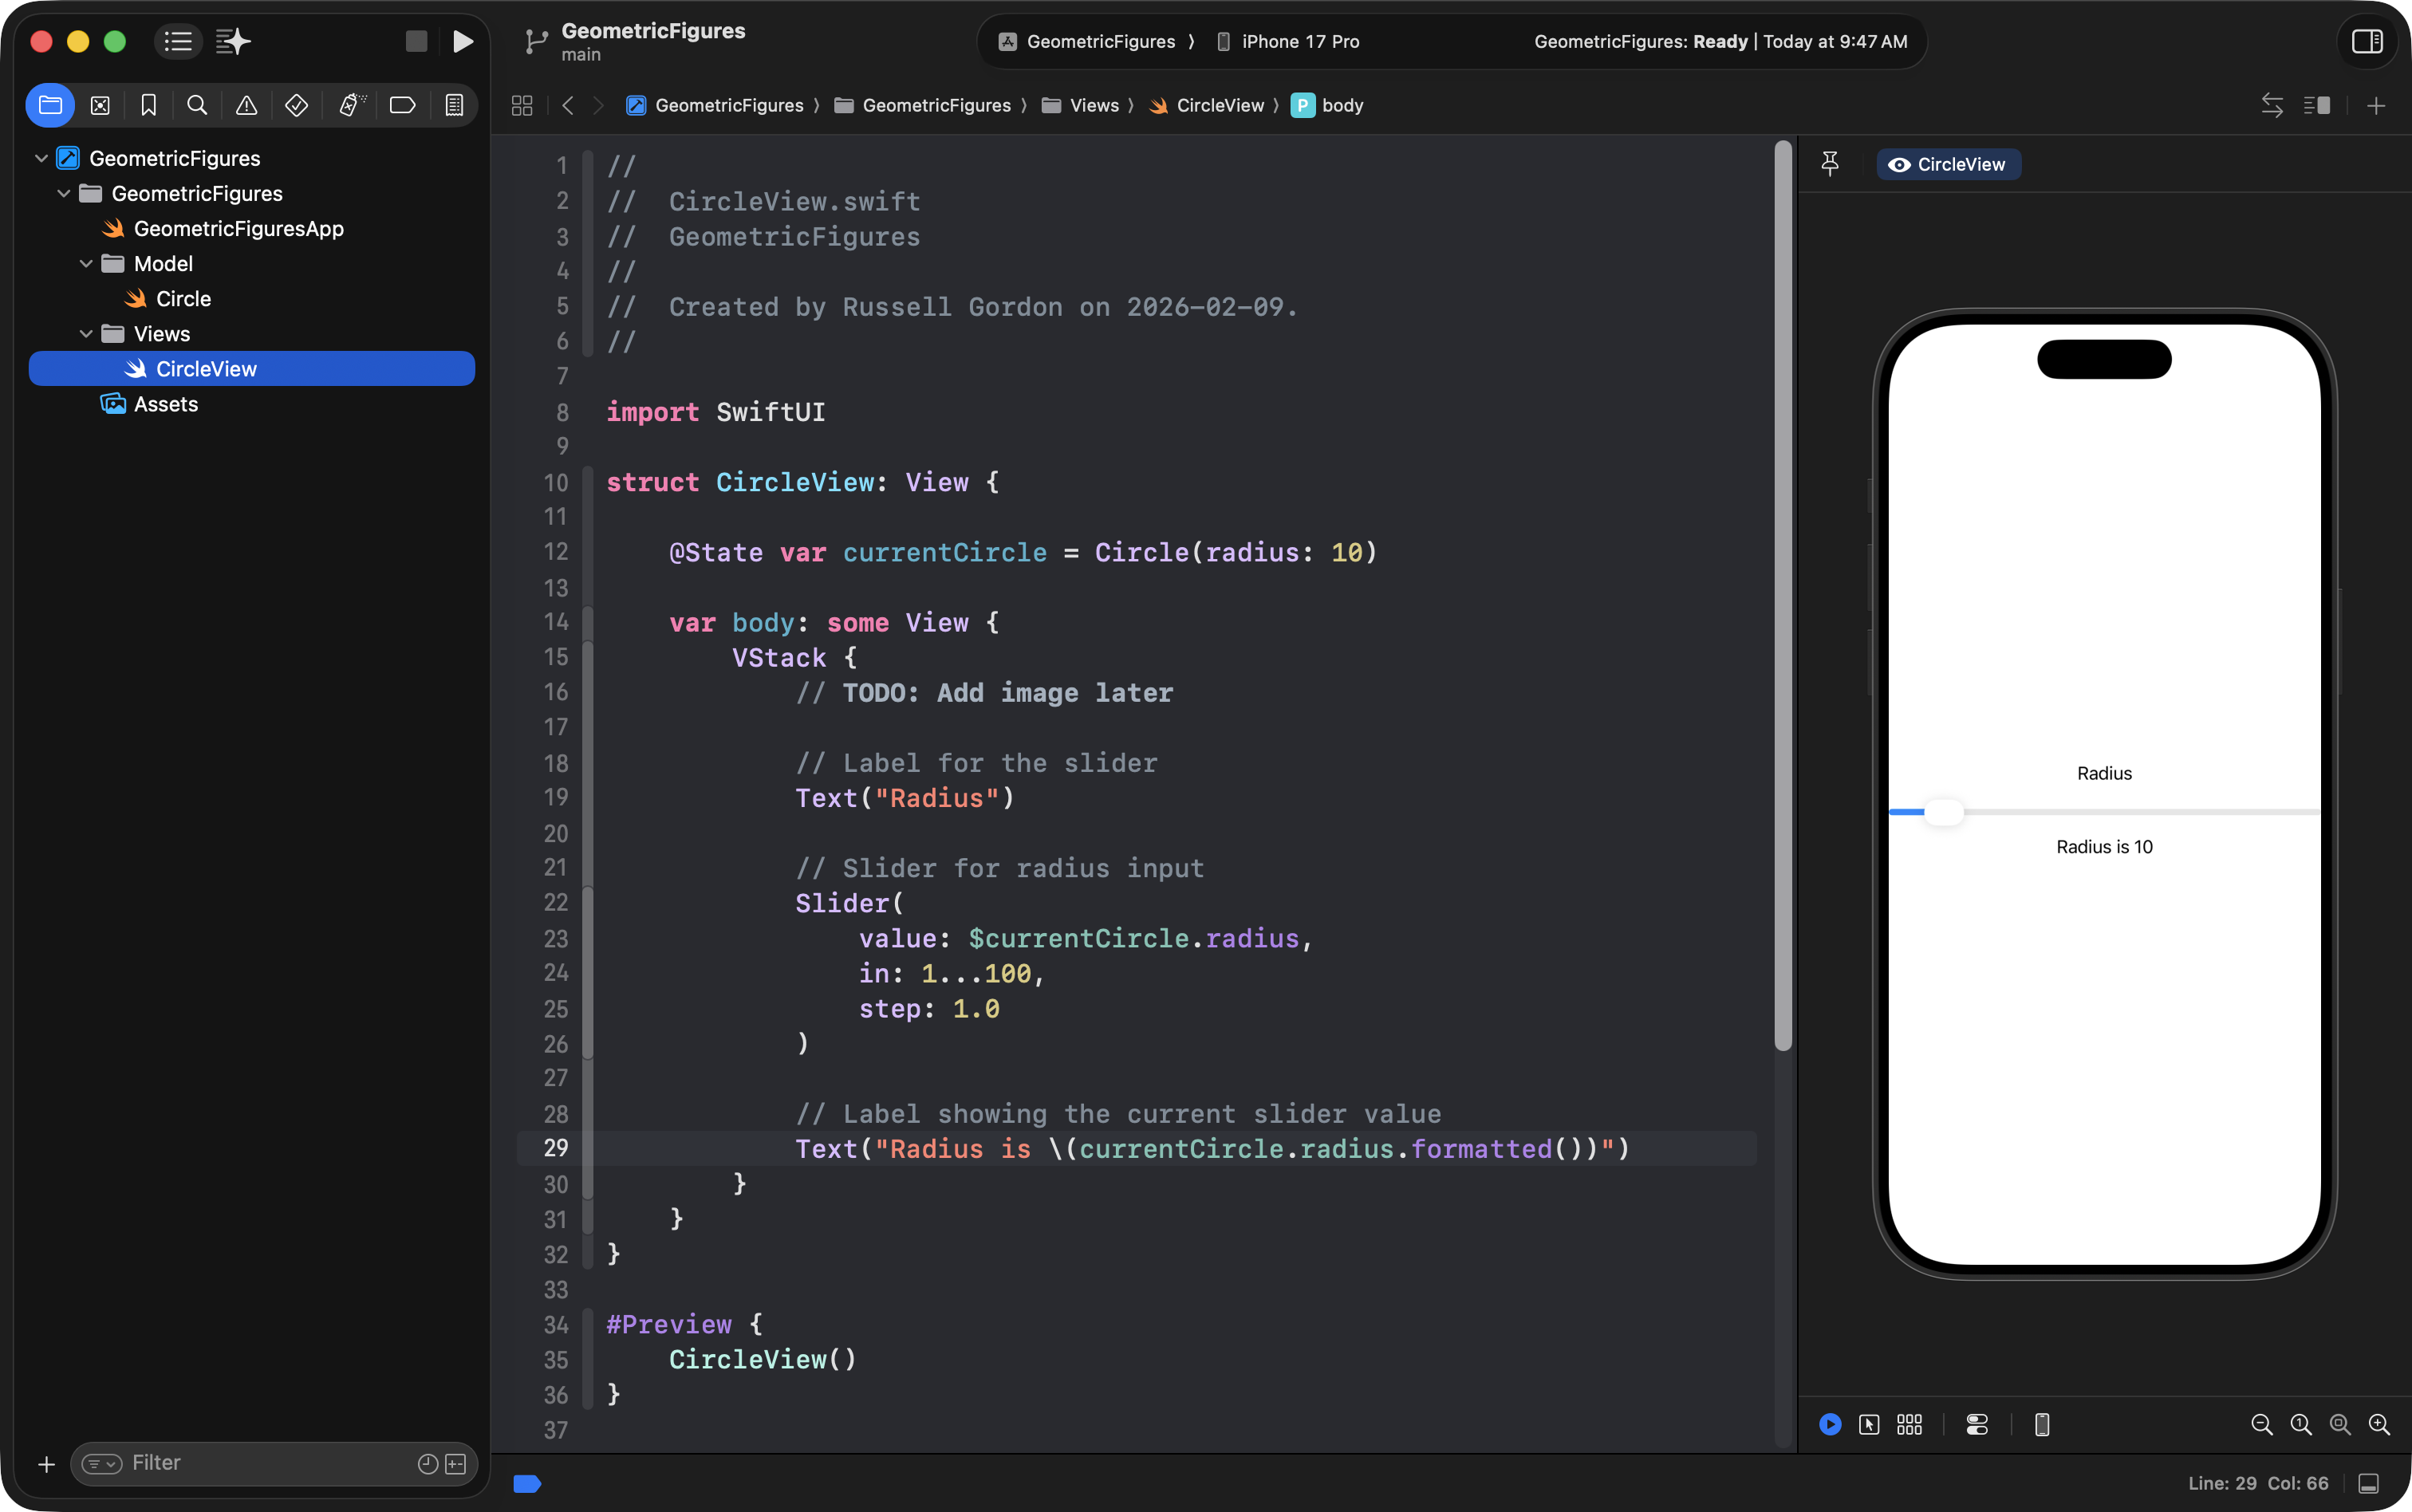
Now press Command-1 to return to the project navigator, then select the CircleView file:
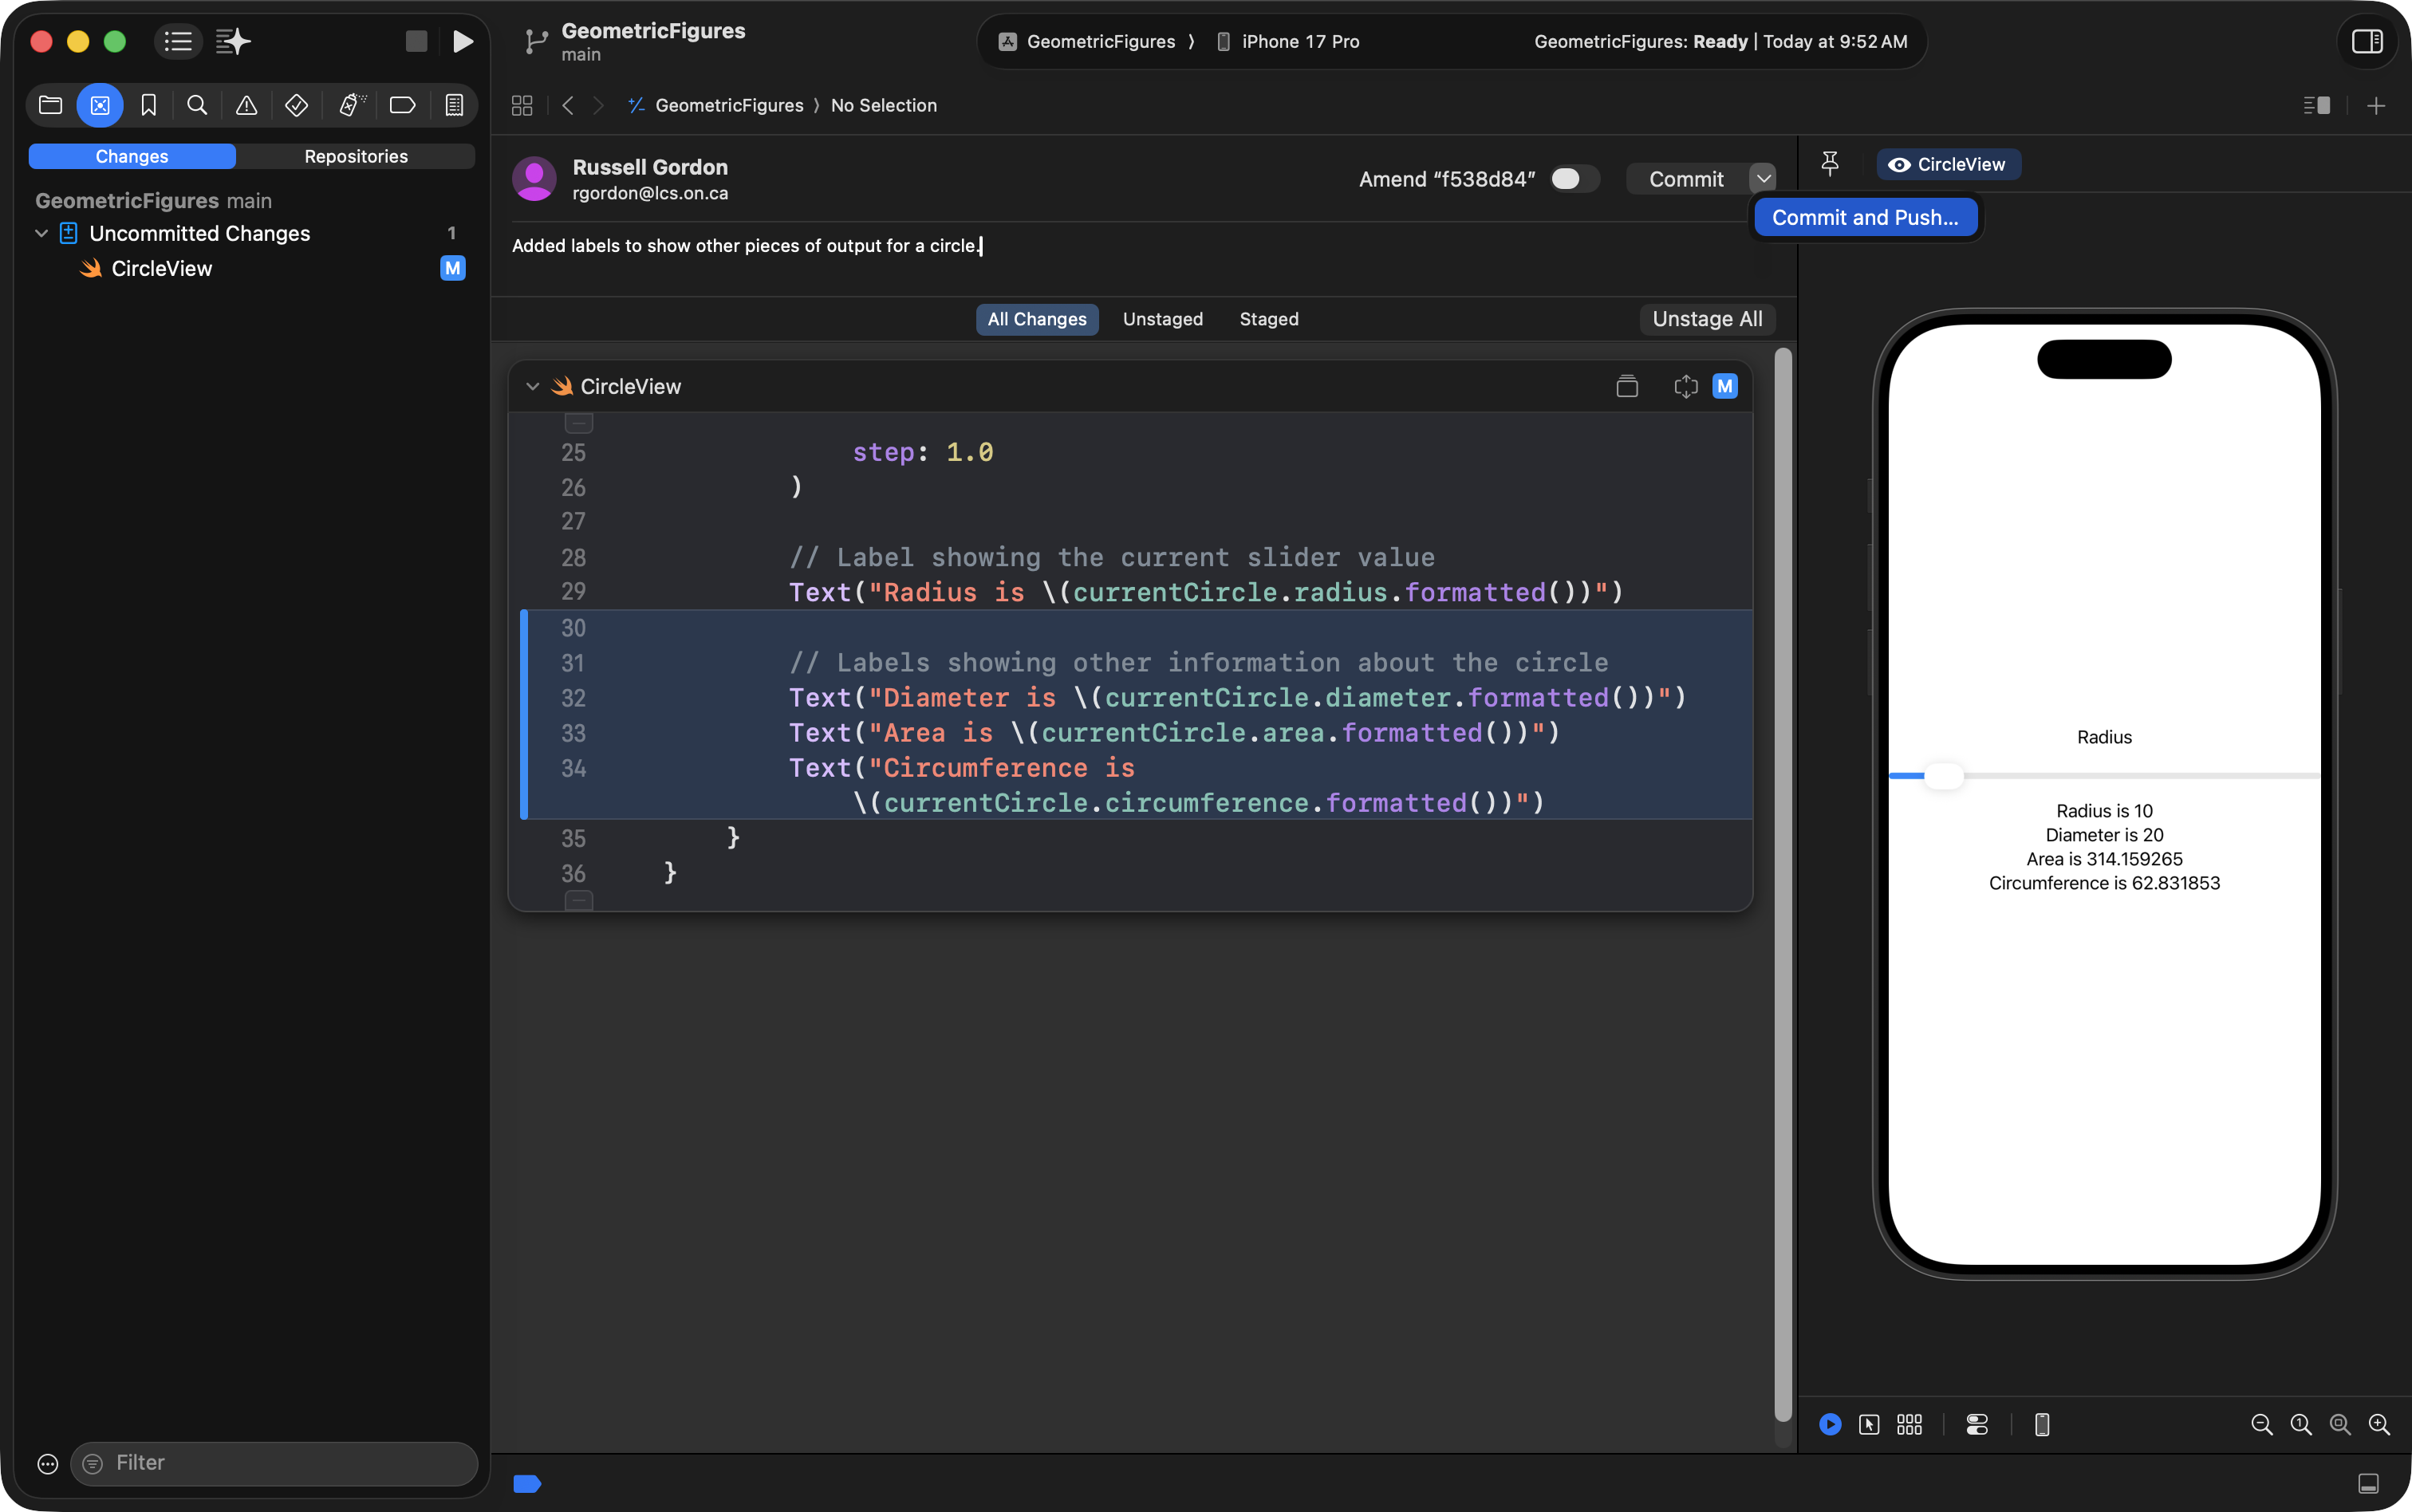
Add output: diameter, area, circumference
Right now, we have input (slider) and we show the radius.
Next, we want to show the computed output from the model.
Add more text views:
Text("Diameter is \(currentCircle.diameter.formatted())")
Text("Area is \(currentCircle.area.formatted())")
Text("Circumference is \(currentCircle.circumference.formatted())")
…like this:
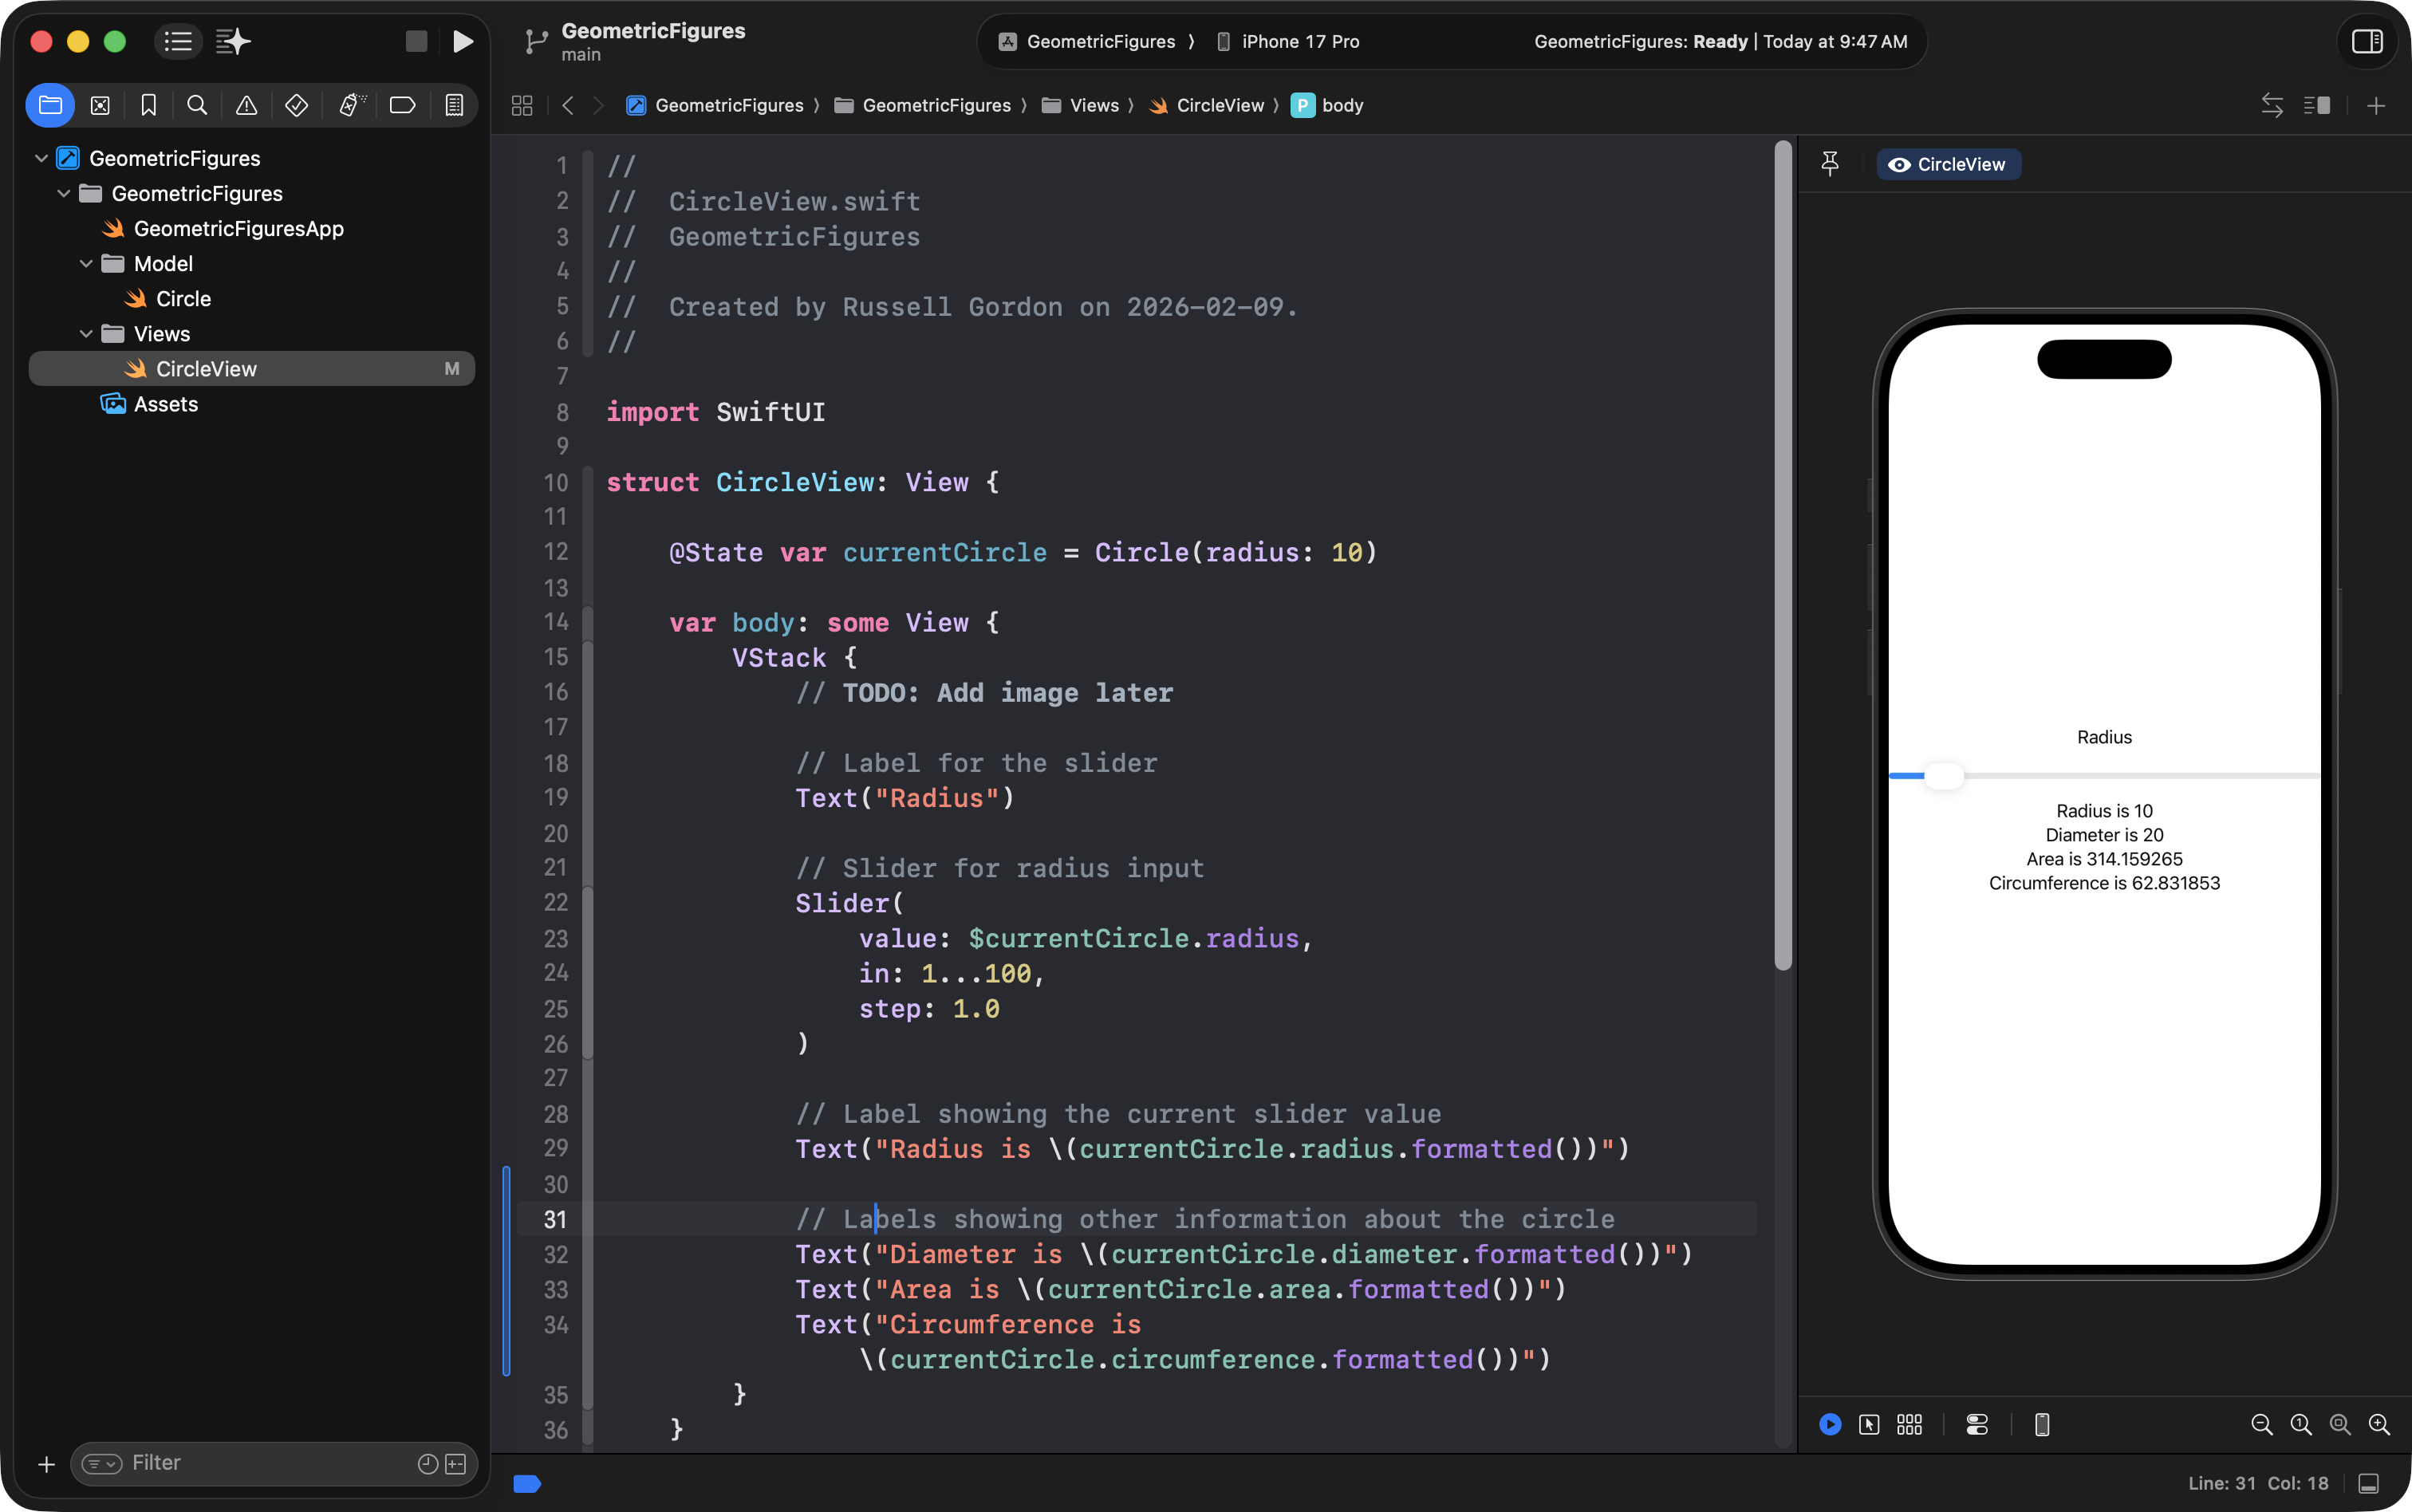
These values should change in real time as you move the slider, because:
- the slider updates
currentCircle.radius - computed properties recalculate automatically
- SwiftUI redraws the UI because a variable marked with
@Statehas changed
💫
NOTE
Let’s take a moment to appreciate that!
SwiftUI takes care of all the “grunt work” involved in updating the UI connected to a given piece of data.
We didn’t have to specifically tell the app to show an updated diameter when the slider changed the radius – the diameter just updates automatically.
Same with the area and circumference.
This state-driven approach to updating UI is very powerful!
TIP
If the Preview window crashes: restart it.
Sometimes Xcode can crash the preview.
If that happens:
Press Option–Command–P to restart the preview.
IPO: Input, Processing, Output
Every program you write can be described as:
Input → Processing → Output
In this app:
- Input: the slider (user chooses a radius)
- Processing: the computed properties in the
Circlemodel - Output: the text views that show radius/diameter/area/circumference
Keep that model in mind: it helps you design almost anything.
Commit and Push again (faster way)
After adding output labels, commit again.
You can do Commit and Push in one step:
- Open the commit window
- Write a message, for example:
Added output labels for computed properties
- Click Stage All
- Use the arrow next to Commit to choose Commit and Push
… like this:
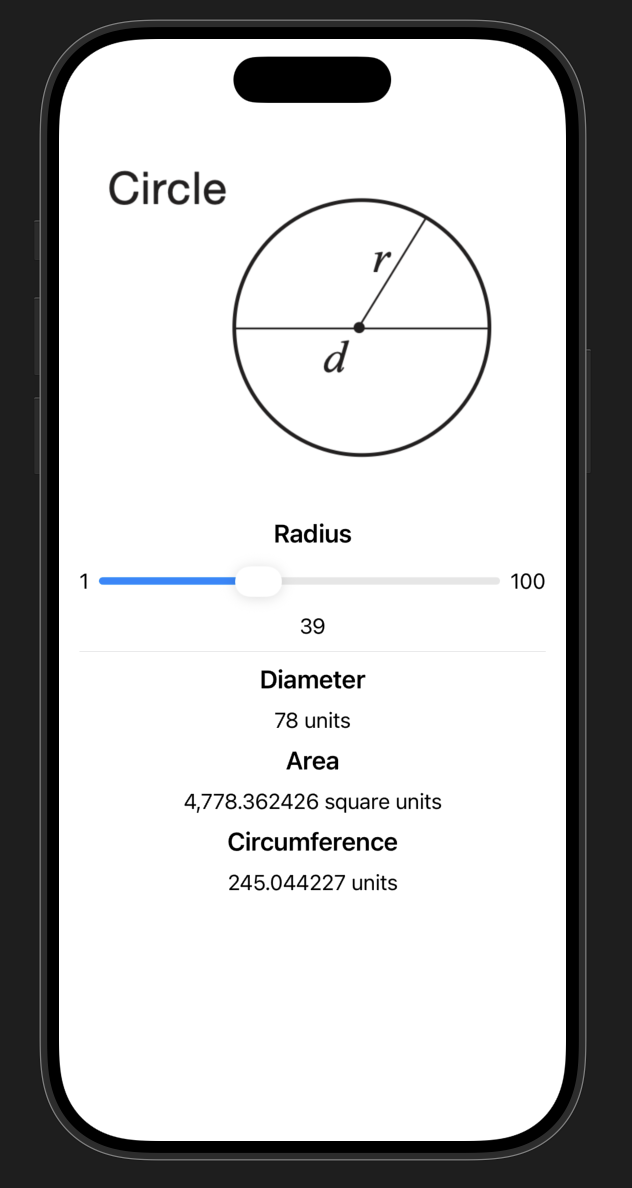
Add an image to your app
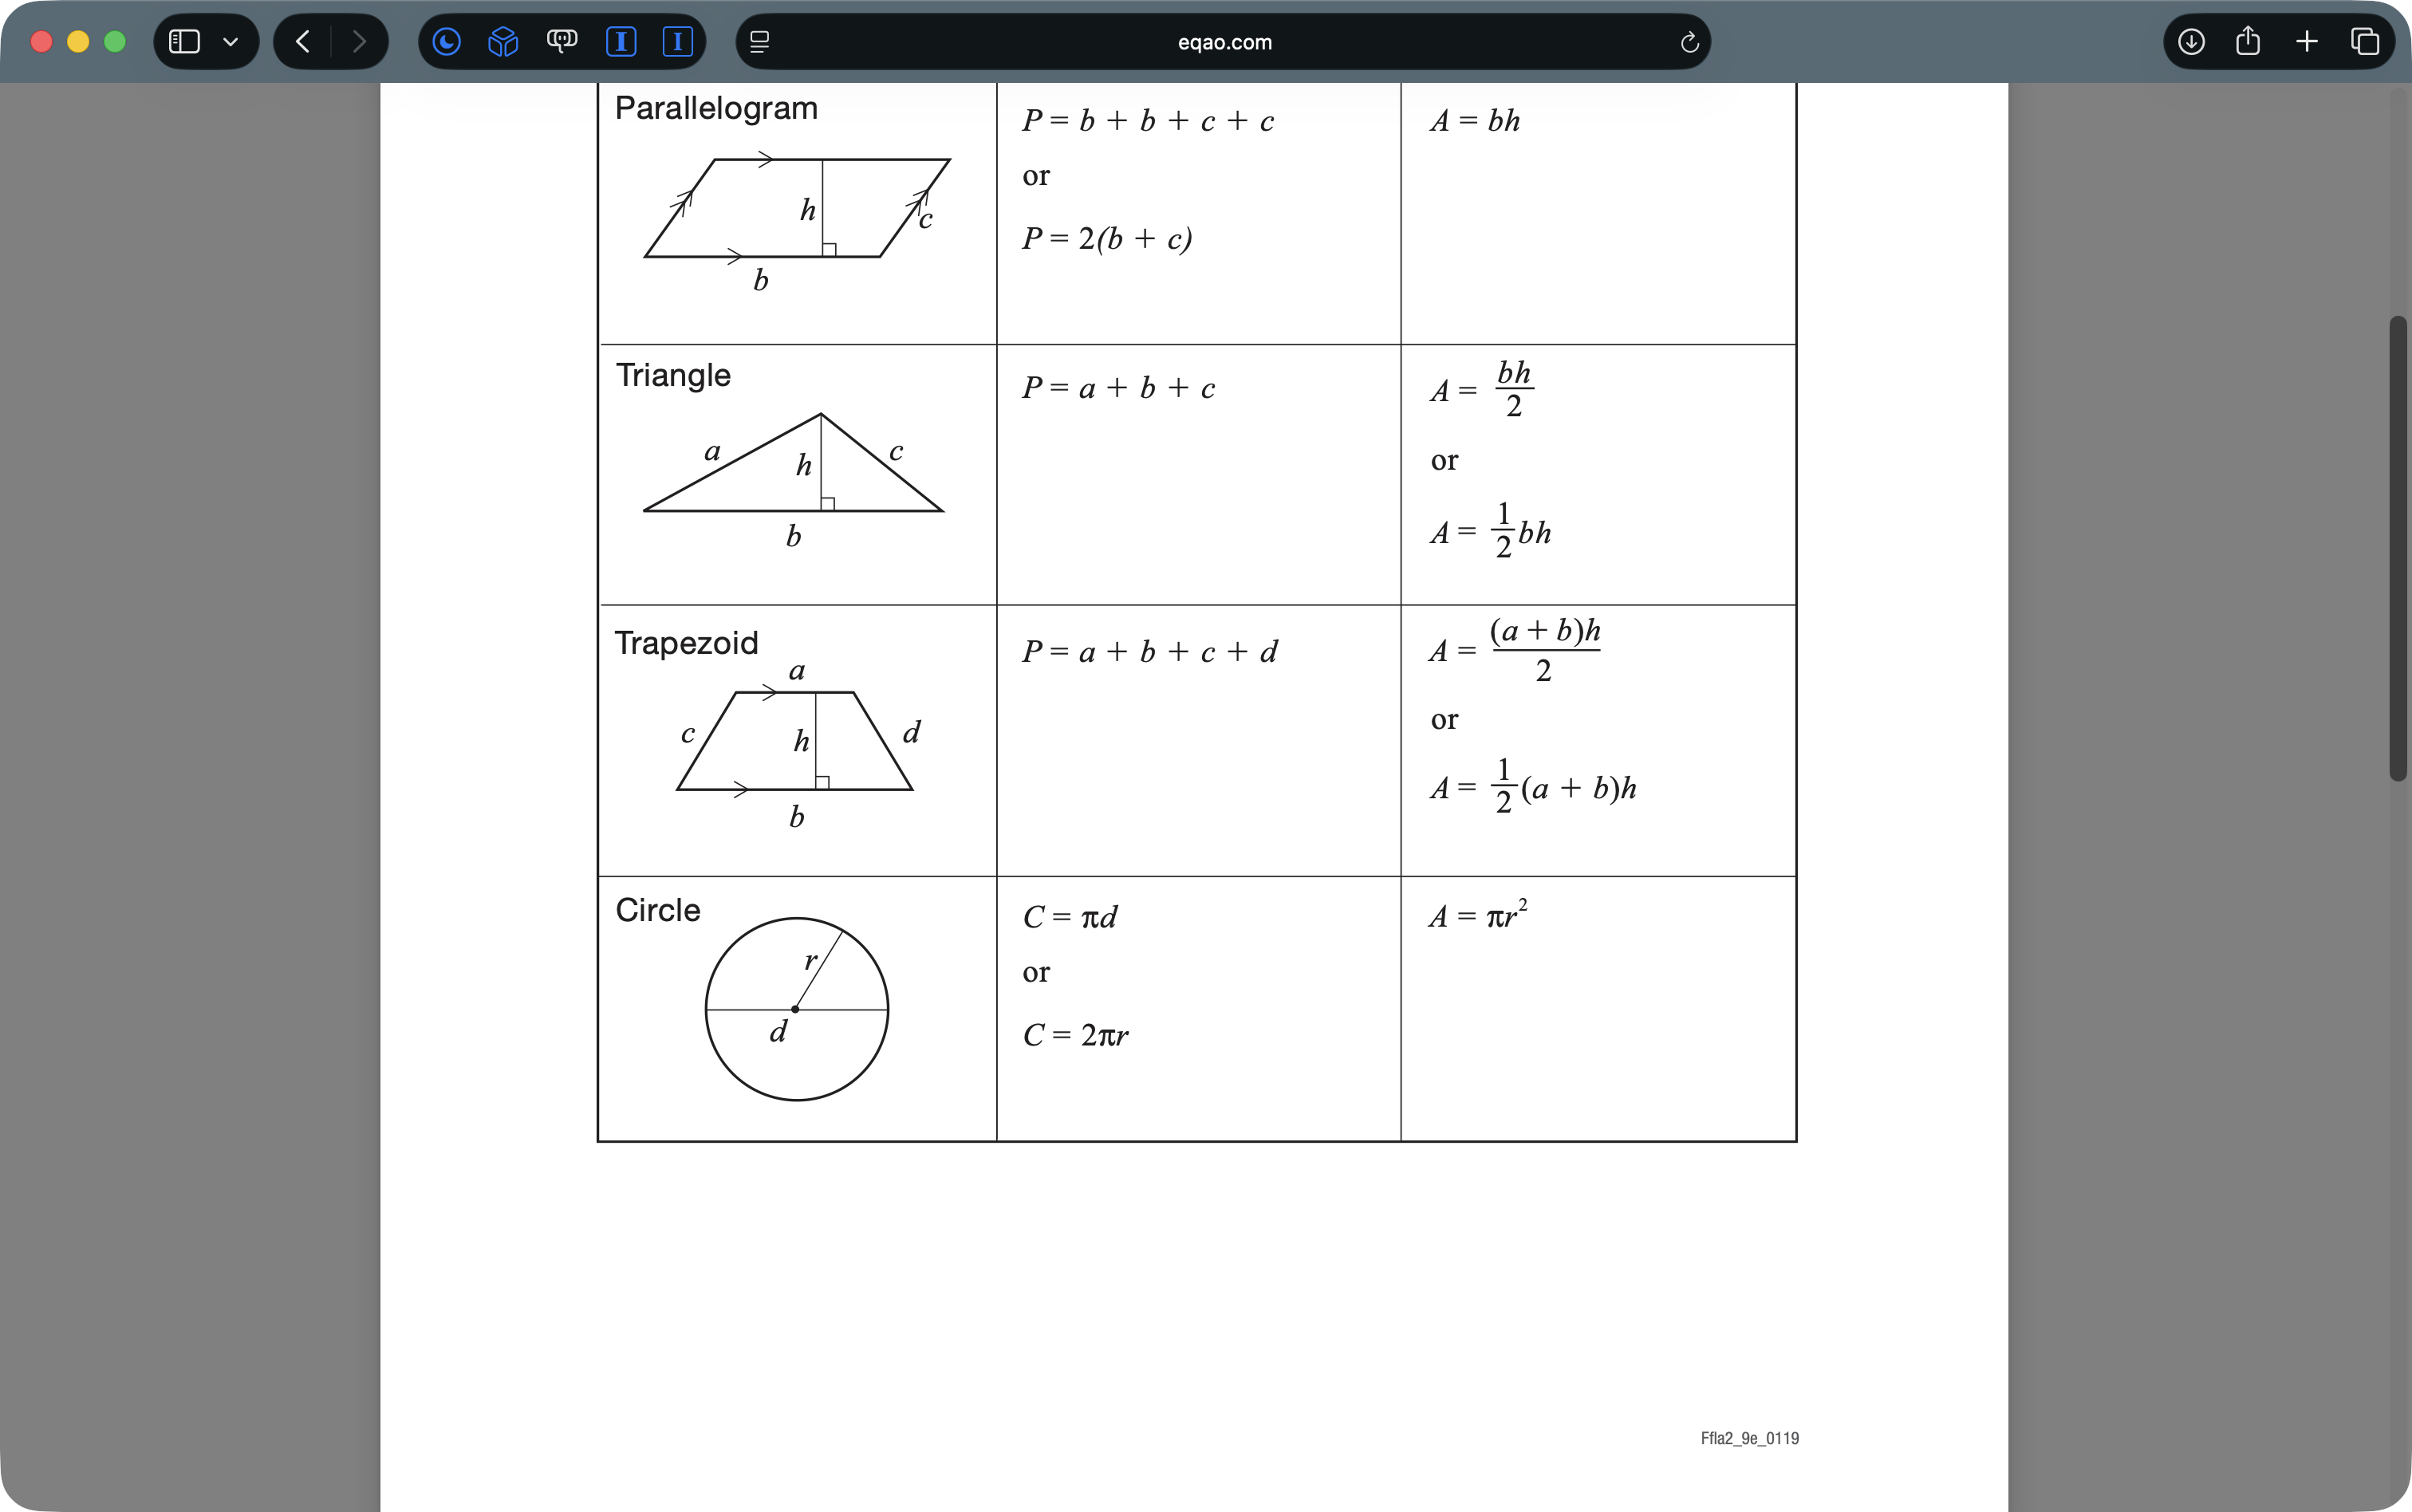
A diagram makes the UI friendlier.
Get an image
One option:
- Open a browser
- Search: “Grade 9 EQAO formula sheet”
- Find the circle diagram
- Take a screenshot (Shift–Command–4)
- Rename the image file (e.g.
CircleDiagram)
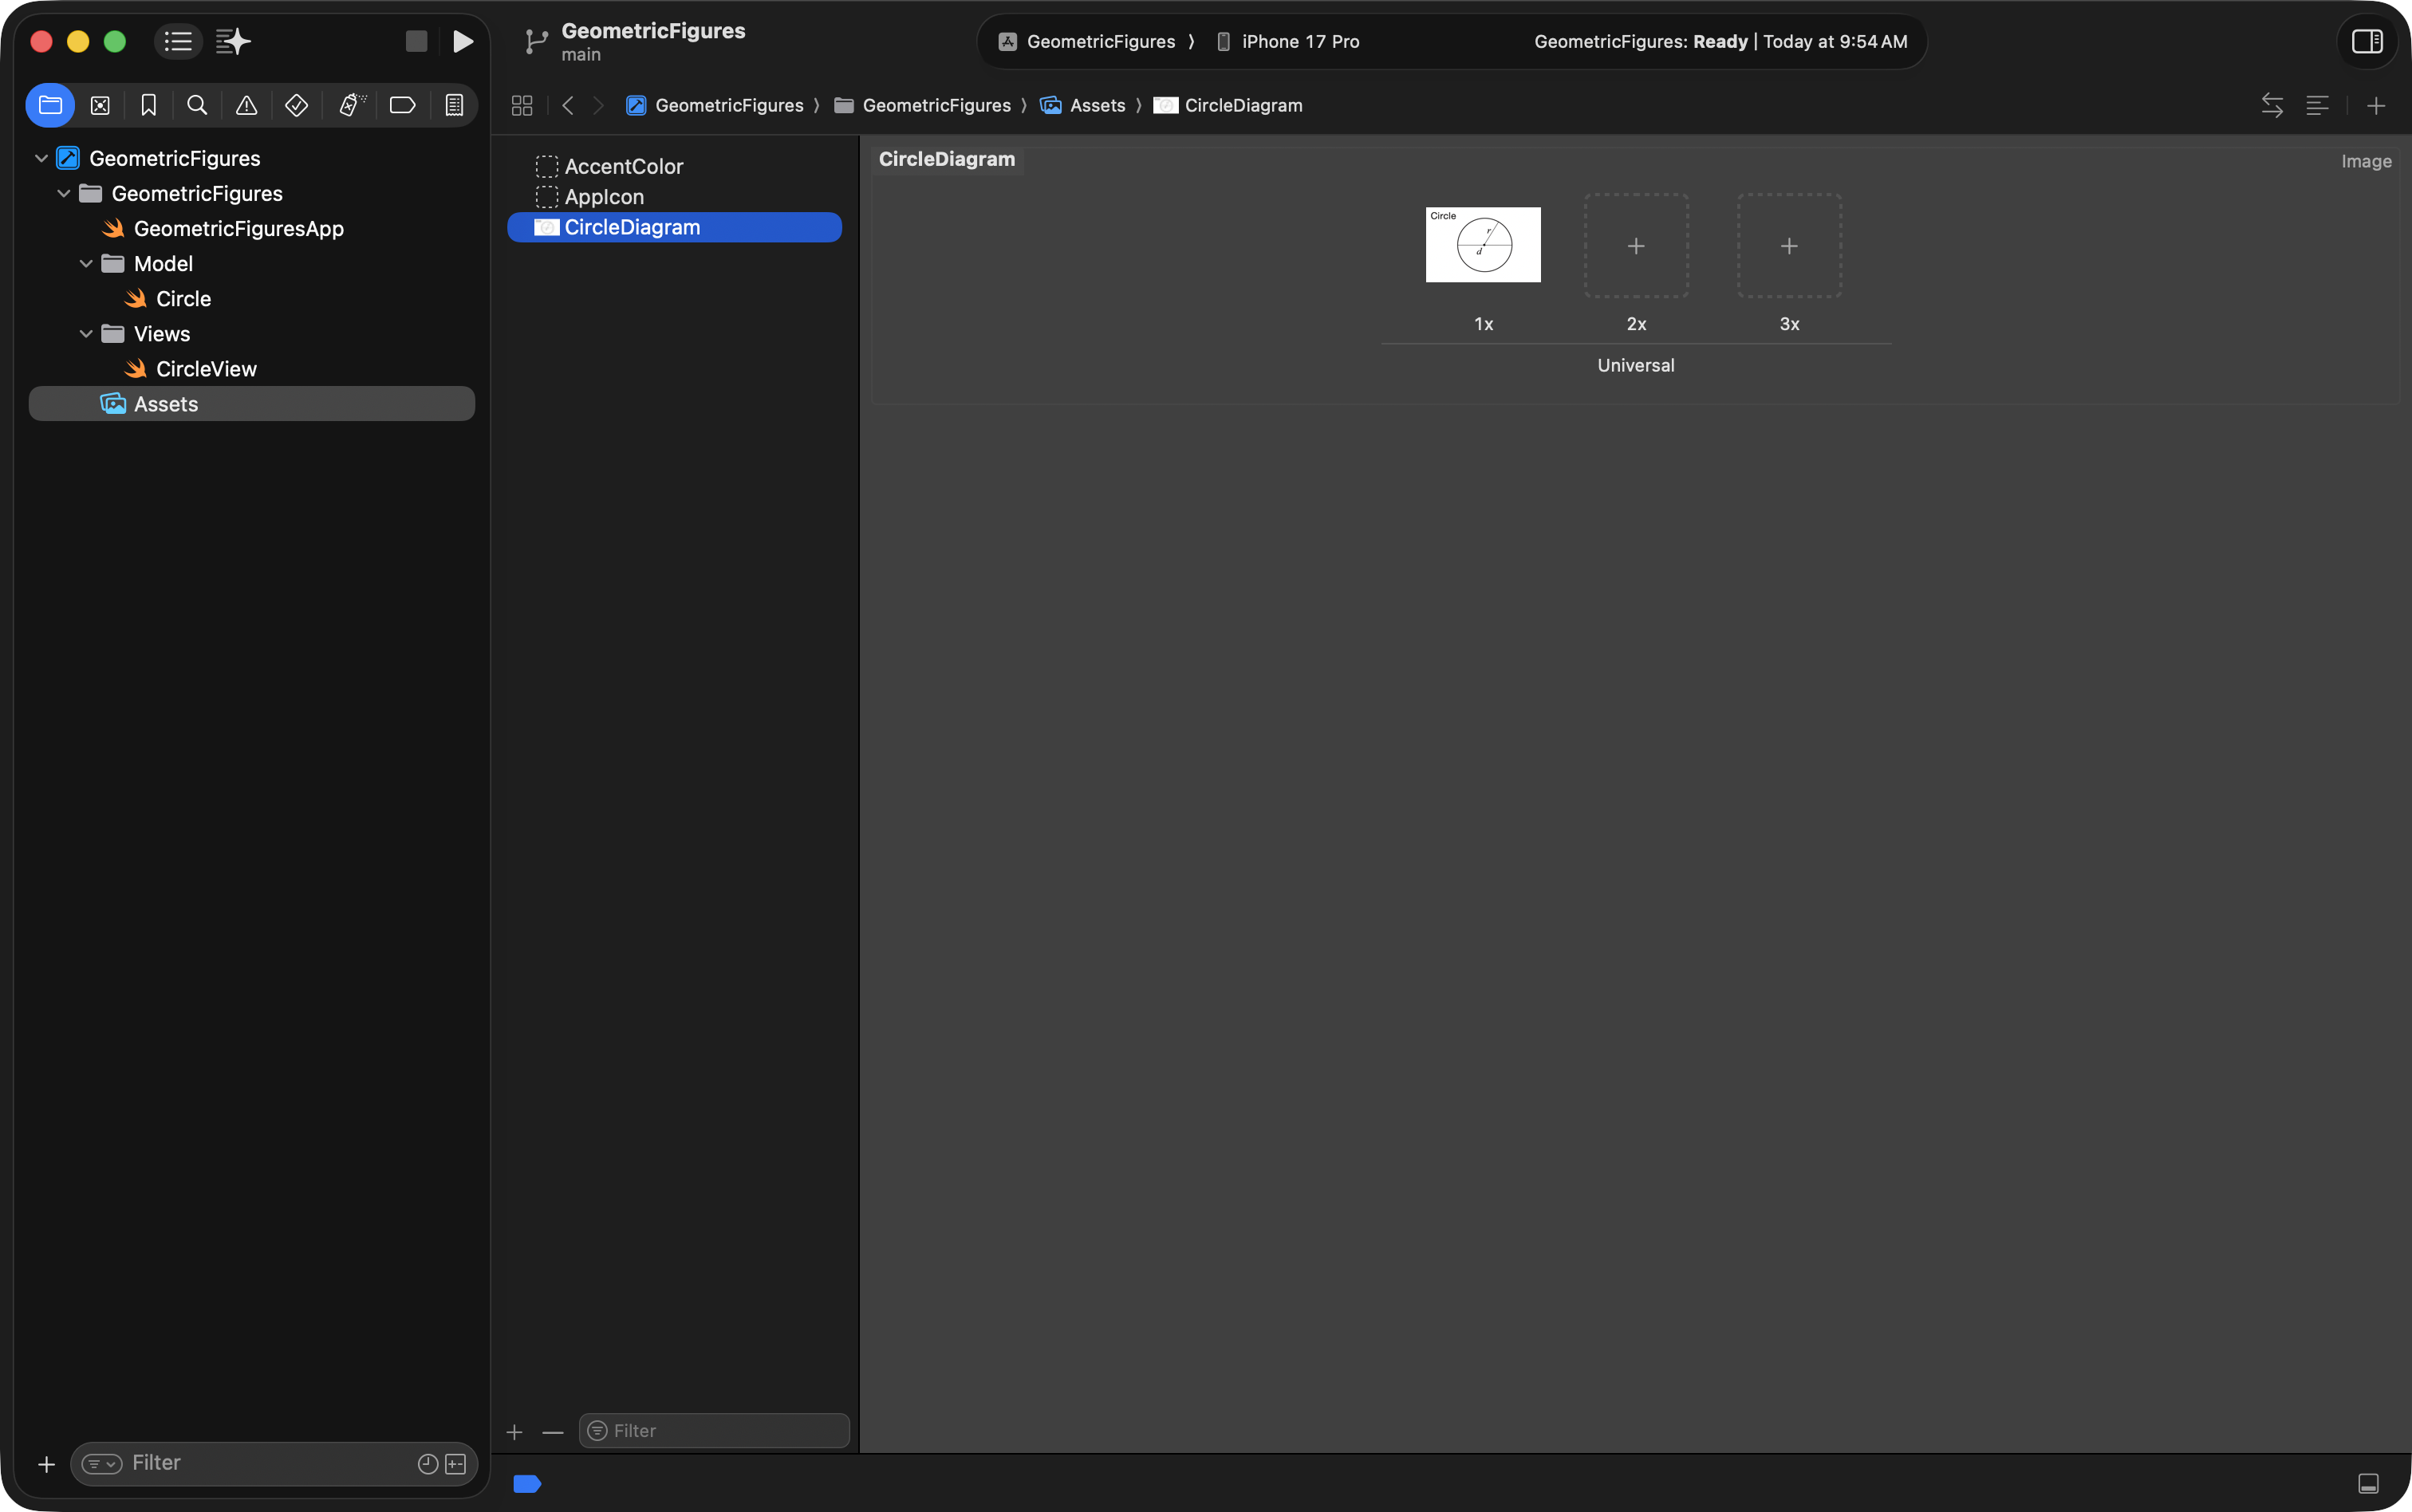
Import into Assets
In Xcode:
- Open
Assets.xcassets - Click +
- Choose Import
- Select your image
Make note of the asset name.
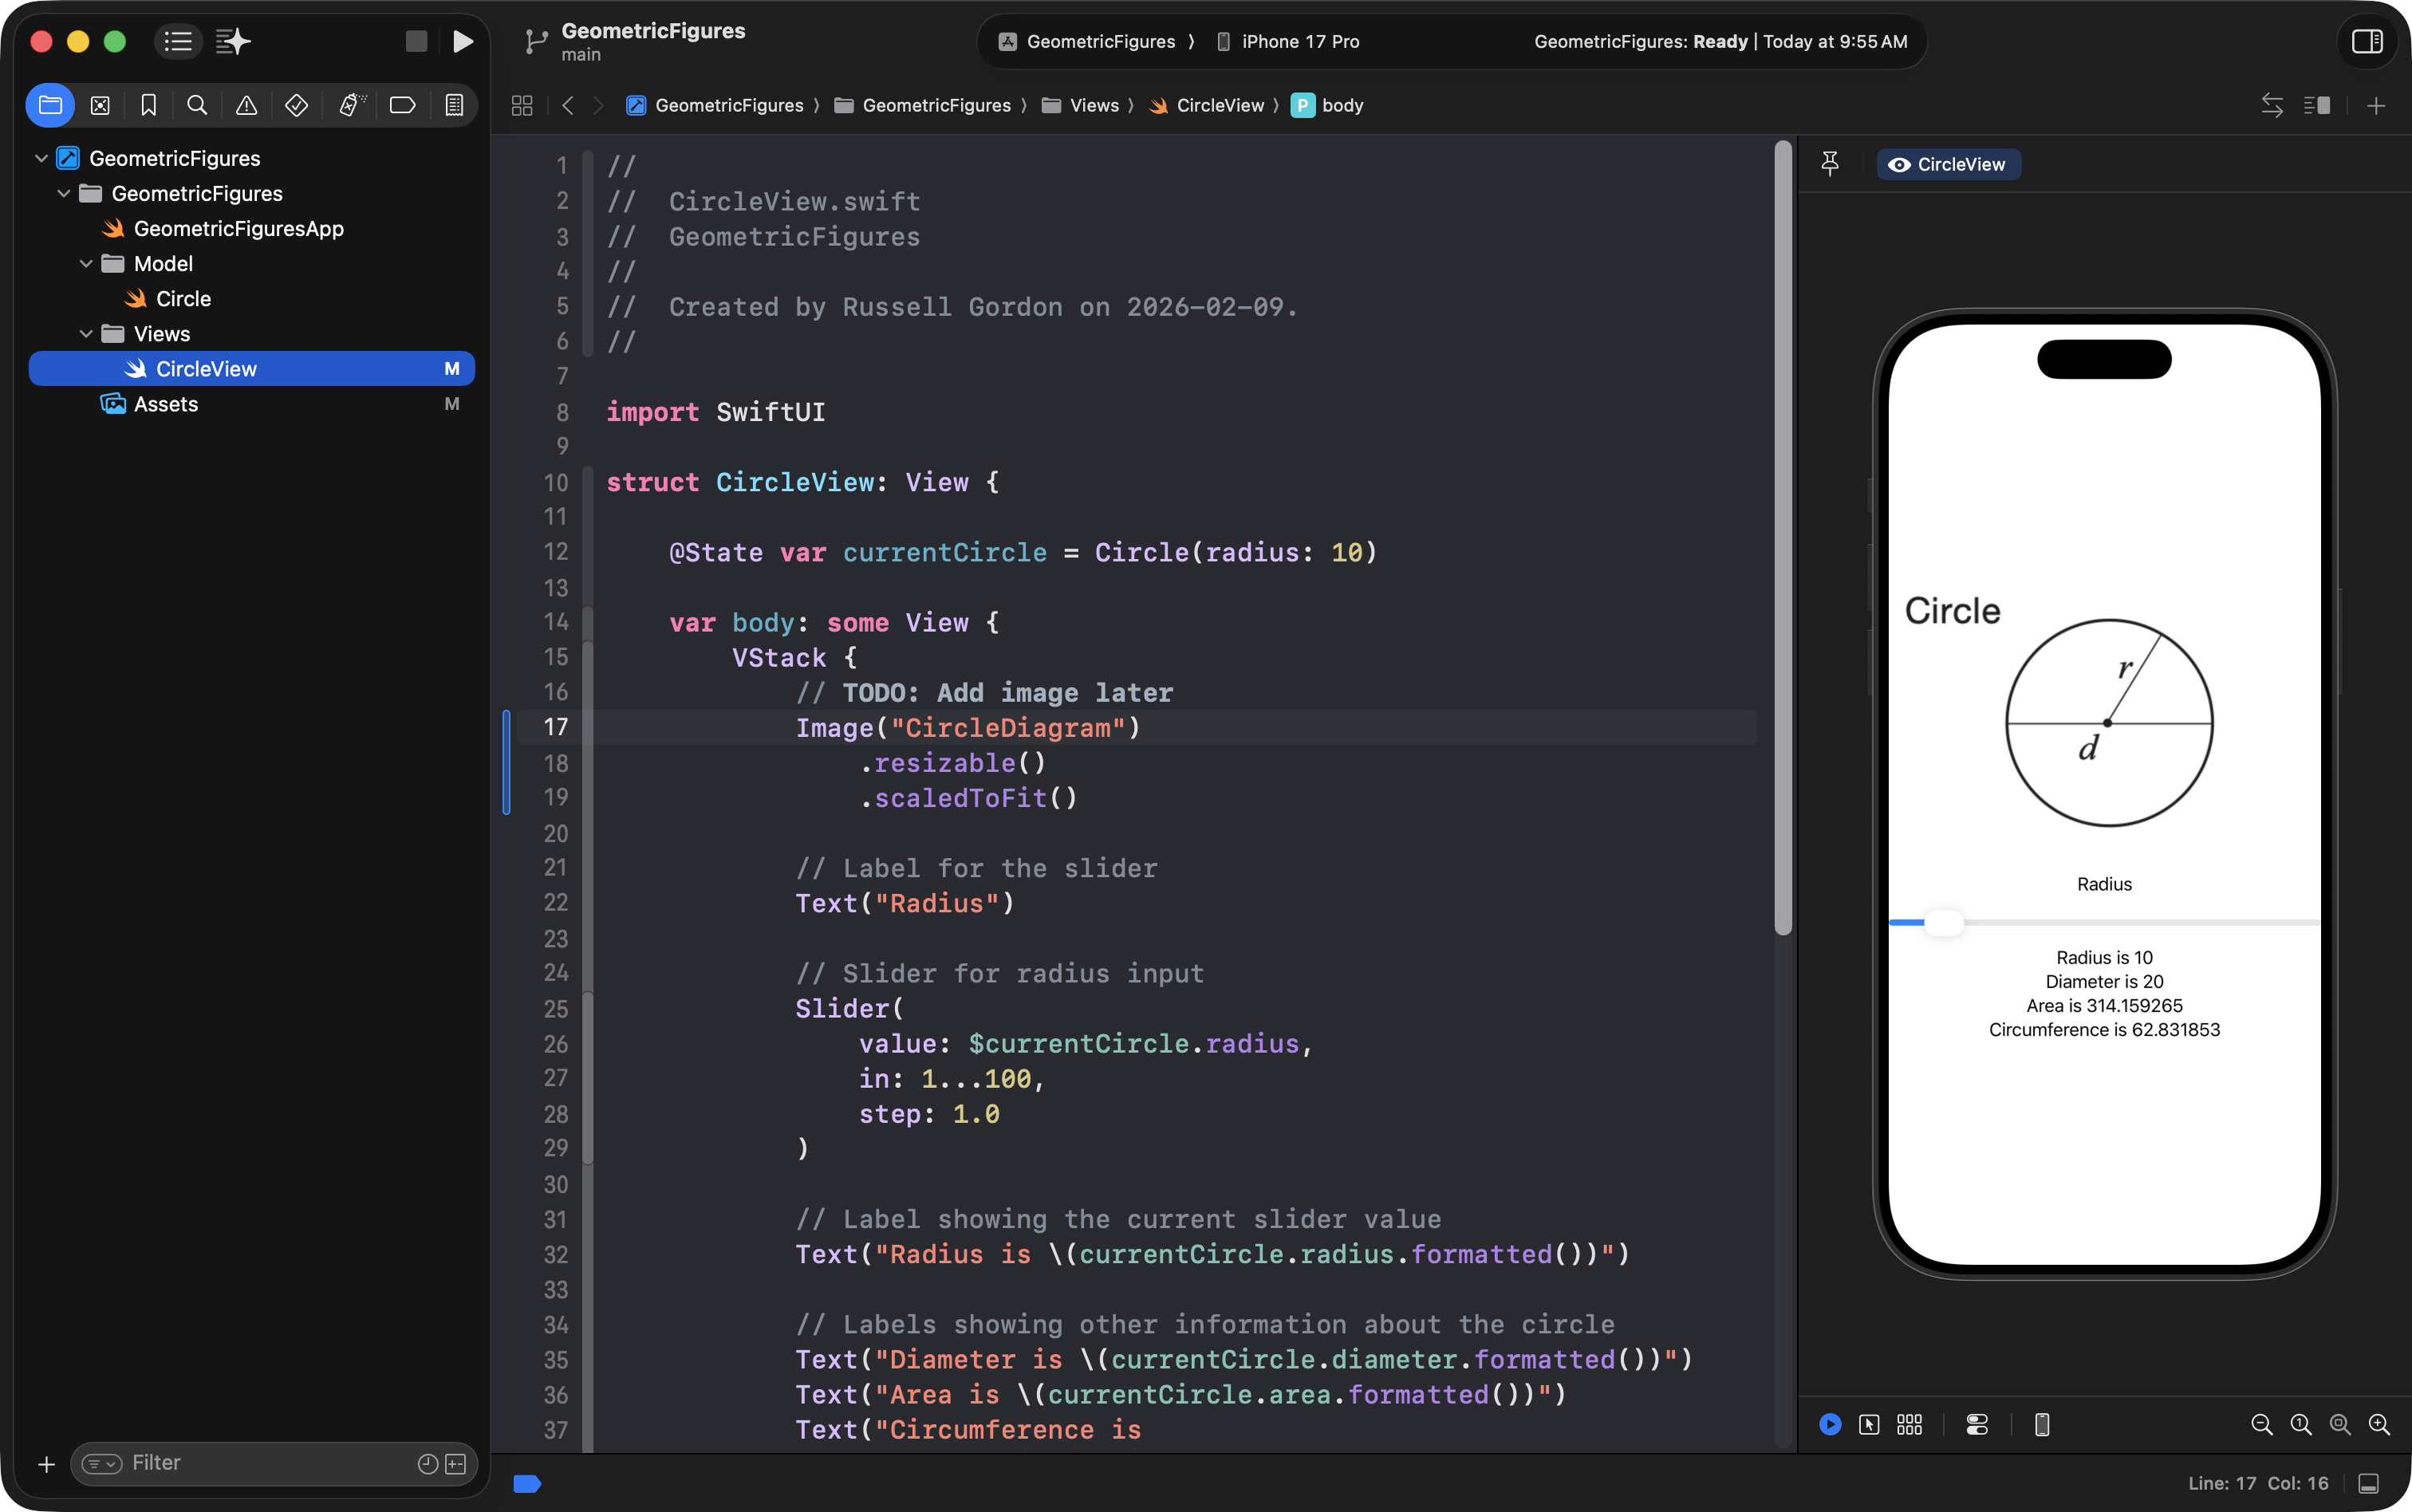
Show the image in CircleView
Add the image near the top of your VStack:
Image("CircleDiagram")It will likely be huge at first.
Use view modifiers:
Image("CircleDiagram")
    .resizable()
    .scaledToFit()
Now it will fit nicely without distortion:
Improve layout with Spacer and padding
If there’s too much empty space above and below your content, add a Spacer() at the bottom of the VStack:
Spacer()To bring everything slightly away from the phone’s edges, add padding to the stack:
.padding()If you ever want to see the boundaries of your stack, use:
.border(.red)Then remove it once you’re happy.
Exercises
Create your own interactive view
Once you’ve successfully built the interactive Circle view, repeat this process for your own shape from the assignment you completed earlier this year:
- Make a new model file for your shape (parallelogram, cone, prism, etc.)
- Make a new view for your shape
- Provide input controls (sliders, text fields, etc.)
- Show the computed outputs
It’s the same recipe every time:
Input → Processing → Output
Improve aesthetics
Based on what you learned last week about using HStack and VStack, and this reference on how to format text, try to improve the aesthetics of the UI.
Perhaps something like this:
Video version
This is a longer video, but it does have chapters so that if desired, you can review only certain parts of the tutorial:
- 00:00:00 Project Organization
- 00:04:06 Create a New View
- 00:06:40 Create a Model
- 00:10:14 Connect the Model to the View
- 00:13:13 Collect Input
- 00:17:22 Show Output
- 00:21:25 Show More Output
- 00:23:38 How to Restart the Preview Window
- 00:24:08 IPO: Input-Process-Output
- 00:25:56 Adding an Image
- 00:31:10 Conclusion and Next Steps
TIP
While you are following along with this video, you will need access to Mr. Gordon’s Circle structure code.